How to Set Up Email Forwarding in Gmail
How to Set Up Email Forwarding in Gmail
Someone contacted me recently for help with setting up email address forwarding in Gmail, so I thought it would be useful to write a hubpage on the topic. It is very easy to set up email forwarding, which is the feature that allows you to have your email automatically forwarded (sent) to any other email address that you would like.
Why forward your email?
In this case, we set up email forwarding from Gmail to this person’s work email address because for whatever reason, the email server at her work was not receiving email sent from the website. For example, when someone submitted a contact form, she was not getting the message, because the email server was blocking email sent from the website.
Instead of arguing back and forth with the email server configuration team, we decided it would be simpler just to set up email forwarding from Gmail to the work email address, and have the contact forms send to Gmail instead of the work email address.
You may want to set up forwarding for a similar reason, or perhaps because you would rather give out a “pen” email address instead of your real one. That is one great way to deter SPAM, as Gmail is a great SPAM catcher.
Whatever your reasons, below are the simple instructions for setting up email forwarding in Gmail.
Step 1: Log into the Gmail account that will be forwarding the email.
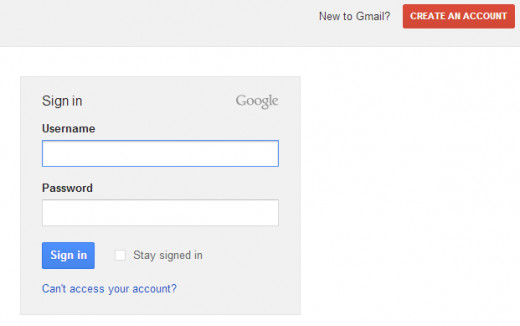
You will need to log into the account that the email will be forwarded from. For example, if you are going to forward email that comes to the email address tucsonrestaurant@gmail.com, you will need to log into that email account, not the one that the mail will be forwarded to.
Step 2: Click the Settings button.
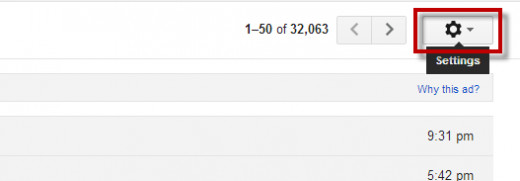
The Settings button is located on the right side of the screen, above the list of messages.
Step 3: Choose Settings from the drop-down menu.

After you click the Settings button, a drop-down menu will display. Choose the Settings option.
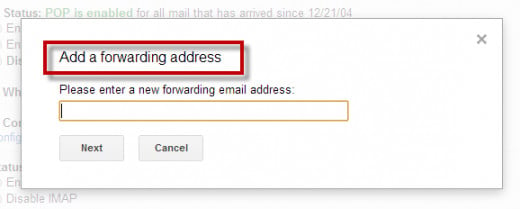
Step 4: Click the "Add a Forwarding Address" button

From the Settings menu, select the Forwarding and POP/IMAP tab. Then click the "Add a forwarding address" button.
Step 5: Enter the forwarding email address
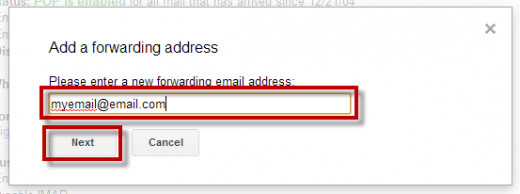
Enter the email address that the email will be forwarded to.
Step 6: Confirm the email address
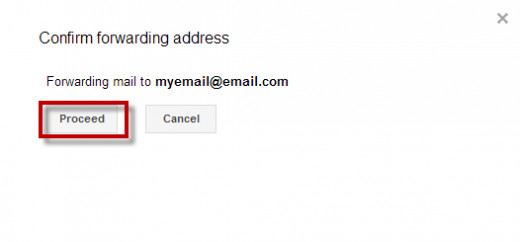
Click the Proceed button to confirm that the email address you've entered is the address you want to forward email to.
Step 7: Check for a confirmation code

Before forwarding will be begin, Gmail requires you to enter a confirmation code that was sent to the receiving email address. Click OK to acknowledge that the code will be sent and dismiss the message.
Step 8: Enter the confirmation code

When you receive the confirmation code, enter it in the field next to the Verify button, and then click the Verify button.
Your email will now be forwarded to the email address you have specified.
Other Gmail Hubs You Might Enjoy
- How To Recover an Email Deleted by Mistake: Gmail He...
How To Recover Deleted emails: How Do I retrieve an Email? Help to get back an email if you delete it from your Gmail account. - How to get mails from your gmail acccount on your mo...
Ever wondered yourself in a situation where you do not have your laptop or there is no cyber cafe nearby and you need to check an urgent email. You can easily get the e-mails from your GMail account directly to your mobile phone provided that... - How to Add an Image Signature in Google Mail (Gmail)
This a friendly yet complete guide on how to add image or photo in your Google Mail (Gmail) signature. This is ideal in attaching a photo signature in your Google emails. Follow the steps in this article, and you will have your photo signature in no - Checking Gmail On The Wii
Santa was nice enough this year to surprise the family with a shiny black Wii. One of the first things I started tinkering with over the holidays was the ability to use the Wii to check Gmail through the internet channel. I quickly found using the...


