- HubPages»
- Technology»
- Communications»
- Smartphones»
- iPhone
How to Sync Photos from Your iPhone, iPad or iPod Touch to Facebook
Introduction
As of November 2012, Facebook updated its iPhone, iPad and iPod Touch app to allow users to sync photos from their Apple devices so users can see those photos on Facebook, regardless of whether they're on their mobile device or logged into the desktop version of Facebook. However, all synced photos are private until you elect to share them through Facebook. The process of syncing photos to Facebook from your Apple device and then sharing those photos can be done in a matter of minutes.


Process for Syncing Photos from Your iPhone, iPad or iPod Touch to Facebook
- Tap the Facebook app on your iPhone, iPad or iPod Touch to open the program.
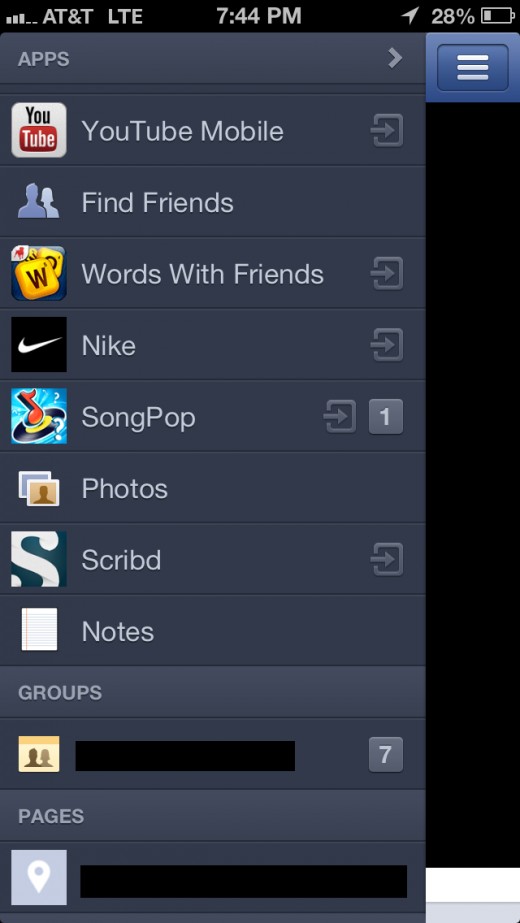
- Swipe from left to right across your Facebook home screen to open a menu along the left side of the screen.
- Scroll down and then tap "Photos" in the Apps section.
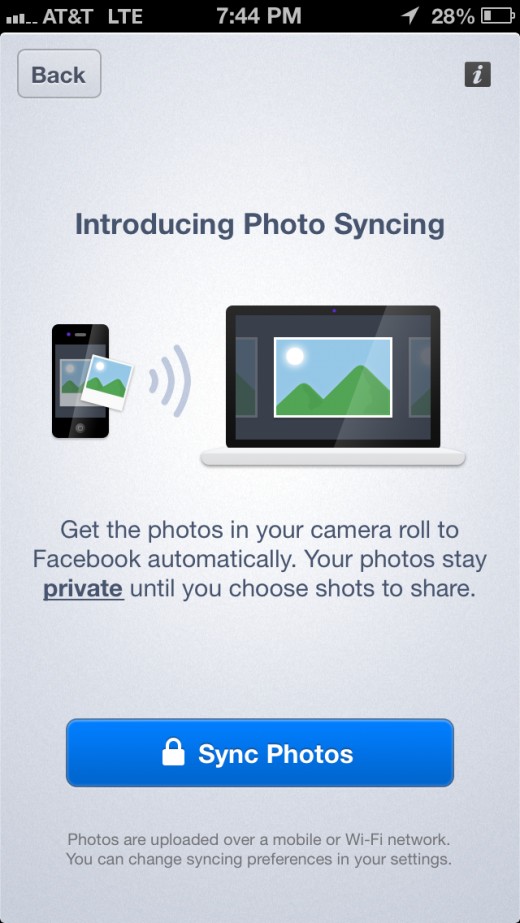
- Tap the "Synced" tab along the bottom of the screen. The Introducing Photo Syncing screen appears on your device.
- Tap the blue "Sync Photos" button. A screen appears displaying the photos in your iPhone, iPad or iPod Touch Camera Roll. The photos will be highly transparent until the photos are processed, at which time the color will fill in on the pictures.
- To sync all of the photos on your device with Facebook, scroll down to the bottom of the screen, tap "Sync All Photos" and then tap "Confirm." The rest of the photos on your device will be synced with Facebook. At this point, only you can see the photos you synced from your Apple device to Facebook and you'll need to log in to Facebook on your desktop computer to share any of these photos.
- Open your Web browser and navigate to facebook.com.
- Click "Photos" beneath "Favorites" on the left side of your Facebook home screen.
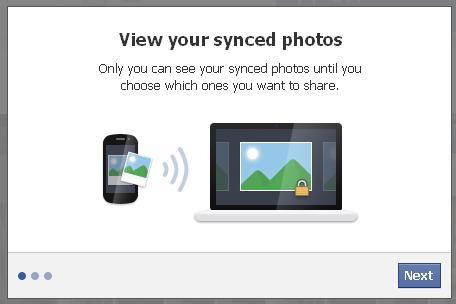
- Click "Synced from iPhone" at the top of the screen. The View Your Synced Photos dialog box appears. Click "Next" within that dialog box. A screen appears, displaying the photos you synced from your iPhone, iPad or iPod Touch.
- Click the icon featuring a transparent circle with a check mark in it in the upper right corner of any pictures you want to make visible to other people. After clicking the transparent circle, the circle will turn green and the check mark will turn white.
- Scroll up to the top of your screen after making your selecting and then click "More" to open a context menu. Select either "Create a New Album" or "Add to Existing Album." For the sake of example, we'll assume you're clicking "Add to Existing Album."
- The Add to Existing Album dialog box opens.
- Select the album you want to add the photo to and then click "Post."
- Add any information you want to add to the photo and then click "Done" to share the photo.

