- HubPages»
- Technology»
- Communications»
- Smartphones»
- iPhone
How to Take Panoramic Pictures with iPhone or iPod Touch
Introduction
With the introduction of iOS 6, Apple is making it possible for users to take panoramic pictures with their iPhone or iPod Touch. A panoramic picture is when a series of photos is stitched together to form an image that's wider than what the camera would otherwise shoot. This is ideal for capturing very broad outdoor settings, such as stadiums. You can a panoramic picture using your device's native Camera app without having to download a separate app that performs this feature.


How to Take Panoramic Pictures with iPhone or iPod Touch
- Tap the "Camera" app on your iPhone or iPod Touch home screen.
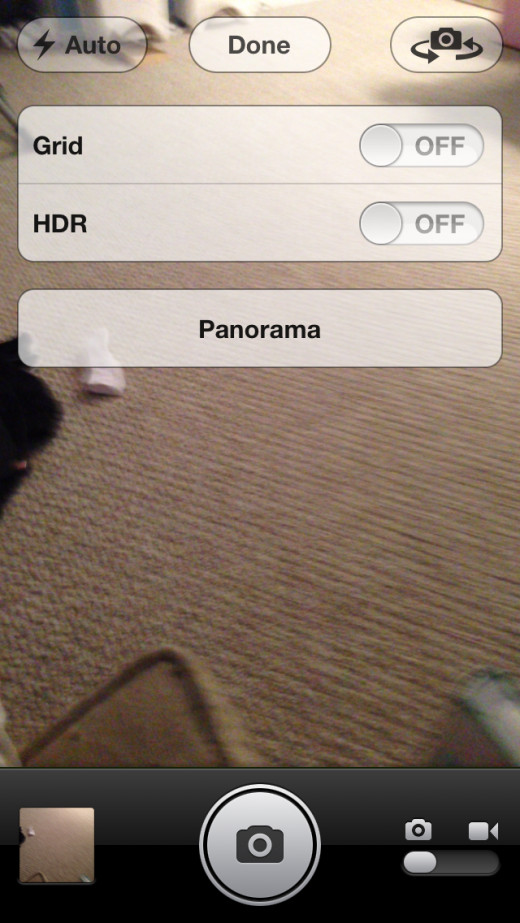
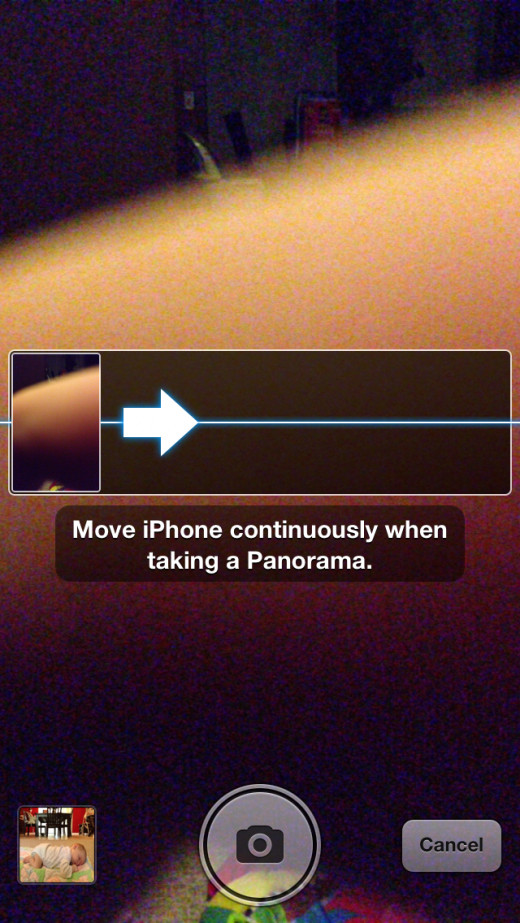
- Tap the "Options" button that appears along the top of the Camera app. This button is the center button between an Auto button and another button that lets you switch between seeing the view from the front-facing camera and the rear-facing camera. A drop-down menu opens after pressing the Options button. A screen appears showing what your rear-facing camera is looking at. In the center of this screen is a horizontal black box, another smaller display on the left side of the inner part of the black box, a line stretching from one end to the other and a right-pointing arrow on the left side of that line. Additionally, there's a message that says "Move iPhone continuously when taking a panorama."
- Position the camera on the far left side of what you want to be your panorama picture.
- Press the camera icon along the bottom of this screen to begin taking your picture.
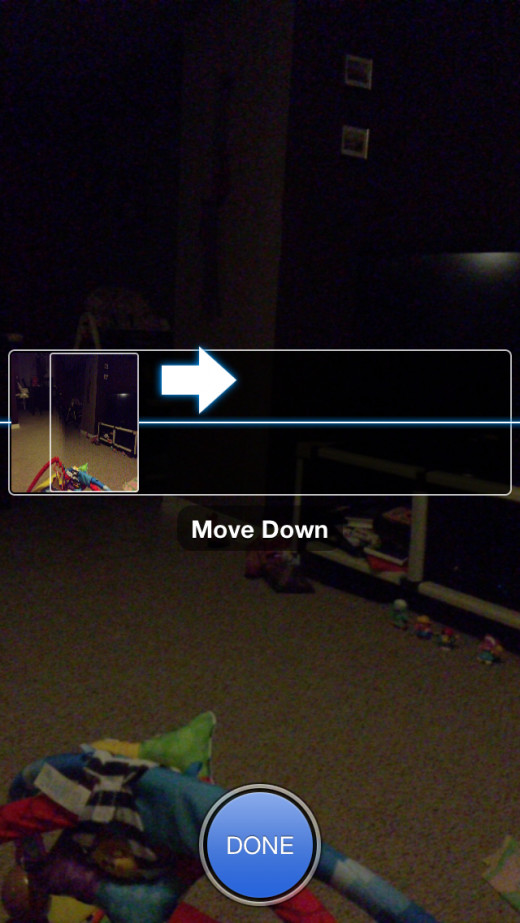
- Slowly move the camera to the right over whatever you want to include in the shot. The arrow begins moving from left to right across the horizontal line. Take care to keep the tip of the arrow on the horizontal line. This requires tilting the iPhone up and down accordingly as you take your panoramic picture.
- Press the "Done" button after reaching the end of your panoramic picture. Note that you can stop at any time and you don't have to wait until the arrow reaches the far right side of the black box. Take care to not move your iPhone or iPod Touch a great deal until after you press the camera button. Immediately after pressing the camera button, the panoramic picture you took is displayed on your device's screen. Note that if you failed to keep the arrow on the horizontal line while capturing the picture, there could be some black patches along the top and bottom of the picture. Also, this could result in some parts of the picture looking contorted, choppy or inconsistent.
- Take a close look at the resulting picture. If the picture doesn't meet your standards, you can always try taking it again.


