How to change a photo to make a close-up with Microsoft Windows Photo Gallery
How to Remove Surrounding Background in Photo
When Too Much Background is the only Problem
I use some other software and on-line services when I really want to play around with a photo. However, when the absolutely, only problem is that my photo has too much background surrounding the main subject, I go with a pre-loaded program that came with my PC. Many versions of Microsoft Windows provide software called Windows Photo Gallery.
Digital Photo Frames
Windows Photo Gallery Menu
The menu choices
Open the folder or file with the picture in it. Choose one photo and RIGHT-CLICK on it. This gives a drop-down menu. Choose "Open with..." (left-click) and you will get another drop-down menu. Choose "Windows photo Gallery" (left-click).
The photo appears. Across top menu bar, click on "Fix."
In the right margin of your computer screen, a vertical menu will appear.
Choose "Crop Picture" (left-click).
When you do this, a rectangle will be superimposed onto the center of your photo. This is the computer’s guess of what you might want to save. Later in the process, whatever is INSIDE the rectangle will be the only picture saved.
How to Crop
The rectangle has small solid squares at each corner and on the middle point of each side. Think of these as handles, such as on a drawer. You can push and pull any of the handles to include exactly what you want inside the rectangle.
To grab the handle, use the mouse to guide your arrow cursor onto a square. When you are in exactly the right place to move the handle, your cursor changes its shape. When that occurs, press and hold down the left mouse button. Keep it down and move the mouse cursor to move the side of the rectangle to where you want it.
Repeat on the other 3 sides if needed. (There are some shortcuts and other techniques that you may discover as you are at this step. I am keeping this article simple, so I will not describe them.)
Once you are pleased with the close-up inside the box, lift your finger from the mouse button. In the menu in the right margin, when you clicked on “Crop Picture,” a few extra words dropped under that choice. One is a rectangle enclosing the word “Apply.” Left-click once on the word Apply.
Before and After Cropping
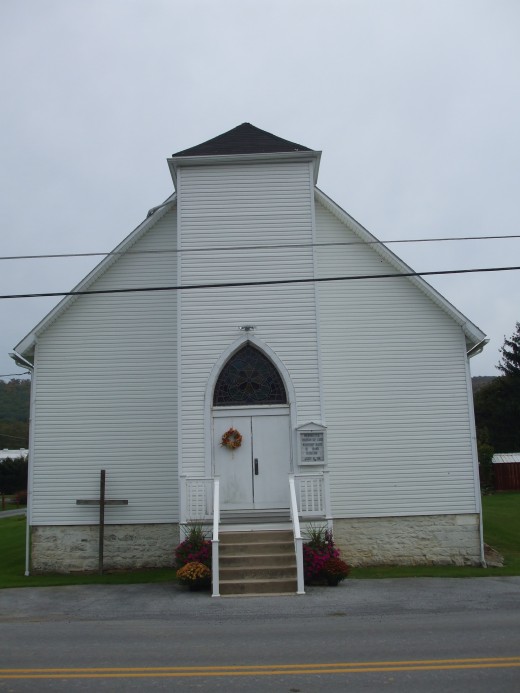
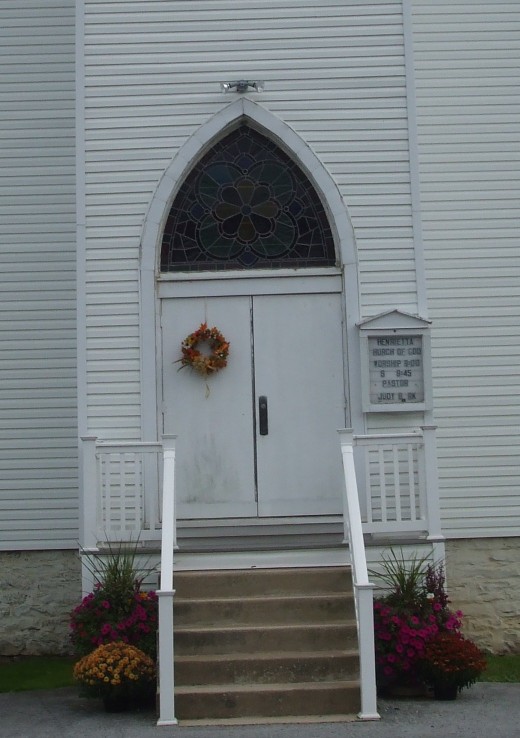
The Uh-Oh Safety Feature
Safety measure
If you do not like the appearance of the cropped photo, you have a second chance. At the very bottom of the right margin of the computer screen, there is the word “Undo.” Choose “Undo” with one left-click. All the cropping will be undone.
Save your new work
That's almost it. You need to save your hard work.
Left- click on either of the arrows under the photo which move you to the next photo or back to the preceding one. This saves the photo.
Good luck.
Photos and text copyright 2011 Maren E. Morgan, all rights reserved.


