- HubPages»
- Technology»
- Computers & Software»
- Computer How-Tos & Tutorials
How to import map in Visual C# using MapWinGIS

A little introduction..
Importing of maps is one of the most confused activity in programming. That's why we need some tutorials in order to help us. We usually use this map in systems like: Monitoring Systems. "But what is a monitoring system by the way?", you may ask. Monitoring system is a kind of a computer program or application wherein you can view something or someone's location on a map. Usually this gives the users the real-time and accurate location. Sounds interesting right? "But how does it works?". Simple, a GPS device will be needed which will be responsible for receiving signals from the satellite and this will also send the received signal to the computer. And now, the signals will then be viewed live on the screen. So maybe you're quite excited and eager to learn about how to import the map. So, let's get started!


WHAT YOU'LL NEED:
Before we proceed to the programming stuffs, we'll need to have this applications downloaded in your PC. This is very important so we need to consider them.
- Microsoft Visual Studio.net 2010
This is where we are going to write some codes in order for the map to appear on screen.
- MapWinGIS 4.8 or any version
An open source software. We'll be needing this to edit our shapefiles whenever there's a need. You can download it to: http://www.mapwindow.org/
- A shapefile of your map.
Of course we'll be needing an image of your map. We call these images as shapefile and we can download it at: http://download.geofabrik.de/
How to create a C# project:
- Click File and select New Project.
- A Dialog box will appear on the screen and select Visual C# on the Installed Templates section.
- Click on Windows Forms Application.
- (optional) Rename your project if necessary and click OK.
How to add MapWinGIS reference in C#:
- Click on Project.
- Click on Add Reference.
- Under the COM tab select MapWinGIS components.
- Click OK.
Help me improve my Hub
Is this tutorial helpful?
First things first!
- Make sure Microsoft Visual Studio 2010 is completely installed in your PC.
- Download a shapefile and unzip.
- Open MS Visual studio 2010 and create your C# project.
- Add MapWinGIS in your reference.
- Add a map component in your form by simply dragging it from the toolbox under general tab and drop it in the form.
Note:
A video is provided below to help edit your shapefiles.
Map Window Shapefile Editing Part I
Map Window Shapefile Editing Part II
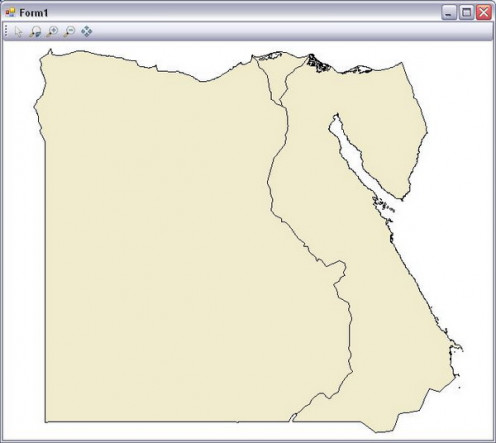
Sample Map
Time for some Coding!
After installing and preparing the needed applications, we are now ready to make some codes. Below are the syntax needed to make the map appear on the axMap1 window place them under Form1_Load:
MapWinGIS.Shapefile plane = new MapWinGIS.Shapefile();
int shape1;
plane.Open("C:/Users/User/Desktop/philippines/adminareasfinal.shp", null);
shape1 = axMap1.AddLayer(plane, true);
axMap1.set_ShapeLayerFillColor(shape1, (UInt32)(System.Drawing.ColorTranslator.ToOle
(System.Drawing.Color.Linen)));
axMap1.set_ShapeLayerLineColor(shape1, (UInt32)(System.Drawing.ColorTranslator.ToOle
(System.Drawing.Color.Linen)));
The initialization begins the process. We need to initialize first the shapefile and create an int handler for it which is the variable shape1. Then, we'll open the shapefile through tracing its source location. And we'll add the layer to axMap1.
You can change the appearance of the shapefile, its layer fill and its line color.
After this, you can now run your program.
Learn more about C#.

Programming is my hobby!

 in Monitoring and Tracking Diabetes - Kuwait Case Study")


