- HubPages»
- Technology»
- Computers & Software»
- Computer How-Tos & Tutorials
How to increase the size of my Hyper-V Windows Guest Disk.
Microsoft Hyper-V Windows Guest running out of Space?
Is your virtual machine running low on Hard Disk space or even worse has it completely run out, well then you need to expand that disk pronto!
First things first you obviously need to make sure you have room on the physical storage (Hard Disks, RAID, SAN, etc) to expand your Virtual Hard Disk (VHD) file. Next you are going to need to shut down the Guest machine and I would recommend taking a backup copy of the VHD file before we start.
Step 1 Expanding the VHD File
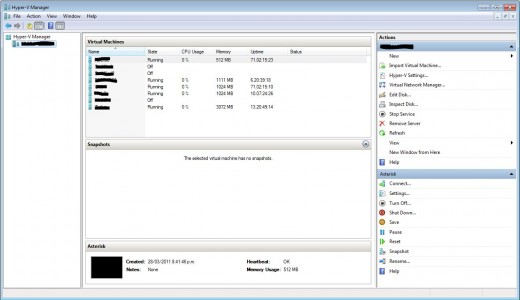
First we have to expand our Virtual Hard Disk (VHD) file to our required disk size, so go ahead and open up the Hyper-V Manager on your computer or server.
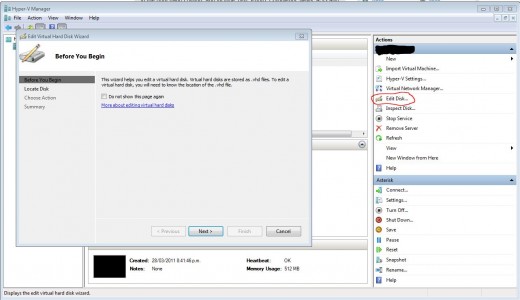
Windows Hyper-V Manager
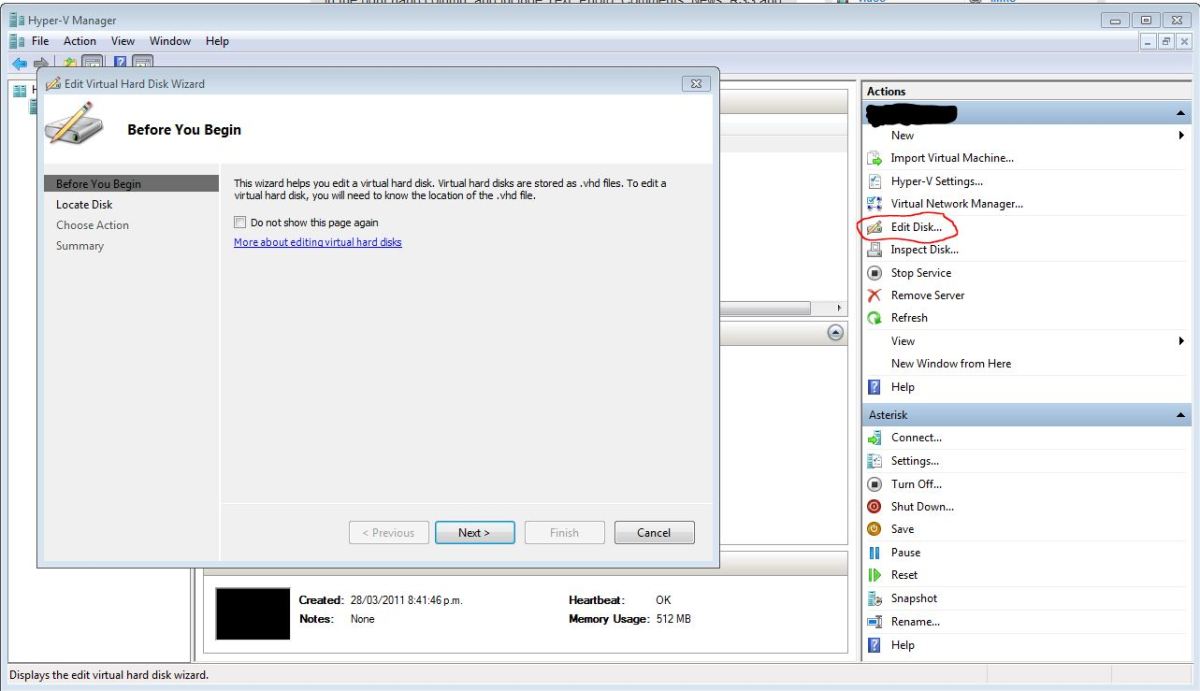
Next click on Edit Disk on the right hand side of the Hyper-V Manager under Actions.
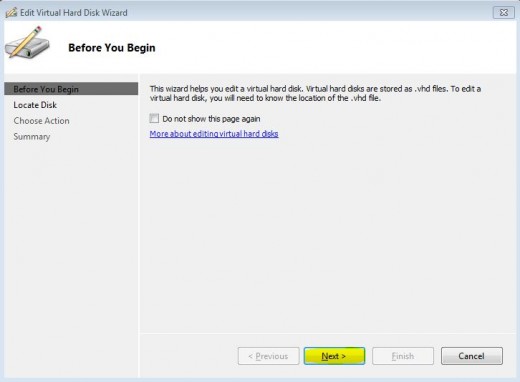
Choose next on the Hyper-V Edit Disk Welcome Screen.
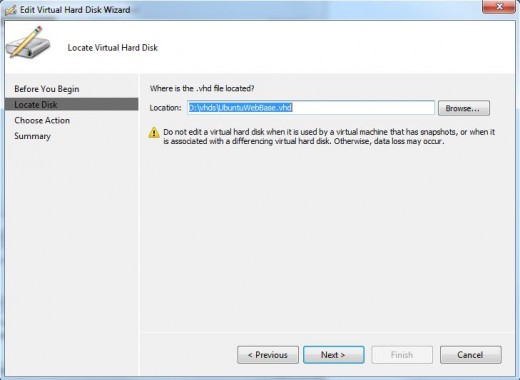
Next browse for the VHD file of the Hyper-V Guest that you need to expand and choose next.
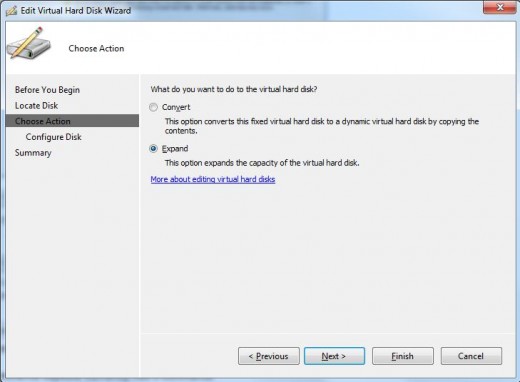
Next select the option to Expand and click next.
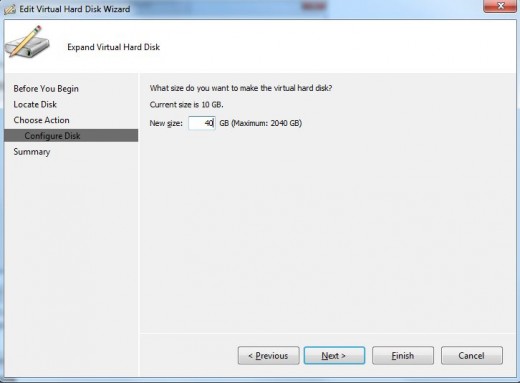
Next enter the new Size of the VHD and click next.
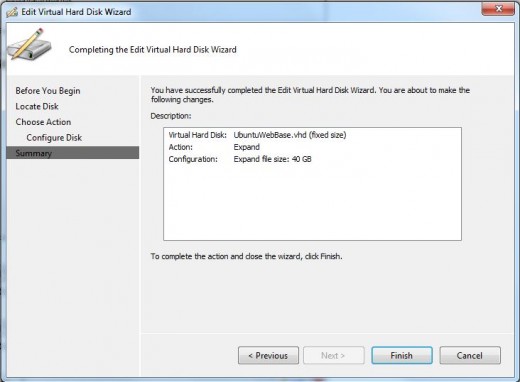
Confirm everything looks right on the Hyper-V Edit Disk Summary page and click Finish
Step 2 Expanding the Partition Size
Once that has completed you can now reboot the Windows Guest and then we will expand the System Partition.
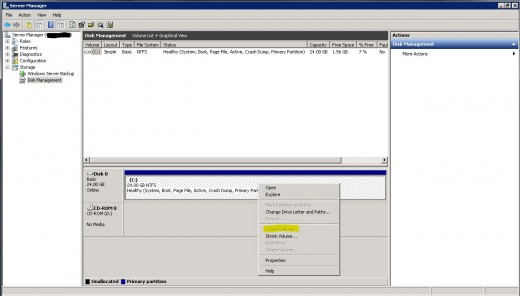
Once in Windows you can simply go to the Server Manager, Expand Storage and click on Disk Management.
Next you should see your System Disk showing with Free Space at the end of it, simply right click on it and choose Extend. See Image.
This will expand your Partition to take over the free space we just added to the Virtual Hard Disk.
Extending the Windows System Partition
Completed
Well done you have now completed expanding the Virtual Hard Disk and Extending the Windows Partition. If you have any issues with this process feel free to leave me a comment below or contact via my website One IT - IT Server Support.

