- HubPages»
- Technology»
- Computers & Software»
- Computer Software
How to make panorama photos of vertical scenes
Some of the panorama photo-making tools
If everyone does not already understand that I am really “into” making panorama photographs, then let it be said. I am.
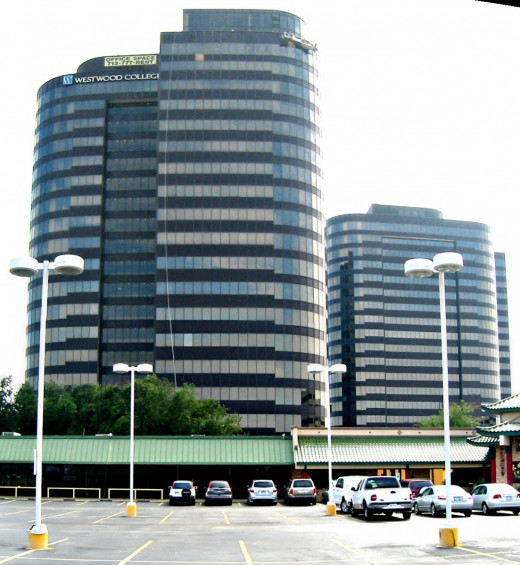
New software arrived today from Serif.com - cost me a whole 15 bucks, and it works like a champ. Used the same individual vertical frame shots. Didn't have to rotate the images... and the vertical panorama is shown along with the original panorama made using the Canon "stitcher" program and the same individual frames. Check out the difference. Hey - I think I got my 15 bucks worth. Sure was good of Serif to have a big software sale. Saved 50%. Old Rednecks like me love such nice things.
See information below about panorama "movies" and how this new software handled the job of making vertical subject panorama photos.
I really go for those long, skinny photo views of outdoor and indoor scenes. So far, the collection of panorama-production software loaded into this computer totals four program packages.
One of the programs is a demonstration offering from a commercial software company. It is a temporary lodger on the hard drive, at least it is so declared to be by its producer. I am not sure when it is going to leave me, but the company said that it will become unusable after a while. There is another introductory trial program here that can be downloaded from the Serif.com Web site. It works well, at least most of the time. One of these days I might purchase the regular version, sort of an act of conscience because of my no-cost use of the freebie version.
Another of the programs, a full-scale assault on panoramography, is named “Hugin.” I don't know where the program's name came from, but it can handle pretty much all of the various sorts of panorama productions anyone might desire. As an “open source” program, you can download it from SourceForge.net. I guarantee you that you do not have to have a ton-and-a-half of experience with this type of photography to put “Hugin” to work for you. I can testify to that. Watch me raise my right hand with my left hand placed atop my old camera. That's how you do it in this HubPages courtroom, right?
Because I find it perhaps the easiest of the panorama-making programs to use, I probably call up the software I downloaded from the Canon.com Web site. They didn't ask me to pay for the download, and that alerted me to the fact that I did not have to pay anything for the software. (Makes sense to me, anyway...)
Do you need a special camera?
So now you know about the programs I have over here for use in building panorama photographs from individual digital camera image frames. The several digital cameras available here are “oldies.” In fact, they are some of the camera offerings available to nice folks like you and me back ten or a dozen years ago. (Hint: the picture frames made with them do not contain nearly as many “pixels” as do photo frames made with today's digital cameras.) For use of the single photo frames and of the frames combined into panorama presentations for display on the Internet, their photos are more than adequate.
Everything is not always on the level
Until now I had produced panoramas of subjects that were laid out horizontally. The panoramas were stitched together from individual photo frames shot side to side, that is; from left to right or from right to left. I had not yet tried to produce a panorama of anything that might present vertically, such as a tall building, a big tree, or a mountain. I decided to give that a try.
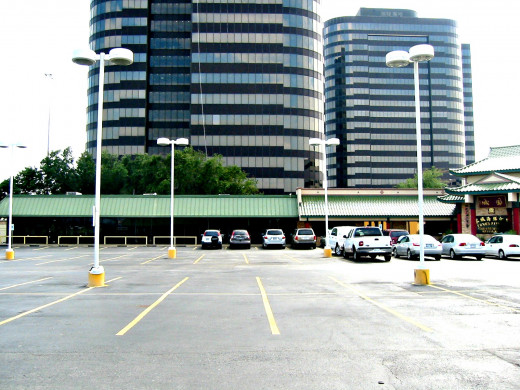
On the way home the other day I visited the parking lot of a reasonably tall pair of buildings to see what it required to capture images of the buildings, frame by frame, from the ground to the building tops so as to see how they could be stitched together as a panorama, just as can be done with horizontally situated subjects.
I really did flip over my photo frames
What I learned was that my several panorama-production programs don't function the same way for image frames made in vertical progression as they do for the horizontal kinds of images. The way I got the separate vertically-shot frames to be properly stitched together was to flip each frame over onto its side before stitching. In other words, they had to act as though they were horizontally-shot frames before they allowed themselves to mate up with the “next” frame. That is what the software was expecting of them, so that's the way they had to be arranged. Fortunately, the program-designers knew all about that. The programs had “rotate-the-frames” tabs at the ready. I had seen those tabs early on, but had often wondered why anyone would want to rotate the frames. (Shows you what I knew, doesn't it?)
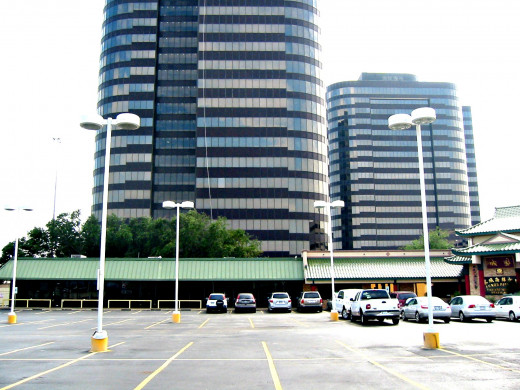

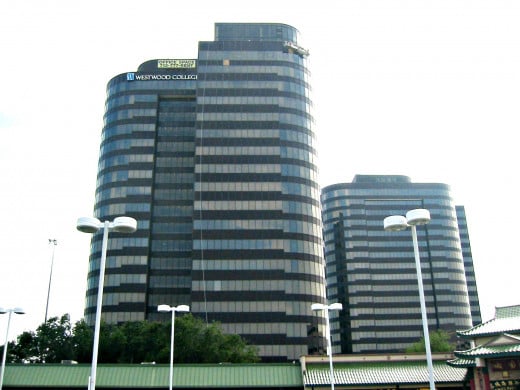
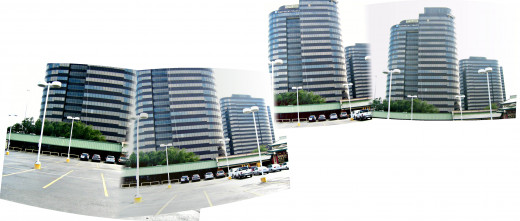
First you don't see it. Then you do
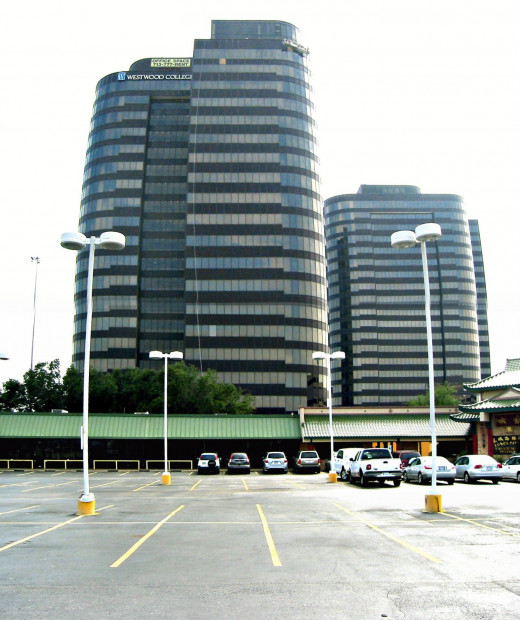
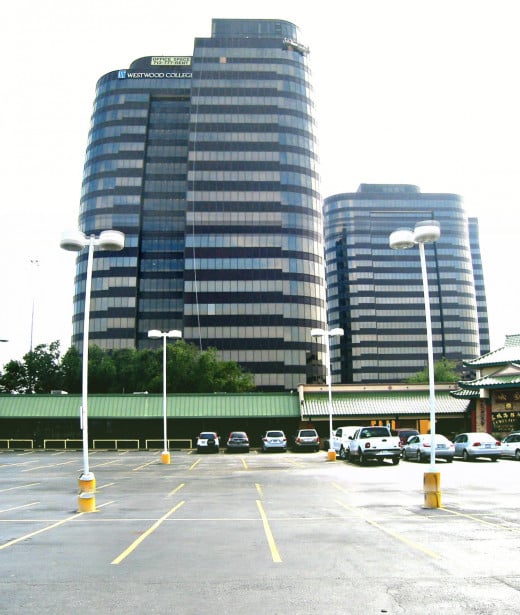
Here are screen shots of the individual frames and the panorama made using them. The first set shows what you get in the way of a panorama when you leave the individual frames as each came out of the camera – all vertically oriented. This made for a collage-like image.
The first actual panorama photo was made by rotating the progressive frames counter-clockwise, followed by stitching them together. That idea worked.
The final set of photos shows the panorama made by stitching together clockwise-rotated individual photo frames. Note that the lamp posts seem to be curved more than they are in the panorama for which the individual frames were rotated counter-clockwise. Additionally, the stitching was "off" to an amount that caused the bottoms of the lamp posts to look elongated.
As is often the case, you have to experiment when using no-cost software, particularly when your only user manual is the “help” file.
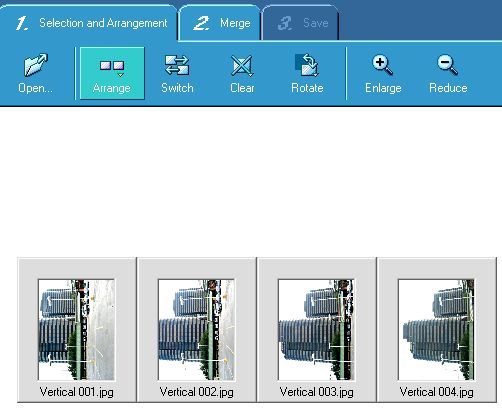
New software arrives with some nice new features
As you can see from reviewing the last three images of the tall buildings, the third image produced using my newly acquired Serif Panorama Plus X4 software is far superior to the other two pictures made using Canon's program.
The new software also allowed me to make a video panorama which works nicely using "Quick Time" video display software. That video functions here on HubPages when used in a "video hub" but not within a "hub capsule" stuck into an existing hub. There is a difference between the video types permitted in a video-dedicated hub versus a hub containing an added video capsule. The former allows ".mov" video formatting, whereas the latter (the added capsule only) does not.
I did attach a "Quick Time" (.mov) panorama video file to an eMail sent off today, and it worked very nicely in that environment. To watch the panorama "movie," the user clicks on the originally shown image and holds the mouse button down as the scene moves across the screen - or vertically if that was desired. Direction reversing is also accomplished by re-clicking the left-hand mouse button.
The schedule revealed
My next project will be to find out how to convert the "mov" formatted videos into one of the several formats allowed to be used in video capsules here on HubPages.. I will probably tell you all about it when I get to trying it out. It will not be done tomorrow, however. I have an appointment to shoot some pix of our little rat terrier, “War Dog.” That should pacify the mutt some until our mutual boss, my bride, points toward the northeast once again. That is when I know it is time to head for the H-E-B pantry store again, there to buy whatever that bossy gal put onto her list and, on my own, to get several packages of cookies. “Dunkin Sticks,” and a couple of gallons of ice cream – oh, and some more dog biscuits for “War Dog.”

