How to use Google Code for hosting file project with SVN

Google Code can be used easily for hosting file project with SVN. The thing is that you just have to know how to use. Following this page's step by step instructions, you can easily use Google Code for hosting file project with SVN.
Step 1: Creating a Google account.
To start project hosting in Google, we need a Google account. If you have a Google account, then you need to sign up with Google code using the same account. If you have not any Google account, just create a Google account.
Step 2: Sign in to Google code account
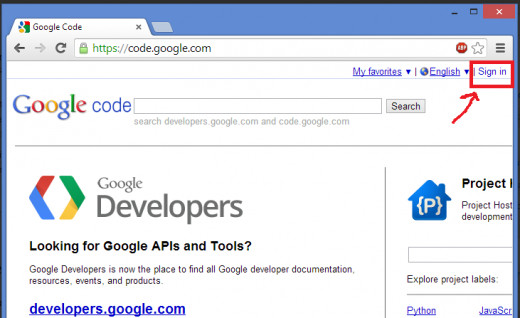
Access to Google code website using the URL https://code.google.com. When you access that link using any browser, you will find a Sign in link at the top of the webpage. Just click on that link and log in to your account using your Google account username and password.
Step 3: Create a new project in Google code account
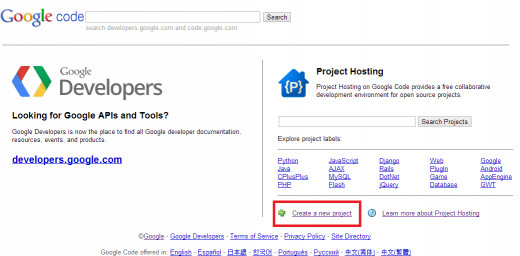
After successful sign-up, you will access your Google Code account. In your Google Code home page, you will find a link Create a new project. To create any project, you must have to use that link. Click on that link to start a new project creation.
Step 4: Completion of creating a new project
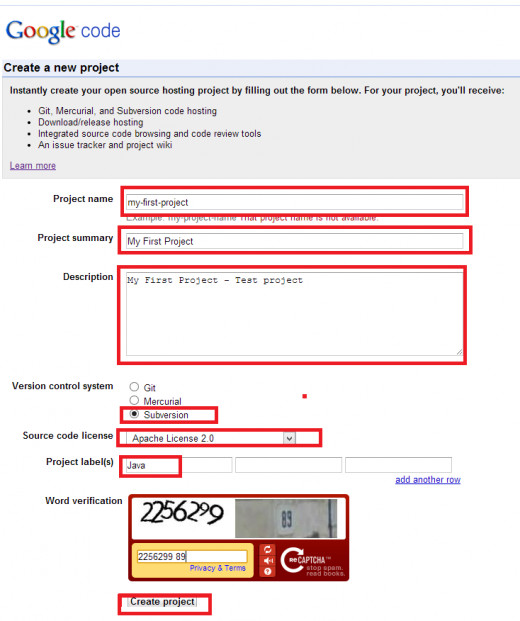
Using Google Code project hosting, you can Instantly create your open source hosting project. But you need to fill the information before doing so. In this step, just put all the information of the form. For example, we put the following information for each form filed:
- Project name: my-first-project-for-testing
- Project summary: My First Project
- Description: My First Project - Test project
- Version control system: Subversion
- Source code license: Apache License 2.0
- Project label(s): Java
When you have completed the above information, you are ready to create your first project. At the bottom of the page, you will find Create project button. Click on that button and save your first project.
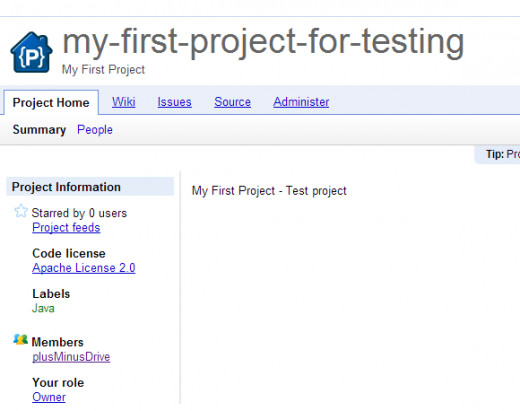
After completion of this step, you will find a new page which is the root / home page for your project.
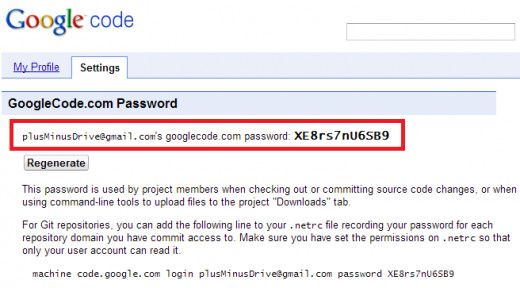
Step 5: Getting GoogleCode.com Password
You must have know the password and usename before hosting any project into Google. By accessing https://code.google.com/hosting/settings link, you can get the detail information of this. For example for our account the username and password is like the following. Remember, we need it at Step 9
plusMinusDrive@gmail.com's googlecode.com password: XE8rs7nU6SB9
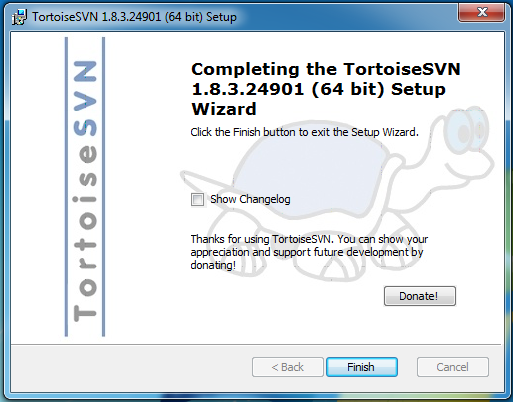
Step 6: Downloading and installing TortoiseSVN
We will use Google code with a Sub version tool. We will use TortoiseSVN. Download TortoiseSVN from http://tortoisesvn.net/downloads.html and install the software. When you will complete installation of TortoiseSVN, restart your computer to use TortoiseSVN with Google Code project hosting.
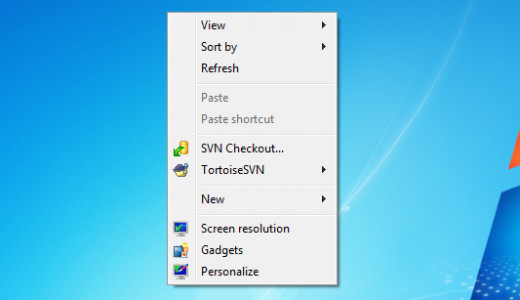
Step 7: Verifying TortoiseSVN's successful installation
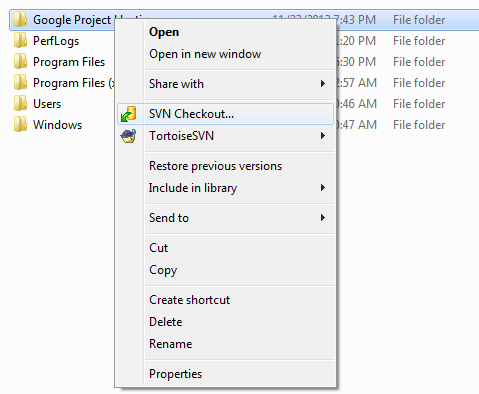
Just right-click on any empty space in your desktop. If you see options like SVN Checkout..., TortoiseSVN options are there, then you will confirm yourself that it is installed successfully.
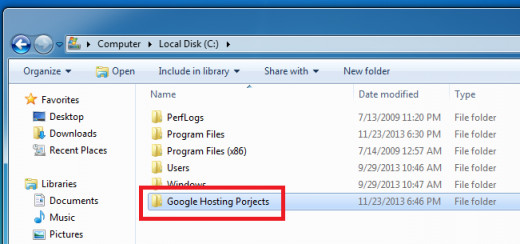
Step 8: Creating a new folder
Create a new folder in your computer to any convenient space in your hard disk. Suppose, we create a folder Google Hosting Projects into C Drive
Step 9: Starting SVN Checkout porcess
Right-click on the newly created folder (which we created at Step 8) and click on SVN Checkout... option.
Step 10: Entering project's URL
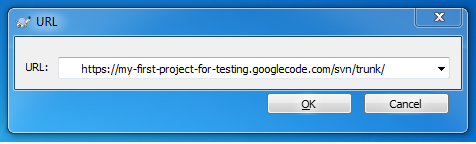
A new window will be appeared which have a text filed and titled with URL. Type your project's URL link like the following format:
https://your-project-name.googlecode.com/svn/trunk/
For example, for our project, we type https://my-first-project-for-testing.googlecode.com/svn/trunk/ in the URL text box.
When you have completed entering the url field, click on OK button.
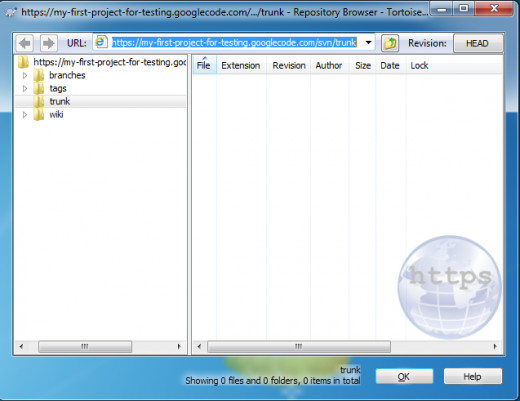
Just wait for some time and you will see the following window is appeared in your computer.
Step 11: Creating a sample file inside the directory
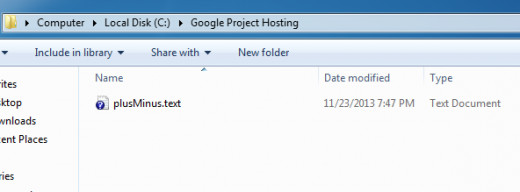
Now, put all the codes or files which you need to host to Google code hosting site. For example, I create a file into the directory.
Step 12: Starting the committing process
Go back to the folder which we created at Step 8. Right-click on the folder and choose SVN Commit... option.
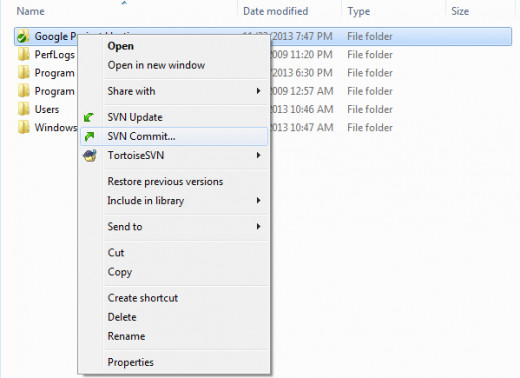
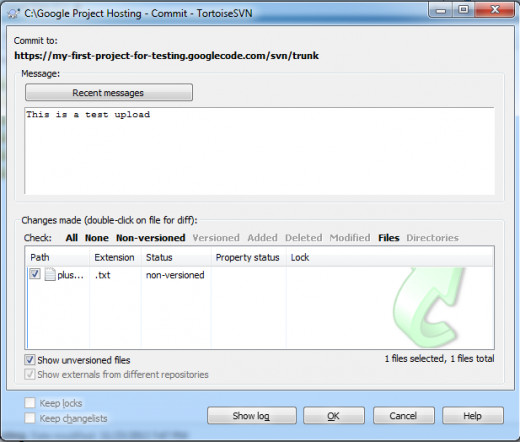
Type some message into the message box and check the files which you need to upload or save to the Google code website. Finally, click on OK button.
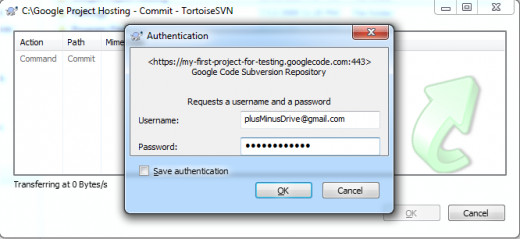
Step 13: Authentication of file uploading
Authentication window will be appeared and it will ask you the username and password to upload your desired Google code account for authentication. Enter the username and password which we got in Step 5. And click on OK button
If everything is ok and if the files are successfully updated, then you will get the confirmation message like the following.
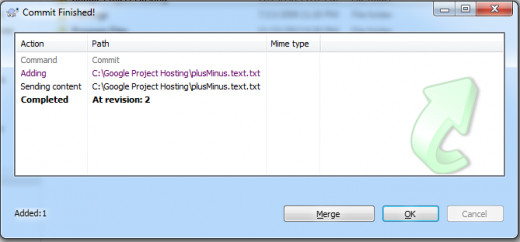
And that's all. Now your file is hosted to Google code and can be access through internet.


