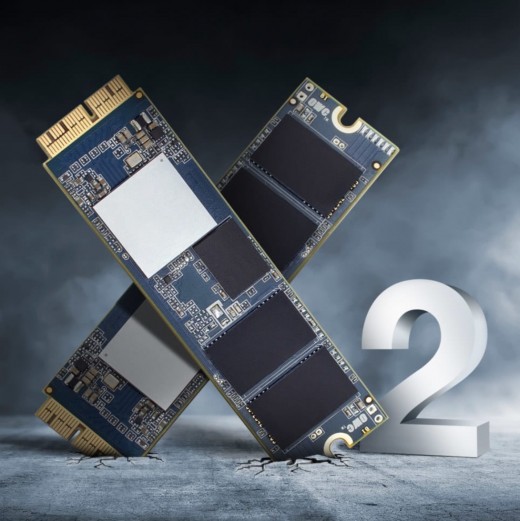
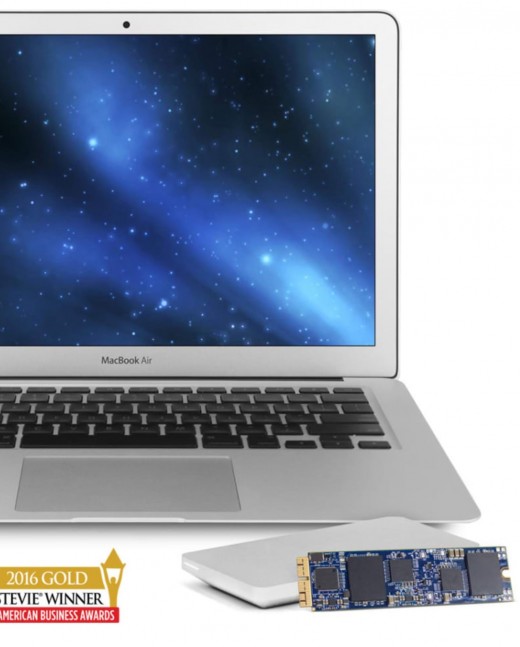
Increase MacBook Storage with the Aura Pro X2 SSD Upgrade Kit

That Puny MacBook Solid-State Drive Needs To Go
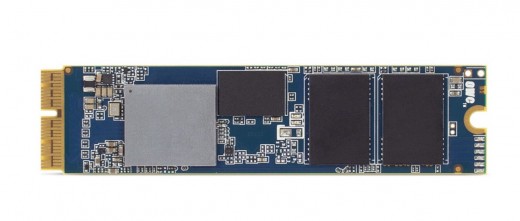
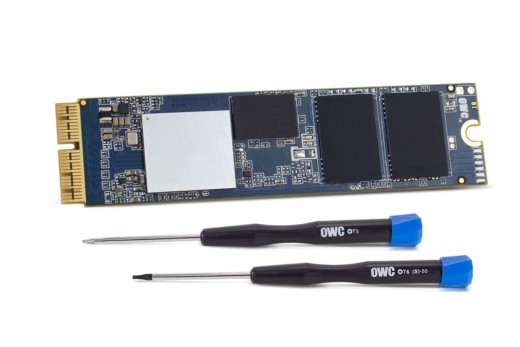
MacBooks are popular laptops because they have the features that people want. But sometimes what one wants today isn’t applicable to tomorrow — for example the size of the solid-state drive that comes in said MacBooks. Once you take the laptop home, that drive is going to have to last you for the life of the MacBook, and what if you need more gigabytes of room? There are two answers: one is to have gotten a much bigger SSD drive from the get-go, but since it’s now too late the only alternative is to replace the drive with a bigger one yourself. It’s true that this will void any warranty Apple has given, but the bigger issue is whether it can be done without causing any damage. If your drive has become chock-full, then OWC’s Aura Pro X2 SSD Upgrade Kit will fit the bill nicely.
Get Ready To Increase Your Size
The Kit does exactly what it says it does: it gives you what is needed to take out your existing solid-state drive and replace it with one that has more storage space. The size of the drive varies — examples at each end being 240MB and 2 terrabytes — and the one being looked at now is designed for mid-2013-2017 MacBook Airs or late 2013-2015 MacBook Pros with Retina Displays. OWC provides very detailed videos, but first one must create a space that is free of airborne pollutants (like cat hair, cigarette smoke, etc) and has a work surface where static electricity won’t generate (meaning no walking/working on carpeting) or which will cause grief when you’re placing the laptop on it upside down.
So let’s run through the process with a MacBook Pro, having first removed all connections/power source and with it shut down it’s lying face down. So you’re ready to go and have everything at hand. First thing is to use the Pentalobe screwdriver to remove all the screws (the two nearest the hinge being smaller than the rest). Put them into a dish so they don’t get lost, okay? Then pull off the bottom, place it down and locate the tab on the battery. Give it a firm pull to separate it from the battery. Now locate the SSD drive and remove its screw and pull it out of its seating. Swap it for the replacement drive now taken out of the anti-static bag — and yeah this is the only tricky part because you have to get it right — don’t do anything until you’ve removed the sheath that has been placed over the heat dissipation pad on the drive. This guy protects the drive prior to it being used, but it has to be gone before you do anything else. So peel it off and put it down and then put the new one in position in the laptop in the same fashion as was the old drive just removed. And put back in the little screw that you removed earlier too. That’s all of the hard parts now done. Go push the tab back into the battery, put the laptop’s back on again and return all the screws. You’re finished.
What To Do With Your Old Drive
Now how about a bonus, something extra that OWC tosses in that they didn’t have to? Back up and think about this: the kit has you replacing your existing SSD drive and when that’s done, what do you do with the drive because it is, after all, a circuit board that could easily get zapped and go dead. OWC gives you the Envoy Pro enclosure — it’s a specially made case designed to let you install that existing SSD drive so as to protect it from harm. But more importantly is that you now have a USB 3.1 bus-powered SSD drive of whatever capacity, self-contained and pocketable. OWC didn’t have to do this, but they did. This also makes it a lot simpler to boot up from the old drive and use it to transfer all of its data to the new drive. Or you can use that backup that you make regularly, right?
The Aura Pro X2 SSD Upgrade Kit gives you everything needed to do the upgrade yourself and, as if you didn’t know, you’ve now got a SSD drive with all the high-end tech that will make it a pleasure to use.
For more, go to OWC at https://eshop.macsales.com/shop/ssd/owc/aura-pro-x2


")


