- HubPages»
- Technology»
- Computers & Software»
- Computer Software»
- Digital Photography & Video
Intro to Photoshop: the Tool Bar Lasso, Magic Wand, and Healing Brush Tools
Photo Composite with Photoshop
Click thumbnail to view full-size

Photoshop for Beginners
If you are like me, new technology is intimidating. But there are some things that are well worth the effort to decipher. Adobe Photoshop is one of those. The learning curve is rather high but not impossible. Like many things (music, art, dance), the more you practice, the better you get at it.
One of the things that I did to practice was to assign myself weekly tasks, mostly with text effects, but also with photographs and photo-manipulation.
I have Photoshop CC as well as Adobe Photoshop CS5. There have been a few new advancements between the CS5 and the CS6 and the CC. Most of the tool are the same however and are used basically the same. There are a few differences that I will share along the way.
To begin, you have to know some of the basics, such as where to find certain tools and how to work them. The first time I opened Photoshop, I saw there was a Paint Brush tool. As an artist, I figured that I didn’t need any help working a paintbrush so I clicked onto it and nothing happened. Very disappointing. I have already shown the tools from the Move Tool to the Crop Tool. In this introduction, I will try to cover many of the other tools listed on the toolbar and how to make each one work.
The first thing is to open a New Document so that you can try some of these tools yourself. None of them will work when no document is open.
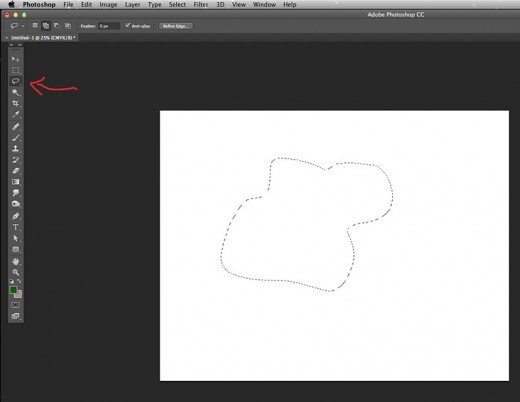
Lasso Tool
Lasso Tool
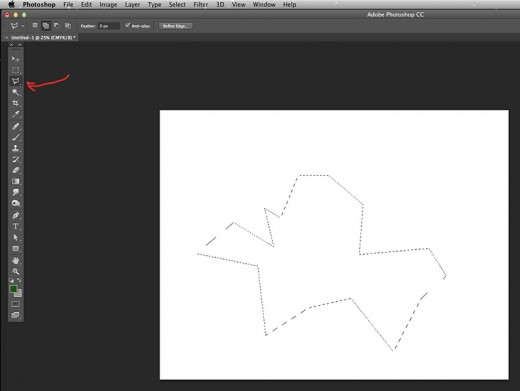
The next Tool in the Tool Bar is the Lasso Tool (L). This is a very convenient tool that works much like the Marquee Tools in that it will surround a segment of your document with the marching ants and can only be turned off when you Deselect. However, the Lasso Tool allows you to draw around something with odd shapes to fit better what you want to surround or move. Under the Lasso Tool is the Polygonal Lasso Tool (also L) and the Magnetic Lasso Tool (also L). As the name implies, the Polygonal Lasso Tool surrounds an image or segment with angular shapes and the Magnetic Lasso Tool works like the Lasso Tool but sticks to obvious edges. It gets mixed up when trying to surround smoky things like hair but mostly works very well.
Polygonal Lasso Tool
Magic Wand Tool
The next tool is the Magic Wand Tool (W) and the Quick Selection Tool (also W). These two tools, like the ones above, help select certain parts of your photo or document. I find that the Magic Wand Tool will often select parts I don’t want it to select unless I have set the tolerance very low and hold the Shift key down while moving the Magic Wand from spot to spot. The Quick Selection Tool works a little easier in choosing parts of a photo or document. Again these make the marching ants and usually have to be turned off with Deselect.
Deselect
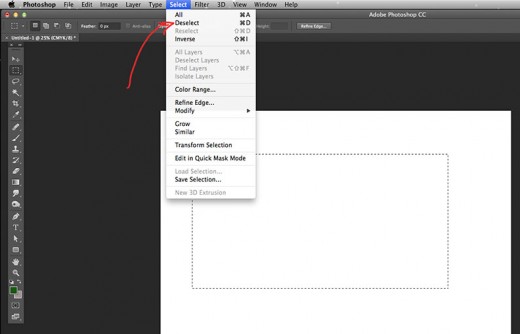
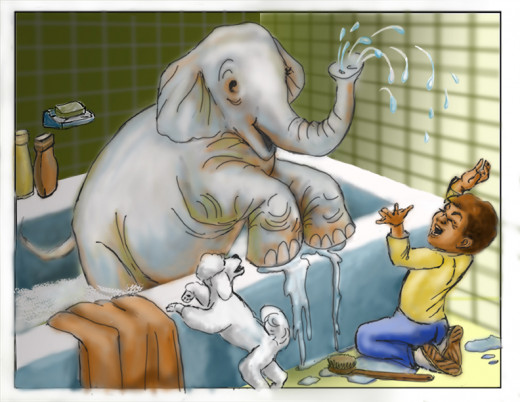
Illustration Painted With the Brush Tool
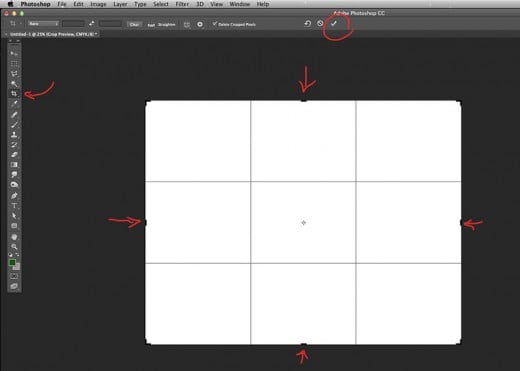
Crop Tool
The next tool is the Crop Tool (C). This tool is very handy for images, photos, and documents down to another size. When you have cropped your image, you must click the checkmark at the top of the menu bar to signify you are done, or press Enter. The program will not let you go on to the next step until you do.
Under the Crop Tool is the Perspective Crop Tool, the Slice Tool, and the Slice Select Tool. Don’t think of the Slice Tool as an Exacto Blade because it isn’t. It is mostly used for slicing parts of a banner or page to be loaded on a website. The program remembers where all the slices go and put them back together again. This would only be handy for Web Designers.
Crop Tool
Eyedropper Tool
The next tool is the EyeDropper Tool (I). This tool will allow you to choose a color from a photo or document simply by clicking onto a spot with a color you want to copy. This helps if you are going to paint over a spot or correct a blemish using exactly the same color. When the Paint Brush tool is open, you can retrieve the Eyedropper Tool simply by pressing Alt on a PC or Option on a Mac. The EyeDropper magically appears until you release Alt/Option and then the Paintbrush tool reappears. I use this a lot when I am creating a painting and need to blend two edges.
Under the Eyedropper Tool is the 3D Material Eyedropper Tool, the Color Sampler Tool, the Ruler Tool, the Note Tool, and the 123 Count Tool. To be honest, I have never used these and so I’m not sure of what they do. I will have to examine them later.
Adobe Photoshop
Do you think you would use Photoshop more if you could understand it better?
Photo Composite

Healing Brush Tool
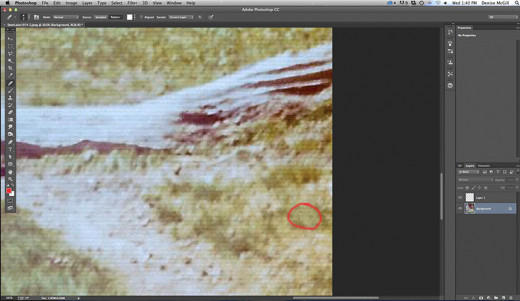
Next is an icon that looks like a little Band-Aid. It is the Spot Healing Brush Tool (J) and the Healing Brush Tool. I have used this a lot with my older photographs that have little scratches and dust. These old photos can be healed! The Healing Brush Tool like the Brush tool can be adjusted in size and softness to work a number of areas, especially in photographs. Under that is the Patch Tool, Content-Aware Move Tool, and the Red Eye Tool. As you can probably tell from the names of the tools, these are mostly for photographs. The Content-Aware tools are new to CS6 and CC. I don’t think you will find them in older versions. They are cool tools but not something I used every day.
Photos Healed
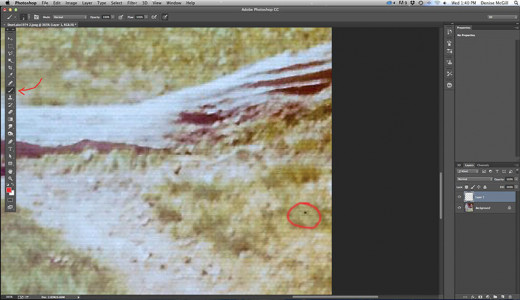
Brush Tool
Next is my favorite, the Brush Tool (B) designated by a little paintbrush. This tool has many things that go along with it to make it work. To use the brush tool you must choose a color from the color picker, adjust the size and hardness, Opacity and Flow as well as the Pressure Control button. I will go into all these later. Under the Brush Tool is the Pencil Tool. This is one I hardly ever use because it doesn’t really behave like a pencil. The default setting is 1 pixel and hardness at 100%. You can get the same thing by choosing a brush, reducing the size to 1 pixel and increase the Hardness to 100%. Under that is the Color Replacement Tool and the Mixer Brush Tool, both of which I have never needed or used.
Paint With Brushes

Finished Part 2
This was less than half of the tools listed on the Toolbar. I will cover the rest later. I hope this introduction helps you get acquainted with your program. Like I said before the more you play with it and work on small projects, the more you will be able to remember shortcuts and tool functions. Have fun.


