- HubPages»
- Technology»
- Computers & Software»
- Computer Software»
- Digital Photography & Video
Intro to Photoshop: the Tool Bar Eraser, Type, and Blur Tools
Photo Composite Using Photoshop
Click thumbnail to view full-size
Basic Photoshop Part 3
If you are like me, new technology is intimidating. But there are some things that are just worth the effort. Adobe Photoshop is one of those. Don’t let the learning curve beat you. Like many things (music, art, dance), the more you practice, the better you get at it. This is the third part explaining the Tools in the toolbar.
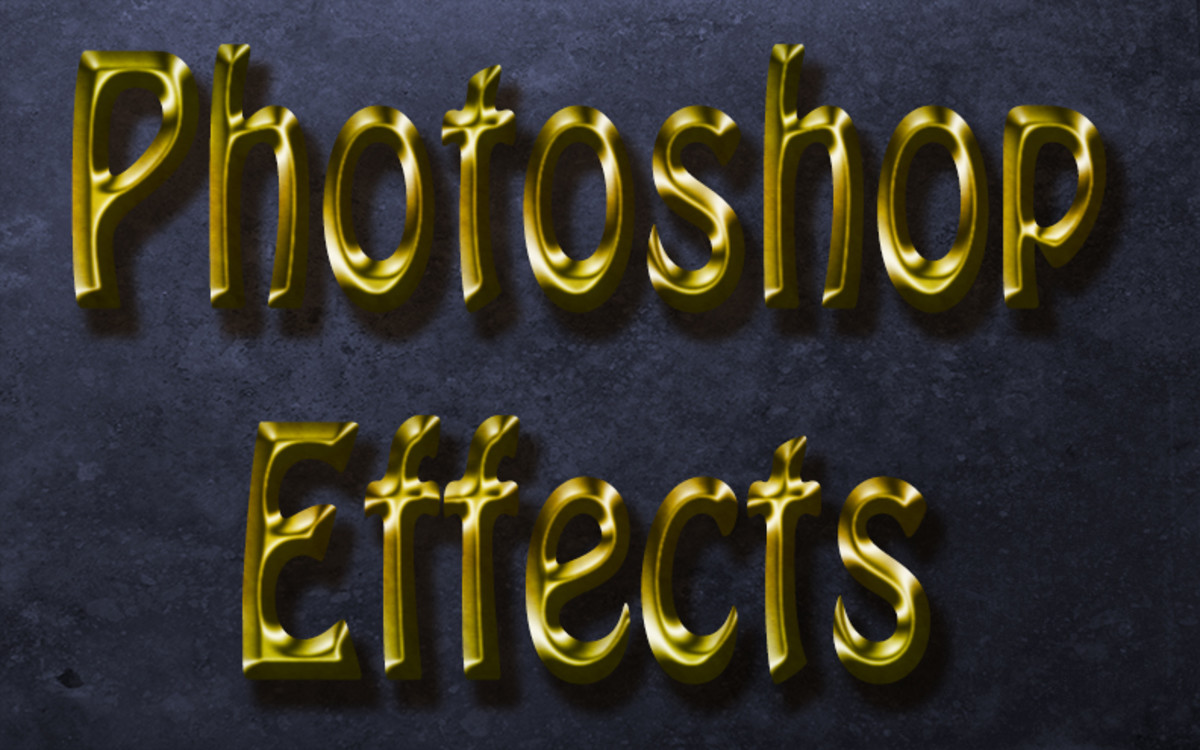
One of the things that I did to practice was to assign myself weekly tasks, mostly with text effects, but also with photographs and photo-manipulation.
I have Photoshop CC as well as Adobe Photoshop CS5. There have been a few new advancements between the CS5 and the CS6 and the CC. Most of the tools are the same however and are used basically the same. There are a few differences that I will share along the way.
To begin, you have to know some of the basics, such as where to find certain tools and how to work them. The first time I opened Photoshop, I saw there was a Paint Brush tool. As an artist, I figured that I didn’t need any help working a paintbrush so I clicked onto it and nothing happened. Very disappointing. I have already shown the tools from the Lasso Tools to the Crop Tool. In this introduction, I will try to cover the rest of the tools listed on the toolbar starting with Eraser Tool and how to make each one works.
The first thing is to open a New Document so that you can try some of these tools yourself. None of them will work when no document is open.
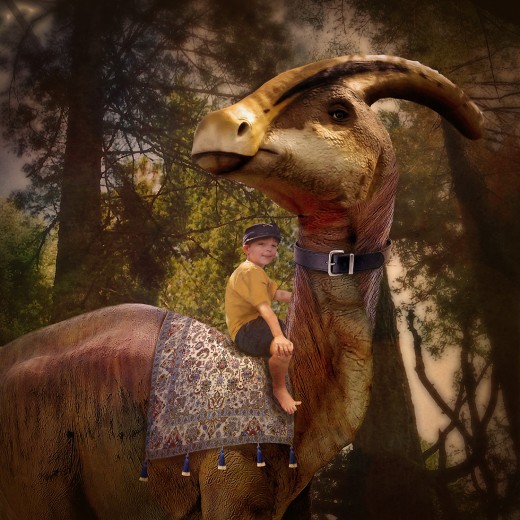
Fairy Photo Composite

History Brush Tool
The next tools are the History Brush Tool (Y) and the Art History Brush Tool, two tools, which I have not had the opportunity to play with or find a use for yet. Someday I need to sit down and find out what these two brushes will do.
Photoshop Composite Tutorial
Eraser Tool
Now you really don’t need an explanation for the Eraser Tool (E). It does just what it says it does. It erases. The thing is that it erases permanently and I have found that often I want to back up because I erased more than I wanted to. That’s where the problems lie. It is sometimes much better to use a Layer Mask instead of the Eraser Tool because a mask allows you to make changes. Nothing is permanent with a mask. When I first started playing with Photoshop I went to the Eraser Tool exclusively and now I have learned to use it sparingly.
Under the Eraser Tool is the Background Eraser Tool and the Magic Eraser Tool. Because I use the Eraser so sparingly now I also keep my distance from the other two also. It is much better to use a mask.
Let A Good Book Take You Away

Type Tool
Next up is the Clone Tool (S). This one really confused me and I never used it until I saw a YouTube tutorial on how to clone out things you don’t want in your photo, like a pretty girl standing next to a trashcan. If you could get rid of the trashcan, wouldn’t you? Well, you can clone it out using samples of places around the trashcan to fill in. In my sample, I used the Paint Brush Tool to just draw a simple scribble with red. Using the Clone Tool, I held down Alt (on a PC) or Option (on a Mac) and put the little circle over where I want to sample. When I let up the Clone Tool is active and as you move it around it will show you a soft example of the sampled photo. When you click it will paint that wherever you want. As you see in my example, I clicked several times cloning the red scribble onto another part of the paper. This is great for fixing tears or blemishes in photographs.
Under the Clone Tool is a Pattern Stamp Tool which works much the same way, stamping any pattern you choose using the Alt/Option key.

Path Select Tool
The Gradient Tool (G) and the Paint Bucket Tool (G) I find are very handing and they are hiding together. The Gradient Tool has so many uses it is hard to know where to start. Often I will use a Linear Gradient for a background for a text effect, but also gradients work well in Layer Masks to make a fade-in or fade-out effect. Those are only a few but I will explain later.
The Paint Bucket Tool does much as it says. I find it the easiest way to fill a layer with color. There are a number of other ways to fill with color but it makes so much sense to me to grab the Paint Bucket and “dump” color onto the artboard. Also, the Paint Bucket fills an area that is surrounded by the marching ants, so if you make a selection with the Marquee Tool, the Quick Selection, Lasso Tool, or Magic Wand and then grab the Paint Bucket, you can dump color into the selected areas.
Under the Gradient and the Paint Bucket is the 3D Material Drop Tool, which is just one more tool I haven’t had the opportunity to play with yet.
Adobe Photoshoop
Did you know Photoshop could do all these things?
Blur Tool
The next tool is the Blur Tool (no shortcut). It is an interesting tool much like a brush but instead of painting with a color you choose ahead of time, it merely pulls and blurs pixels that are already there. This means you can’t use it on a blank paper. It works well on photographs. I often go out to the cemetery on special holidays like Memorial Day and take photos of the awesomely decorated monuments. The problem is that I don’t want to publish photos that have people’s names on them. This is where the blur tool comes in. I can literally blur names right out of monuments and still use the photo with all the flags with no chance of embarrassing or angering family members of the residents.
Under the Blur Tool are the Sharpen Tool and the Smudge Tool. As the names suggest they are for spot smudging or spot sharpening areas in a photograph or image. They aren’t meant to be used on a whole photo; we have filters for that.

Finished
I hope this introduction helps you get acquainted with your program. Like I said before the more you play with it and work on small projects, the more you will be able to remember shortcuts and tool functions. Have fun.
