Upgrading and Enhancing the Mac Mini 2018 Part One

When Desktop Macs Ruled
Before iPads and iPhones and MacBooks there were desktop computers — specially Macintosh computers which paralleled their PC counterparts by being modular This meant that you could change the memory, add internal hard drives and even replace (with some difficulty) the CPU if desired. Called the Mac Pro and affectionately referred to as a “cheese grater” because of the design, these Mac Pro’s were affordable to prosumer as well as the casual Mac users (coming before the iMac roared into the forefront).
So when the “grater” went away in the early 2000’s, choices dropped through the floor. Except then came the Mac Mini who, like the Mac Pro before it allowed for some modifications. Go to today and the Mac desktop choice is either the latest Mac Pro at thousands of dollars, or the much more affordable Mac Mini 2018. Guessing which is the better choice for the pro-summer/casual is simple: it’s the Mac Mini 2018. But as a self-contained “box,” how does one mimic the many pluses of the old Mac Pro. Through upgrades and specific peripherals, is how. And for the why and the what we turn to OWC and their memory upgrade kit, and then go on to part 2 and needed peripherals.
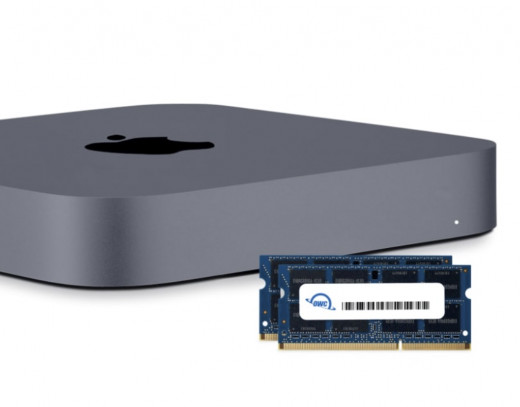
Why A Memory Upgrade
Start with the memory upgrade first, because that requires opening up the Mac Mini and removing the existing memory to replace it with 8, 16 or 32 GB of RAM (random access memory). OWC provides video detailing the process — which does violate the warranty — but considering that Apple charges ridiculously high amounts for memory and expects you to decide how much is needed when you first buy the Mini (most going with the minuscule default 8GBs), what a better deal it is to get the memory after the fact and install it yourself.
Getting Ready
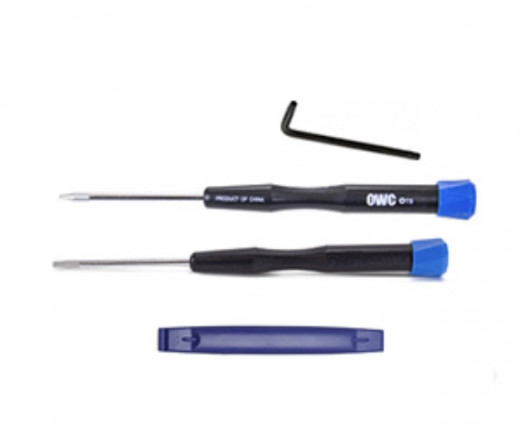
The first thing needed is a clean work space free of dust, pet hair and static electricity (a static free mat helps here, as does discharging any static electricity prior to touching the memory chips or Mini — a static strap isn’t a bad idea either). You’ll be removing a number of size-specific screws and dislodging connections, so getting OWCs tool kit kit (or a comparable set) is pretty much a necessity and costs under $10.00. Also get a few small containers to hold the different set of screws so that they don’t get lost or, more importantly, get mixed up with any of the others. And for sure you can take pictures as you disassemble to make it easier to see how it should look put back together. No rushing either — give yourself plenty of time without being interrupted and things will go smoothly.
Replacing/Installing New Memory
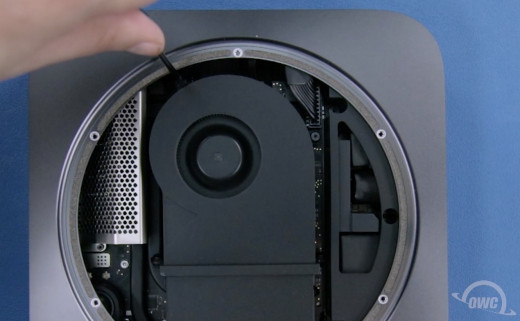
Now Apple doesn’t make it hard to replace the memory — the old will snap out of their slot positions and then the new replaces them — but getting to that point requires patience and a straightforward approach where watching through all of the OWC video becomes important. So you’ll of course disconnect all the connections going to the Mac Mini along with the power cord and then turn it over.
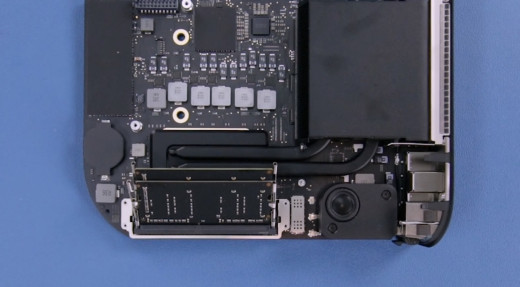
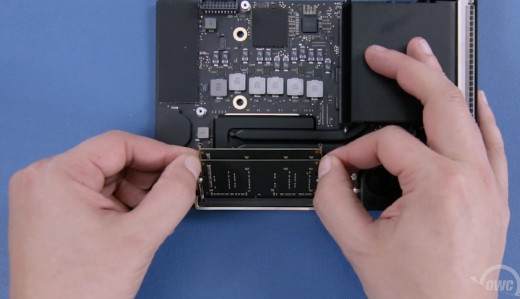
Abbreviating the process (which will take about an hour on average), the Mini will be facing you upside down with the ports side closest. The bottom will be removed and the metal grate unscrewed. The attached antenna cable and button connector are now removed so that the fan can be unscrewed and removed. This will be followed by removing 2 cables from the logic board, along with screws, so it can be pushed out of the case. A metal grate on the logic board is now unscrewed and removed to reveal the two memory slots — a rubber cover on each side will need removing first.
Finishing Up
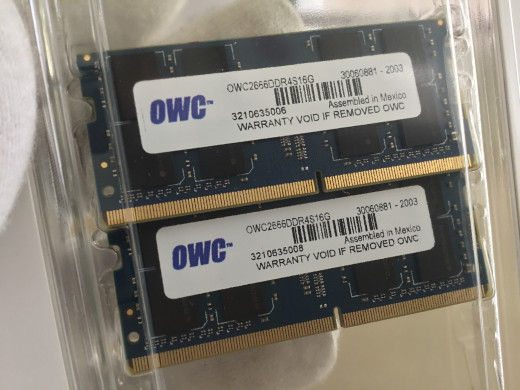
Then the existing memory is removed (through a combination of outward pressure and pulling up), followed by the new memory (for example, a set of 2 X 16GB) now placed in the two slots and the bumpers returned. Reverse the process that got you here and when all is done and the bottom restored, the Mac Mini is returned to its original location and again connected to power. Upon booting up, the memory will automatically make itself known, with the resulting boost allowing for a more stable operating system and better running programs. This is just as important to the user as is having saved hundreds of dollars and removing the “buyer’s remorse” for not having Apple installed more memory from the get-go.
So now there’s more memory, but that doesn’t do a thing for storage room for holding programs and photos and music, etc. — because the internal solid-state drive Apple has soldiered in place can’t be replaced. Nor is there a way to access those existing Mac Pro internal hard drives. Or gives you more access to ports. That’s Part 2 — where specific peripherals come into play to enhance the usefulness of the Mac Mini — so see you there.


