- HubPages»
- Technology»
- Computers & Software»
- Computer Software»
- Digital Photography & Video
Digital Photography Curves and Text

Photo editing software programs allows one to make changes or alterations to photographs. Two editing tools that are often used by photographers and editors are the Curves editing tool and the Text tool. However, by far Curves is used quite more often by professionals as opposed to the Text tool.
Curves are used to modify an image's tonal ranges. It is probably the most powerful and versatile of all the editing tools in Photoshop.
The changes can be done gradually or at one time, depending on how much you move the Curves arrow display. You can also alter the entire image or parts of it. Most professionals use the Curves editing tool to add "zing" to images or parts of it or to enhance colors.
The camera is not able to see through atmospheric conditions, particularly haze as well as we can. The camera just records what it "sees", and this haze can cause parts or the entire image to appear dull. The Curves tool alleviates this by increasing or decreasing the tonal range of the available pixels.
In some respects the Curves tool does what a polarizing filter does, but unlike the filter, you can further enhance the results. The Curves tool is one of the most versatile photo editing tools that one can use to modify photos but like many computer applications, it takes time and practice to learn it well.
In Photoshop once you open the Curves tool you will see a graph panel with a straight arrow going from the lower left (brightest) to the top right (darkest) pixel tones. Horizontal stands for input levels and vertical stands for output levels. You will also see a color histogram before and as you make the changes. Click and drag the Curve arrow tool up or down to increase the the brightness or to darken pixels for the entire photograph or portions of it. Like a mathematical equation every point in the line represents an area of pixels and you can choose any of these points to edit. You can also edit individual red, green or blue color bandwidths and these modes are found in the Curves drop down menus.
You might have to use other tools in conjunction with the Curves, such as Magic Wand, Marquee, and some selection tools such as the eyedropper and so on to work on specific parts within the inside of the Curves panel.
Photoshop-select image-select adjustments-curves-adjust up or down and individual colors- click OK when done. It is also a good idea to select previews or side by side to see how the changes are working and to save an un-retouched copy before making changes.
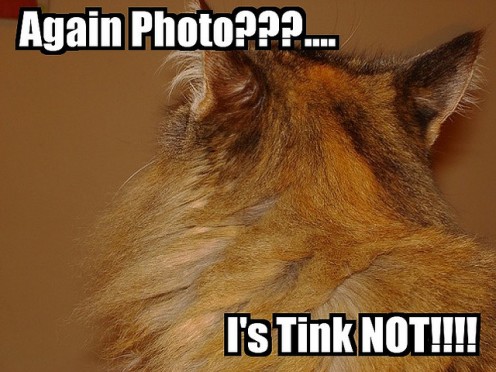
Adding text to images is rarely done by professional or those interested in submitting their work for publications. This is mostly the realm of editors. But if you feel that adding some text to photographs will serve a purpose, such as making your own posters, birthday cards, Christmas cards etc. then adding text is a rather simple exercise.
Photoshop-open the image-select text tool-choose font and ink color-place the text icon on the image- use key board to type-click OK when done. Save the edited copy under a different name in case you want to change the text or add new text latter.
Try to use text colors that will contrast with the colors in the part of the image on which the text will go. You can align the text vertically or horizontally much similar to how it's done in MS Word.
©

© 2011 Luis E Gonzalez


