- HubPages»
- Technology»
- Computers & Software»
- Computer How-Tos & Tutorials
Tuning Windows 7 - Simple Step by Step Tutorial
Not sure how tuning Windows 7 is done? Get more performance and less headache with this step by step tutorial.
by Y. Mladenov a.k.a. ItKnol
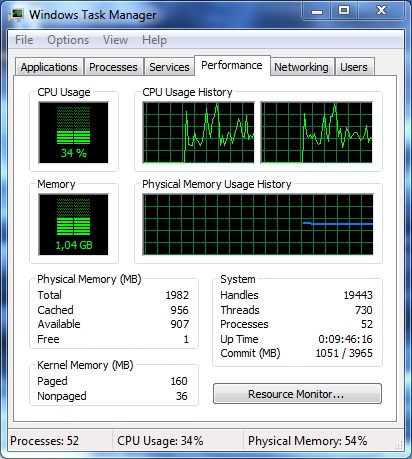
Tuning up Your Windows 7
What this list covers
- We’ll go through setting off those annoying pop-ups whenever you try to install new software.
- Improve efficiency for disk space usage.
- Improve response time for all menus.
And all those settings won’t affect the look of your Windows 7 theme.
Disclaimer
All images without a specific caption are used as illustration and are not necessarily meant as reference.
Disable Win7 Pop-Ups and Notifications (User-Account Control)
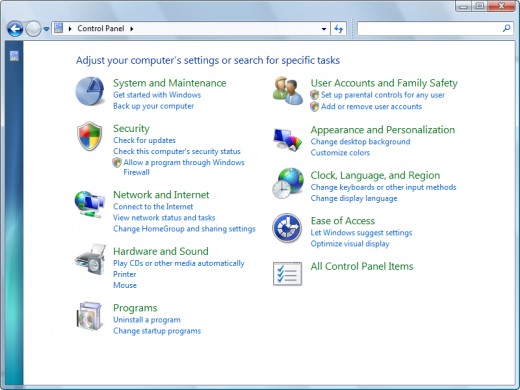
- Remove disable user account control
Start Menu -> Control Panel -> ActionCenter -> “Change User Account Control Setting” (to the left) -> move the slider to the bottom (“Never notify”) - Remove notification area icons (the security alerts near the clock)
Start Menu -> Control Panel -> Action Center -> “Change Action Center Settings” -> uncheck all checkboxes -> OK - Install a good, free, antivirus (such as Avast!) and turn off Windows 7 firewall
Start Menu -> Control Panel -> Windows Firewall -> “Turn Windows Firewall on or off” (left) -> “Turn off Windows Firewall (not recommended) on both, public and private networks -> OK - Disable Windows 7 Update (your PC is functioning OK so don’t change that)
Start Menu -> Control Panel -> Windows Firewall -> “Change Settings” (left) -> Important updates dropdown -> “Never check for updates (not recommended) -> OK
Increase User Interface Response Time (a.k.a. Make Menus Appear Faster)
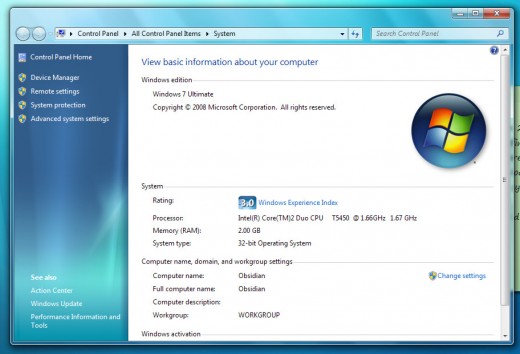
- Load Windows System (properties on my computer, or [Logo button]+[Pause Break]
-> “Advanced system settings” (left) -> “Advanced” tab -> the first “Settings” button -> first “Adjust for best performance” radio button -> then “Custom” radio button ->
Select the following checkboxes:- Enable desktop composition
- Enable transparent glass
- Save taskbar thumbnail previews
- Show thumbnails instead of icons
- Show translucent selection rectangle
- Slide open combo boxes
- Smooth edges of screen fonts
- Smooth-scroll list boxes
- Use drop shadows for icon labels on the desktop
- Use visual styles on windows and buttons
*click OK to save settings*
Compress Files in Windows 7 and Free Up Disk Space
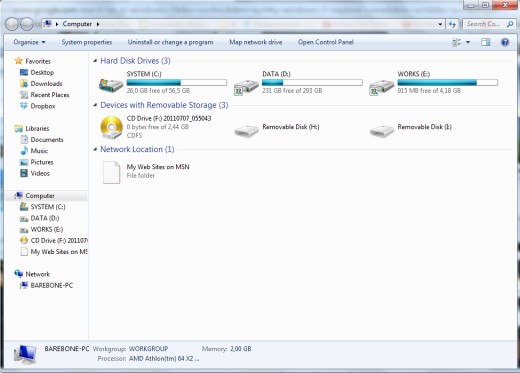
- Make sure you have at least 20 GBs of space for storing Windows 7 (ex. Windows folder)
If not – download EaseUs Partition Master and transfer disk space from another drive - Set NTFS compression on Windows and drive C (or whatever your windows partition name is)
Open My Computer -> Navigate to Windows Folder -> Locate “winsxs” folder (at the bottom) -> press [Ctrl]+[A] to select all files -> [Ctrl]+Click on “winsxs” folder -> Right click on the other selected folders -> Properties -> Advanced… -> “Compress contents to save disk space” check box -> OK -> The compression will start, if you get a popup that a certain file cannot be compressed, simply click “Ignore all” (or whatever button in that context there is) -> wait for the compression to complete and move on the next drive
Right click on the next drive you want to compress -> Properties -> “Allow files on this drive to have contents indexed in addition to file properties” checkbox -> OK -> while compression loads move on to next drive. If you get another popup for a file that cannot be compressed click “Ignore all” again.
!! do not do anything else until the compression of all drives completes !! - (substep) Disable blue color on NTFS-compressed folders
My Computer -> Press [Alt] for main menu -> Tools -> Folder Options -> “View” tab -> uncheck “Show encrypted or compressed NTFS files in color” checkbox - Disable Windows System Restore to free up disk space.
(do this once you have installed ALL drivers and software on your computer)
Load Windows System (properties on my computer, or [Logo button]+[Pause Break]
-> “Advanced system settings” (left) -> “System Protection” tab -> Select a drive -> click “Configure” -> “Turn off system protection” radio button -> OK -> repeat for all drives
Speed Up Windows 7 Startup
This must be done after you have installed all desired drivers and applications (games included).
- Reboot
- Start Menu -> type “netplwiz” in the search box and hit enter -> “Users” tab -> uncheck “Users must enter a user name and password to use this computer.” check box -> OK
- Start Menu -> type “msconfig” in the search box and hit enter -> “Services” tab -> check “Hide all Microsoft services” checkbox -> Disable any services that include “Maintenance” or “update” in them and any that have “fast load” in their name
- (substep) msconfig “Startup” tab -> Disable anything with “notifier” , “updater”, “listener”, “startup”, “Microsoft Office”, “clipboard”, “service manager”, but NOT “license manager”. Also note that you shouldn’t disable anything containing “startup” for a program you would actually like to start up upon Windows startup.
- Install CCleaner and clean your registry.
- Reboot

And there you have it!
Please let me know how this worked out for you and where you have any questions, in the comments at the bottom of this page.
Dear, Reader,
if you applied those steps, how do you measure performance improvement?
Related ItKnol Articles
- How To Install AHCI Driver After Windows 7 Installation
This hub guides you on installing (AHCI) driver for your SSD after Windows 7 install. Creating bootable USB stick copy included as well as performance notes.

