September 2017 Gaming PC Build

AMD Ryzen Build
AMD Ryzen Gaming PC Build for September 2017
Hi everyone, Will here. Today, in this Hub, I am going to be recommending components to a fairly budget friendly PC that will allow you to play most AAA games currently on the market at medium to high settings at 1080p and 40-60 frames per second. This is an AMD Ryzen build.
AMD Ryzen 5 1400 CPU
AMD Ryzen 5 1400 Processor
AMD Ryzen 5 1400 3.2GHz Quad Core Processor. It is a socket AM4 processor with max turbo frequency of 3.4 GHz. This processor has 4 cores and supports simultaneous multithreading which gives you a total of 8 threads meaning 4 physical cores and 4 theoretical cores. The Ryzen 5 1400 is built on the 14nm Zen platform and has a total power draw of 65 watts with max CPU temperatures at 95 degrees Celsius. The Ryzen line of CPUs are multitasking beasts given the amount of cores and threads and give you a good bit more value for your money than the current line of intel processors do. The Ryzen 5 1400 is overclockable too and is very capable of being overclocked on the stock cooler meaning you do not have to buy additional cooling to obtain additional performance. And given the price of just around $160 it is a great deal all around, whether you are gaming or producing content.
MSI B350 Tomahawk Motherboard
MSI B350 Tomahawk
Next, we have the MSI B350 Tomahawk ATX AM4 motherboard. I chose this motherboard because of the experience I have had with the MSI Z270 Intel variant I have in my main system that sports an i7-7700K overclocked to 4.9GHz on a single 120mm fan and radiator AIO liquid cooler; maintaining idle temps of 38 degrees celsius and 75 degrees celsius under load. The B350 Tomahawk supports DDR4 RAM at 1866MHz to 3200MHz in dual channel configuration with 4 x 288-pin DIMM slots; maximum memory supported is 64GB. The motherboards raid and crossfire support (no SLI support) and has onboard ethernet and USB 3.0 headers. The B350 supports overclocking your new Ryzen 5 1400 processor. Right now, this motherboard can be obtained for around $80
My MSI Z270 Tomahawk Motherboard Review Hub
- MSI Z270 Tomahawk Motherboard Review
Reviewing the MSI Z270 Tomahawk Motherboard. Great budget MoBo that offers premium performance
Corsair Vengeance LPX DDR4 2666MHz RAM 8GB
Next, I chose the Corsair Vengeance LPX 8GB DDR4 RAM clocked at 2666MHz and in dual channel, 2x4 configuration. Really, you could choose any RAM here and I chose this RAM because it’s one of the cheaper varieties at around $85 for the 2 stick kit. It’s really unfortunate right now with the price of RAM and it does not look like there is any sign of relief in costs in the near future.
ADATA 128GB M.2 SSD and WD Caviar Blue 1TB 7200RPM Hard Drive
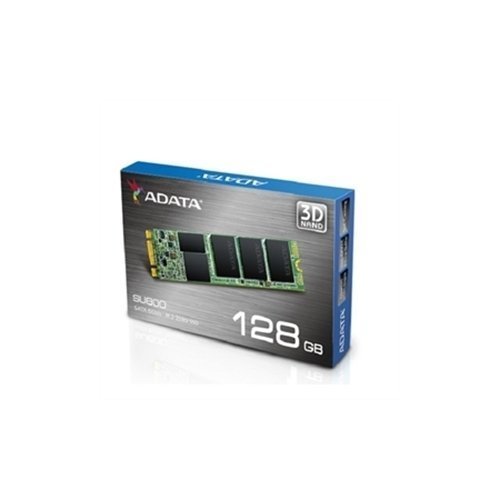
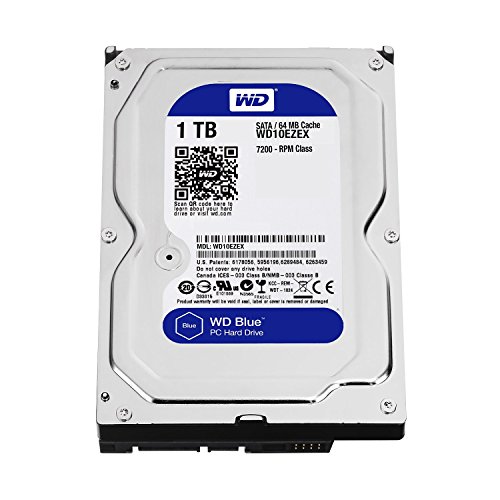
Next, we come to storage. Many computer enthusiasts will tell you that you need to get a solid state drive, at least for your operating system and most used programs. I don’t know if I agree with that. Do I care if my system boots up in 15 seconds or 30 seconds? For me, that answer is no because my computer is always, at worst, at least in sleep mode and turns on and boots up in about 10 seconds anyway. However, I’d be wrong if I didn’t mention the option and that’s just what this is, an option. I have included the ADATA SU800 128GB M.2-2280 Solid State Drive here which you can get for around $60 and it will decrease boot times into Windows and startup times for your most used programs. At 128GB, you don’t have a lot of storage for much beyond Windows and maybe 1 or 2 games so, you’d have to pick and choose essentially which, isn’t a big deal if you are only playing 1 or 2 games. So, like for me, I built my computer just to play Destiny 2 so, this would be the perfect SSD for me. I am also including the popular budget hard disk drive, the Western Digital Caviar Blue, 7200RPM 1TB Hard Drive. I have this very hard drive in my current system as my main drive and it works great. There is no audible noise from it and it boots fairly fast. And for just around $45-50, it’s a perfect hard drive, at a perfect size, for a budget build or a build like this one.
MSI GeForce GTX 1050Ti 4G OC
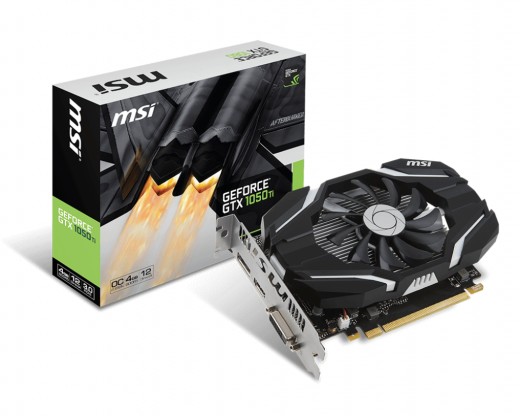
Currently, graphics cards are difficult to navigate given their cost, particularly AMD GPUs. You can find some bundle deals at places like NewEgg for the Radeon RX Vega 56/64 starting around $500 but with the performance, I’d prefer to just spend the extra $50 or so and grab a GTX 1080, of course, I may be biased given that the nVidia cards are far more optimized for Destiny 2. However, with this build, I wanted to go with an AMD card and try to keep everything AMD but with costs and trying to keep this build reasonable, I went with the MSI GTX 1050Ti with 4GB of GDDR5 VRAM. I went with the MSI 4G OC version which has a core clock of 1.34GHz and a boost clock of 1.46GHz. This card is very power efficient drawing its power from the PCI-E slot with not need for additional 6-pin or 8-pin power connectors and draws just 75 watts of power. There is, however, no SLI support but the card does support G-Sync and has a single DVI-D, DisplayPort, and HDMI port. The card measures at just 177mm or 6.97 inches making it ideal for smaller cases. This card can be obtained for around $140, possibly considerably cheaper if you get in on some of the current promotions at places like NewEgg or if you don’t mind “B-stock” components, you could get a card similar but probably a little better at around $120 from EVGA.
DeepCool Tesseract SW ATX Case
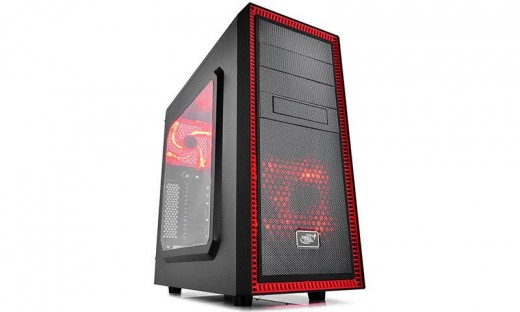
A case is really preference. I like the DeepCool cases as my primary system is built in a DeepCool Tesseract SW Blue Midtower case. For this build, I have chosen the red version given we are working with Team Red’s processor. This case has plenty of room to build in and plenty of options for upgradability with 2 external 5.25” drive bays and 4 internal 3.5” bays. The case has front USB 2.0 and USB 3.0 ports, one of each and will support a maximum of 12.2” video card which will allow our selected GPU to fit nicely. The case comes with a windowed side panel and has 2 120mm case fans preinstalled
Corsair 450w Power Supply
To power this rig, I have selected the Corsair CXM 450W 80+ Bronze Certified, semi-modular ATX power supply. This power supply will supply more than enough power for our system that only draws around 245 watts and it allows for a bit easier cable management as you will only need to add a couple of power connectors given it is semi-modular. To make this PSU better, you can get it for around $55 but there is currently a deal at Newegg where you can get a $20 mail in rebate bringing the cost to $35. That’s not bad at all for a 450W semi-modular power supply.
Peripherals
Click thumbnail to view full-size


Now, most people who put together these PC builds do not include peripherals but I will. You can download Windows 10 from Microsoft and use it forever for free, you’ll just have to deal with the “Activate Windows” watermark in the lower right corner of the screen or, you could just go on eBay and find legitimate activation keys from overseas dealers and activate it that way. I purchased a key from a dealer in the UK for $2.86 on my current personal build and it works perfectly. Next, you can get a pretty good keyboard and mouse combo, the Cooler Master Devastator II set for around $25. You can either connect via ethernet port on the board or you can buy Gigabyte Wireless card that is PCI-E and is compatible with 802.11a/b/g/n/ac for around $30. Finally, you can purchase a 1080p, 60Hz BenQ monitor to round out this complete system. In total, this system will cost you around $815 before any rebates but around $775.


