Setting up your own home network
IF you are one of those lucky individuals who own multiple PCs, then you probably had always dreamt of building a small home network. But how can you achieve such a technically difficult feat? Have no fear as this article will unravel the mysteries of home networking to you.
So, what do you need in order to start of? One word: ethernet. The ethernet is a "protocol," (in layman terms "an agreed upon way of doing something") to transmit data over a distance. A protocol allows many different kinds & types of cables to work together. Ethernet also allows other data transmission protocols to be used within it, for example TCP/IP (the protocol that runs the internet), Novell or NetBEUI. Therefore, you have many choices about how to physically set up an ethernet, and what kind of networking software to use with it.
Networking has many advantages, for instance, data backup, internet connection sharing, printer sharing, multiplayer games, and hardware backup (you can use the other's CD-Rom, if your own stops working).
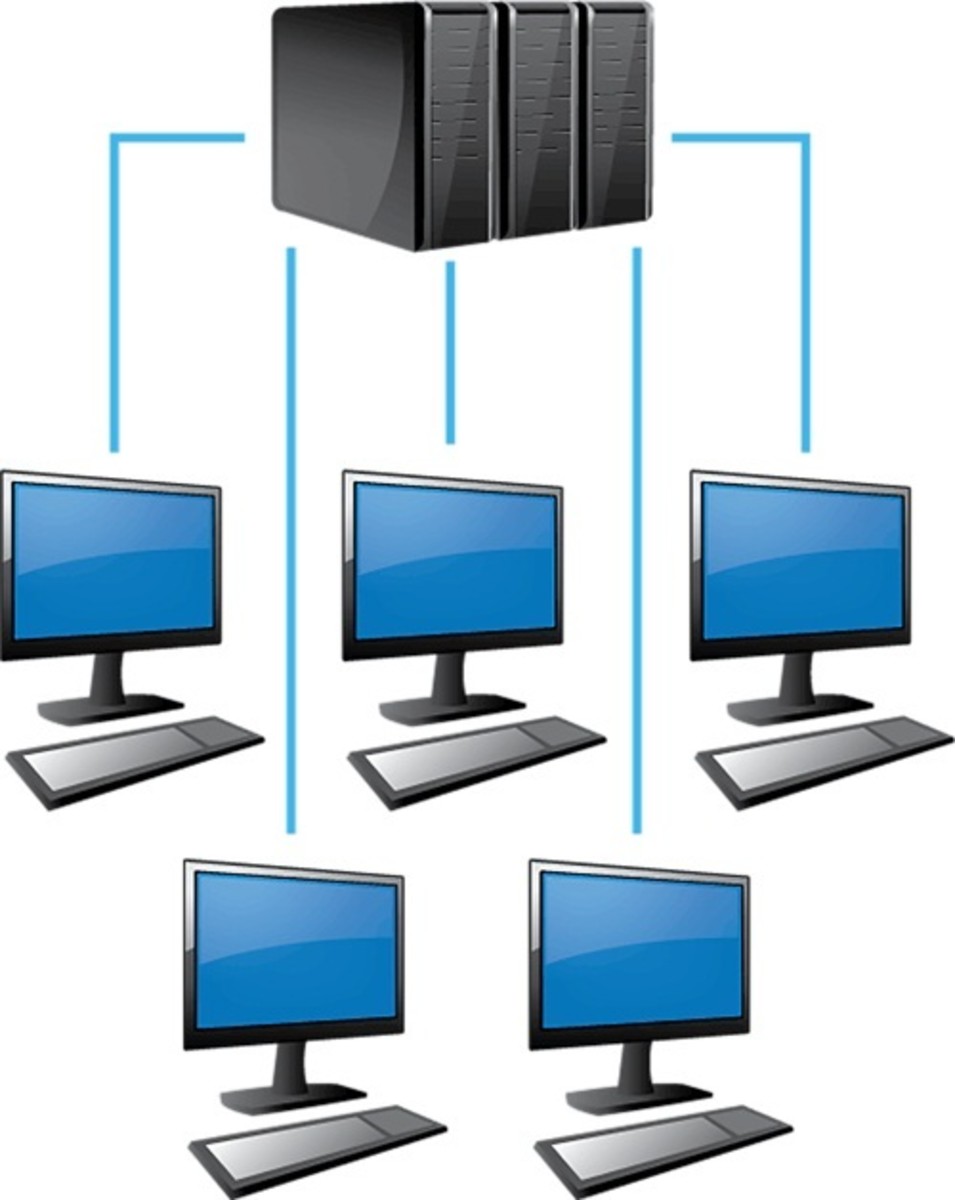
We can start off with a P2P (Peer-to-Peer) system. Systems can be networked via servers and through P2P systems. Usually, we dont need the power of servers in our homes so we will setup our network without them.
Hardware requirements
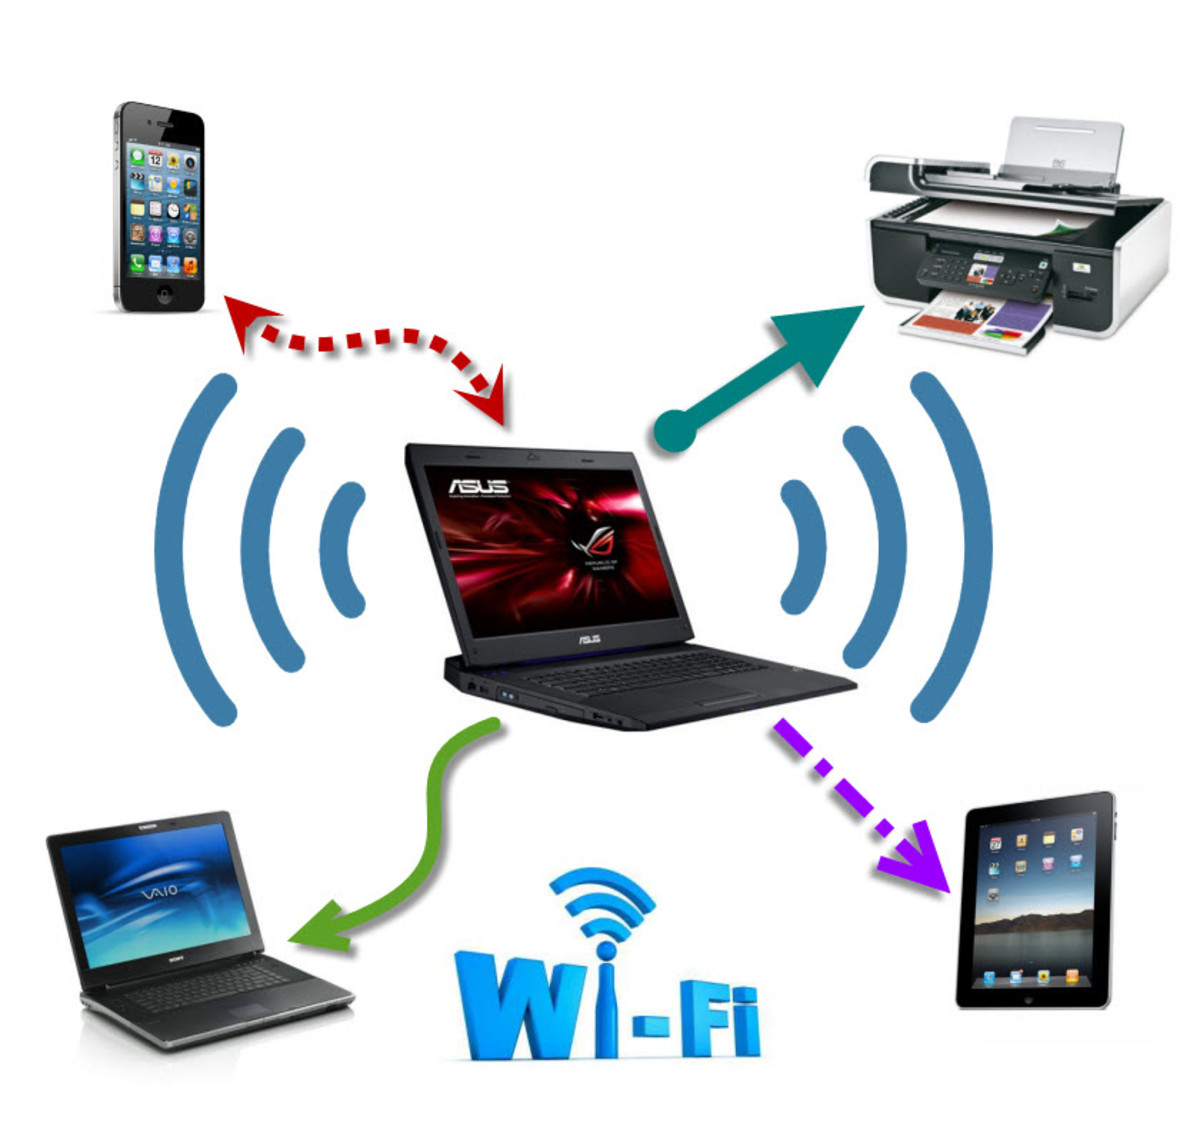
There are many ways to share data on your system. You can run a cable through your house or under the carpeting. or even use wireless networks (if you're really rich). You can also use your phone line or use the old fashioned way of floppy/CD swapping.
But except for floppies/CDs, all these techniques require you to configure your system to accept incoming connections. You also need hardware devices to allow the systems to interact.
So for proper networking your systems will need the following bits and pieces:
1. A computer with at least one free PCI slot.
2. Cat5 or Cat5e UTP cable.
3. A hub or switch if you are connecting more than 2 computers.
4. Ethernet cards or NICs (Network Interface Cards).
If you want to connect just two computers, you can avoid the use of a hub and instead use a crossover Cat5 cable. With a crossover cable, you can directly connect one NIC card to the other. But again, remember this only works for two computers - to connect more than two you will need a hub/switch.
The hub/switch is used to take the signal from each computer and send it to other computers in your home. They come in several sizes, denoted by the number of ports available. A four-port hub can connect four computers, an 8-port switch can connect up to eight computers and so on. Most hubs and switches are now stackable which means a special port that can connect it to another hub or switch to increase the capacity of your network. So if you start with a four-port hub but eventually have five computers, you can buy another four-port hub and connect it to the one you already have, increasing the potential number of computers on your network.
Unshielded twisted pair (UTP) category 5 cable is required to handle the 100-Mbps speed as demanded by the ethernet standard. The RJ-45 connector at the end of the cable looks very similar to the RJ-11 connector on a phone cord but is slightly bigger and incompatible. You can buy Cat5 cables in predetermined lengths with the connectors already attached or you can have them specially made. Cat5e is slightly faster than Cat5 cable and is recommended.
Installing the hardware
The installation process begins with insertion of NIC (network card) into an empty PCI slot on the motherboard inside the computer casing. Next, connect your system to hub/ switch via cable. For detailed information on color code for cable wire visit: www.duxcw.com/digest/Howto/network/cable/cable5.htm
Hubs, switches, and ethernet cards all have "link lights", a small light that indicates that everything is ready for action. After rebooting, to check the status of network card if it is working properly, click on Control Panel> System>System Properties box> Device Manager> Network Adapters.
For Windows 98/Me users
The configuration process first requires choosing the protocols suite. It is likely that Windows OS will automatically configure the protocols (usually TCP/IP is preferred, but you can use NetBEUI (NetBios Extended User Interface) suite). To do so, go to Network through Control Panel; click Configuration tab; double click on TCP/IP and assign any numerical address (IP address) to your computer, such as 192.168.172.10. Each field can obtain any number ranging from 0 to 254. It is suggested that first two octets of your address should start with 192.168 in order to avoid any conflicts with another network on the internet. Well as per agreed standards, the IP addresses beginning with 10. and 192.168 are reserved for use on private LANs only.
Configuring LAN resources
Now let's get down to configuring your overall LAN system so that you could use all the available resources. It requires you to perform the following tasks:
Naming the PC: Before your computer can become part of a network, it has to have a name and a workgroup. Each computer in your home network falls under a same workgroup with each having a different name.
To name your PC and create a workgroup, go to Network Neighborhood through Control Panel and take its Properties. It will bring up a window listing information about the network adapter(s) and protocols installed on that machine. Click open the Identification tab, where you are require to provide the name (any name) to your computer.
Make sure each computer on your network must have its own unique name. In the second field, enter the name you for the workgroup which will be common for all the machines.
File sharing and security: One of the most common activities on any computer network is "file sharing." when you first setup networking on a Win98/ME computer, the setup process normally adds the "Client for Microsoft Networks" suite.
The file sharing feature works only when the File and Printer Sharing is enabled. However, if the Microsoft Network suite is not available you have to install it from setup CD. Once the software is installed, you can enable file sharing by following the following steps:
1. Click the button labeled File and Print Sharing...
2. You will see two options, one for sharing files and the other for sharing printers. Click the box next to each option to enable it.
3. Once it is enabled, you will see a check mark in the box. Click OK to close the sharing-options window.
4. Click the Access Control tab near the top of the Network window. For easier control of who can access which files, click the box beside Share-level Access Control.
5. Click OK to close the Network window.
You must now select which folders you want to share. Sharing your entire hard drive is not recommended. Instead, create folders that will be used specifically to share files.
Once you have identified the folder(s) and created them, move the pointer over the folder and click the right mouse button to get the pop-up menu. Select the Sharing menu item. A window will open with several options. The default choice for sharing is Not Shared. Change this to Shared As and type in a name for the shared folder. If you activated Share-level Access Control, you need to select the level of access and supply a password. Read-only access means that anyone accessing this folder over the network can only look at or retrieve files. They cannot put new files in the folder or delete or modify existing files. Full access provides the ability to read, write, delete and create files in this folder. You can also choose to allow either type of access depending on which password is provided. Restricting access to certain files is important. It is useful to be able to restrict access to information on each computer through the use of share-level password protection.
Also, you can implement the user log-on feature by creating individual user accounts in the Users window, but this feature is not required much in home usage, so the reader can get more information about this feature from help of Windows.
Once shared folders are set up, accessing them is simple. Double-click Network Neighborhood with the left mouse button to open up a window showing all computers in the LAN.
Printers: The second step is to share a printer (if present, otherwise skip this step). To go Printers from Control Panel. A window will open listing all of the printers available on the local system. Select the printer and take its properties, click the Shared As option and type in a name for the printer. You may also put password to access the printer. To access the printer from another computer, go to that computer and use the Add a Printer wizard for sharing process.
Internet: The sharing of internet on network can be enabled using a feature called Internet Connection Sharing (ICS). You only run ICS on the computer that is actually connected to the Internet.
By default, the ICS components are not installed on your computer, to install it go to Add/Remove Programs and select the Windows Setup tab and open the Internet Tools option. There enable the Internet Connection Sharing component by clicking on the box next to it and then clicking on OK. Once the ICS components are installed, the ICS wizard will pop up which will walk you through the remaining steps.
A far easier way is to use a Proxy server to connect to the internet. A very good choice could be AnalogX, which is available for free from . You need to install it on the PC running the internet connection. In the other systems open the Options Tab of IE, and go to Connections, open LAN settings and in Proxy, type the IP address of the connected computer and port 6588 and you're done.
For Win2000 and XP users
Configuring your network on Win2000 and WinXP is literally a dream come true with more features and simpler interface. It all is manageable through Network and Dialup connections and using it we tell Windows how to communicate with your new network.
To start this feature, go to Start>Settings> Network and Dialup Connections. Right click on the network connection for your LAN. Here make sure each one of these is checked:
a. Client for Microsoft Windows
b. File and Printer sharing for Microsoft Windows
c. TCP/IP
This suite is called binding software for your network card. If you do not have these components, use the ‘install' button to add them. You are finished configuring your network!
Now you need to configure your computer name and workgroup in the aforementioned way. In these systems, you can access computer name and workgroup field by taking properties of My computer. Make sure you are part of a workgroup and not a domain.
How to enable sharing
To get the network neighborhood (network browser) working, you MUST enable at least one file or printer share on your computer.
Create a new folder on your hard drive. Right click on this folder and select ‘Sharing' from the menu that appears. Select "Shared as" and give the share a name or leave it as it is. This share defaults to full control for the user group ‘everyone'. This means that anyone that can log into this computer will have access to this share.
The best part about WinXP is that it automatically detects other computers and shares on the same workgroup (and if properly configured on other workgroups as well), so you don't have to do anything much. Similarly, it also detects the printers available on the network. All you have to do is just install them and you're ready to go.
With this we come to an end of our tutorial and that means you're done with networking your entire system up.
So have fun setting up your home networking.

