- HubPages»
- Technology»
- Computers & Software»
- Computer Software»
- Office Software Suites
Techie Corner- Microsoft Access
Access- The File Cabinet You Don't Have to Slam!

See, I Write Cool Stuff Too!
Fun With Access!
Don't think any less of me. No poking fun. Come on, I write scary thrillers too! And dog books. But, Access is another program I love to use.
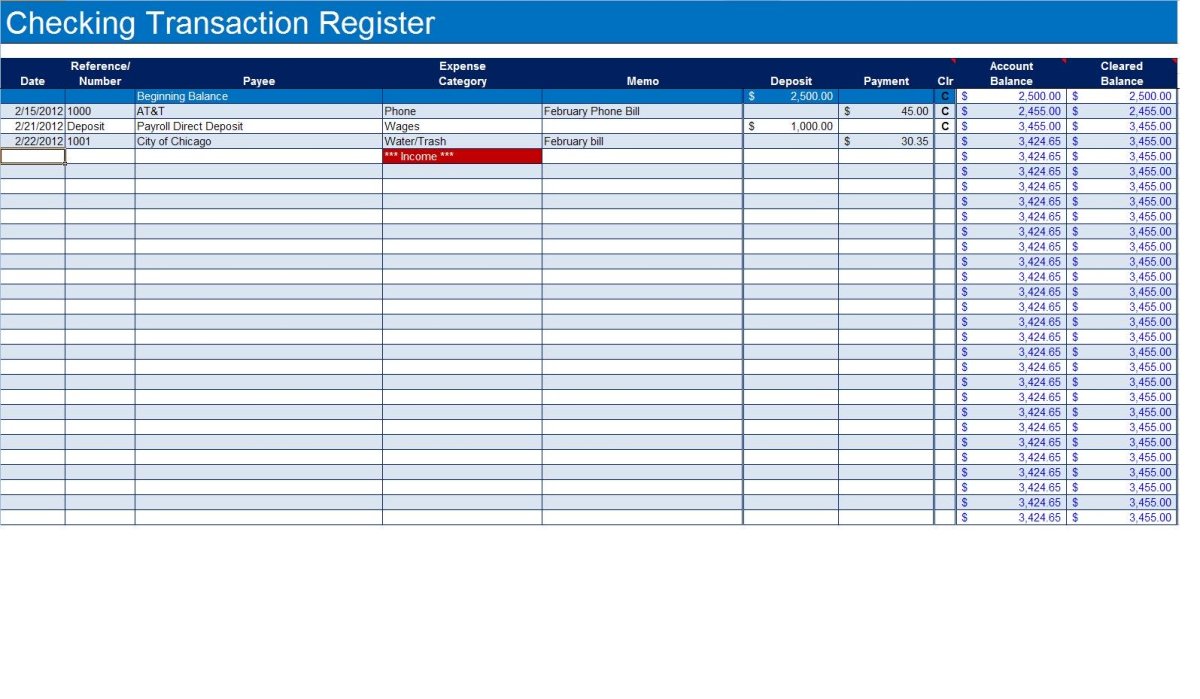
Microsoft Access is one of those tools that is typically misunderstood. Many people use Microsoft Excel as their database, when they really should be venturing on over to Access to have full capabilities. Since it is such a robust program, let's review some of things about this animal!
Access is called a “relational database.” It is used for the simplest of tasks; such as just keeping data in a table, to the more difficult; such as programming in Visual Basic to make your forms that were created in Access, execute a multitude of automated functions.
What it's not meant for is to act as a spreadsheet, although you can perform calculations in the report.
Due to its size and the many different versions, I won't be giving full instructions but rather a summary of the things you can utilize Access for along with some helpful hints.
I'm not a professor, but here's what I know. Hang on tight!
Preparation and Setup
Pack your winter coat, gloves... Wait, That's only if you are going to play in the snow. We're just learning Access. Well, still it's always good to be prepared.
Before we begin, you should know that while you have it in your mind to create a database, PLAN FIRST!
Think of what the purpose of your database will be. What fields are you going to need in your database? What special functions do you want it to perform? Do you need drop down boxes? Do you need to have one table or multiple tables? Do you need to create relationships between the two or more tables? What do you want it to look like? What color and font do you want to use? Are you going to have reports generated from this database?
When all those questions have been answered, also think of what your backup system will be, as once you have created this great database, how are you saving it …just in case? If you've read any of my Techy Corner hubs, you already know that I'm a stickler for backups!
Familiarizing Yourself with Access
There are a few ways to create a database. One is by using all of the wizards that Access provides for you…which is a great way, except you will only really learn data entry. You will not learn Access.
There are two basic views that I will be referencing. The two views are datasheet or design view in tables and queries, form view or design view in forms, preview or design view in reports, and in macros- the macro is either running or in design view.
Design view is just like it sounds, your workbench where you design your project. If you need to add labels, text boxes, background shading, etc., you do this (and more) in design view.
Datasheet view is where you enter all of your data. It looks very similar to a spreadsheet.
Tables and Wizards
Can't Have a Picnic Without a Picnic Table
So, let's discuss tables!
A relational database system contains one or more objects called tables. The data utilized is stored in these tables. Tables are recognized by their unique names and consist of rows and columns. Columns contain the column name, data type, and any other properties for the column. Rows contain the records (or data) for the columns.
Field Name, Data Types and Field Properties
- Under Field Name- For the purpose of programming in Access, it is easier if there are no spaces. This is not a mandatory rule, but one that I implore to avoid headaches later on. You can change the way this looks on screen by typing the display name in the caption box.
- Data Type-Here is where you would choose if it is Text, Memo, Number, etc.
- The Description field is used for your eyes only. It is a brief description of what this field represents. For something simple, such as ‘FirstName,’ this may be self explanatory and silly or just plain dumb, but for something complex, it makes a lot more sense. This field is NOT mandatory.
- Field Size-Generally, a first name would not be more than fifty (50) characters. The computer automatically generates a field size of 50. You can, however, make this less or more- from 0-255 characters. You cannot exceed 255 characters in a TEXT field if this is what you chose as the Data type in #2.
This helps you in the following way. Suppose you only want the field size to be eight characters. If you set the field size to 8, the end user can type Shadow but cannot type Shadows in the Dark. Be sure to analyze realistic instances when setting your field size.
5. Format-Use this field for such things as dates or numbers. It will dictate how you'd like your users to enter data.
6. Input Mask-This is a format that will automatically put in the place settings as the user types. For example, for a phone number, the brackets () and/or dashes will automatically be placed in.
7. Default Value- If you have three friends that are named Josie and they are the main users of this database, you may want to make the default value say, you guessed it, ‘Josie.’ Just type Josie in this property and this will be the default. Users CAN type over this if their name happens to be ‘Charles,’ however.
You may also use a date for the default value, if the field name is associated with a date AND if the data type is date/time. If you want to always display the current date, use the formula date ().
8. Caption-Here is the part that I promised I would get to. Above, you typed ‘FirstName.’ Well, since that may look annoying on screen, Access developed this Caption field, which allows you to name the field whatever you like. So, if you wanted the field ‘FirstName’ to be labeled ‘Hi,’ you can type that here, even though it wouldn’t make much sense. To the normal person, you would type in ‘First Name’-now WITH the space. It is the little things that make Access fun.
Having a blast yet?
9. Required-If you have a database, and you need the user to type in their first name NO MATTER WHAT, change this property to say YES. If you really don’t care what their first name is, leave this as ‘NO.’ If this is changed to ‘YES,’ the user will not be able to close the record until they enter their first name.
OK. We have now learned most of the properties. Just in case you get ambitious and wanted to play with Access on your own, I at least wanted to cover those.
Before we go any further, let’s discuss the primary key real quick. Once you choose a primary key (or you can allow Access to create one automatically), there can be no duplicates in this field. A good feature since many people may share the exact same FIRST and LAST name.
But, no two people in the world share the same SS number, legally, anyway.
Picking a smart primary key will eliminate entering the same information twice. If you choose a field to be your primary key, just highlight the field in design view and click on the key located on the tool bar….For those of you can’t find it, you can also go to Edit>>Primary Key.
Ever Use It?
Have You Ever Used Access
The Wizard of Oz? Nah, Table Wizards!
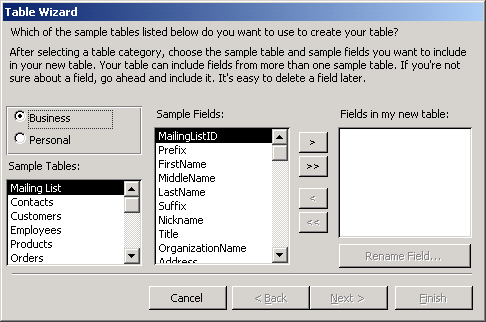
I will only touch briefly upon using the table wizard to make you aware that this option exists and how to use it if need be. You can create a table easily by using the wizard, or you can create a table from scratch in design mode. Note with the ever changing world of technology, these instructions can change, however, the basic premise will always stay the same.
To use the table wizard:
- Select a table from the templates that are available.
- Name your database.
- The fields will be pre-selected for you.
That was it. You are done creating your table.
While the wizard definitely facilitates the process, and there is nothing wrong with using the wizard, it does not fully enable you to learn Access. The more practice you get with the table wizards however, the more you'll understand what Access is capable of!
Now onto something that is equally as useful.
Importing Data from Excel
Suppose you have a great Excel Spreadsheet containing all of this wonderful data that you would love to send to your boss…except he only has Microsoft Access loaded onto his computer. So, he has asked you please re-create this wonderful table in Access. Before you take that long exasperated sigh…do not despair. It is much easier than you think. Just a few clicks of a couple of buttons and your boss will not be any wiser, think that you have done double the work in half the time and realize just how hard you DO work and give you that big raise you have been hoping for! Anyway-back to real life. After all, he probably knows all the Access tricks anyway, right?
To import a table from Excel:
- Open Access
- Go to the External Data Tab
- Select Excel
- Choose The File Name and Choose Import.
- Click Next
- You'll be prompted to select the worksheets from which to choose from and then specify if the first row contains headings.
- You can then name the fields and the data type.
- There is your new table!
Okay, so it may not look AS pretty, but you can always add the finishing touches later. The point is your data is ALL there, thankfully.
Note that you can also link Access to an Excel spreadsheet, however, it is different in one very important way.
When you IMPORT a table from Excel, you are importing the exact data, but NOTHING changes in the Excel spreadsheet….EVER. You can make all the changes you want in the database table and Excel will never know. Vice versa when you make changes in the Excel spreadsheet. No changes will appear in the Access database.
When you LINK a table, however, the story line changes a little. ANY changes made in Excel, no matter how slight, will show now in your Access table and vice versa. Any changes in Access will affect Excel. One theory behind linking a table is: Suppose your company networks all computers. They all use dBase as their source of information. Well, since dBase is not a very modern form of software, your company has chosen to modernize SOME computers with Microsoft Access, but not all. But, there are still thousands upon thousands of important records that are current and dBase is the central holding area.
While Josie may be proficient with dBase, Carol is not. Carol IS proficient with Access. With a click of the button, Carol can now Access the same exact information as Josie, but on a system she is more familiar with. Any updates she makes will be recorded in dBase, and any deletions Josie makes will be recorded in Access. Ahhh…a perfect world.
Okay…to link a database to a table, you use the same instructions as you did for importing a database, but you choose LINK instead of IMPORT.
Okay, Wrong Kind of Table...

Condiments and Other Table Toppers...
Renaming a Table
Now that you have your tables in place, you may need to rename one of them, for instance, if you made a spelling error in the title of the table. To rename a table:
- Highlight the table name you wish to rename.
- Right click and scroll down to where it says rename. It will position your cursor inside of the title
- Just type in the new name and hit enter.
- Your new table name has just been entered. **Note, if you have other objects linked to this table, they may not be able to see this table once you change the name.
Adding a Field
If you have just created a great table, but have forgotten one important field, do not fret; you can easily add a field. To do so:
- Highlight (click on) the table you wish to add the field to.
- Click on the design button to bring you to design view.
- Once in design view, scroll to the section that you wish to add the field to.
- If it is at the end, this is easy, just type in the new field name(s), data type and format.
- If you forgot to insert a last name field and want to place it between First name and Address, you will need to insert a row to enable you to insert a new field. To insert a row:
- Highlight the row BELOW where you want a new row inserted.
- On the menu, select insert>row.
- A new row will appear ABOVE the row you selected.
- Type in the new field name(s), data type and format.
Another way to add a field is straight from Datasheet view.
- Click on the column to the right of where you wish to insert a new field.
- On the menu, select Insert > Column
- A new column will appear to the left of the highlighted column.
- To name this field, highlight the new field’s name, which is something like Field 1 or Field 2, depending on how many fields you have added.
- On the menu, select Format>Rename column.
- Type in the new name for your column.
Please note that by doing it this way, you cannot change the format, or data type. If it is just a text field, this will not make a difference, but if this is a currency view, I suggest adding the field in design view, enabling you to customize the data type and formats.
Deleting a field
Deleting a field is similar to adding a field. Suppose you accidentally put phone number in there twice and want to delete one of the ‘phone number’ fields. There are, again, two ways of deleting this field.
WARNING: Please note, however, that if you learn how to create queries, forms or reports, this deletion will affect each of those, if you have created them. For example, let’s say you created a form based on a table and included that extra phone number field in the form. Once you delete that field from the table, you must also delete it from the form; otherwise, it will be searching for the data that was once in that field. Right now, you don’t need to concern yourself with that since we have not created any forms, but it is just a warning.
To delete a field in datasheet view:
- Highlight the column you wish to delete.
- Right click on that column to bring up a menu.
- Choose ‘Delete Column’ from that menu.
The second way to delete a field is in Design view.
- Highlight the row containing the field you wish to delete.
- Make sure the entire row is highlighted.
- Right click and select ‘Delete Rows.’
- Select ‘Yes' to the screen that appears.
Both methods will produce the same results- your field will be deleted.
Navigating Through Records
Once you have entered a significant amount of data within your table, you may want a way to facilitate any searches you need to perform. Here are a few ways to, primarily, navigate through records and secondly, perform a search.
To sift through records, use the record selectors located at the bottom of the screen.
The arrow to the far left will bring you to the first record of the entire table.
The second arrow will bring you to the record previous to where you currently are in the table.
The third arrow (on the right of ‘3’) brings you to the next record from where you are in the table.
The fourth arrow brings you to the very last record of the table.
And….the fifth arrow brings you to a blank record, allowing you to ADD a new record. .
Now, let’s say that you didn’t want to keep clicking the record selector, but, you knew the exact record number you wanted to go to. To easily get there, just type the number in the spot between the arrows (where the 3 is currently showing).
For example, if you wanted to quickly go to record #6, just type a 6 over the 3 and you will be brought to record 6.
However, if you didn’t know the record number, but knew that the last name was Jones. You could perform a search to find that last name.
- Put your cursor in the field that you wish to search in. In this example, position your cursor in the ‘last name’ field.
- Go to Edit> Find (or Ctrl F).
- Make sure under ‘look in,’ it says Last Name. If not, click the down arrow to the right and select ‘Last Name.’
- Under ‘Find What:’ type in the last name of the person you wish to find. Spelling counts, but it is not case-sensitive.
- Once you type in the name, press Find Next
- You will be brought to the record where that name resides.
Please Read the Caption Below

Queries
It is interesting already, isn’t it? Please lie to me and say that it is!!
A query is, to a point, a copy of your table. The main difference is how you manipulate the query to search, or filter through the table to display only necessary data.
In Access, queries are based on a language called SQL or Structured Query Language. SQL is used to communicate with a database. Some other common databases that use SQL are Oracle, Sybase and Microsoft SQL Server. While you can program in SQL in an Access database, Access has gone the extra step to save you time in doing so. They have created a design view that allows you to enter search criteria and the programming will automatically be written in a screen that is not visible (unless you choose to view it). Got to love Access.
Query Wizard
For the novice creating a query I'd suggest using the query wizard. This is similar to the table wizard and any changes or criteria added will still need to be made in design view, however, some may find this feature to facilitate the process.
To use the query wizard:
- Click on the Create Tab and choose Query Wizard.
- Choose ‘Simple Query Wizard’ from the dialog box that appears and click ‘OK.’
- Under ‘Tables /Queries,’ make sure that the correct TABLE or QUERY is chosen.
- Double click on the desired field (or highlight the field and choose the single arrow facing to the right) to select each field.
- Click Next.
- You are given the option to have a detailed query, or summarized query. If you click on Summary, you are given choices to how you want your data summarized.
- You are brought to the last screen where you will name your query.
- Make sure you type in a unique name for the query and open the query to view the information or to open the query in design view and make your modifications there.
- Once you have selected the desired option, click on Finish.
- You have just created a Query!
Congratulations! Woo hoo!
No More Need for a Rolodex..Just Store Your Data in Access!

Forms
Okay, I did promise some more exciting stuff, didn’t I?
Forms are a more attractive way to organize and manage database records more proficiently. Forms are comprised of all your data from the tables, but in a more visually appealing manner. You can add graphics to forms and also perform calculations by creating calculating controls.
Forms and reports are the only two ‘objects’ that I usually recommend using the wizard for. There is really no reason not to! It quickly and easily transfers your data fields onto a nice neat window. No need to spend the time doing it yourself because you can always modify the form and customize it to your liking, once all of the fields are there.
This is also found on the Create Tab under More Forms. You'll need to click the down arrow and select Form Wizard.
- Select Form Wizard.
- In the drop down box, select the table or query from which you want to extract your data.
- Select OK.
- You are also brought to a familiar box- the ‘Available Fields’ box.
- Either double click on the fields you would like to include in your form, or highlight each field and click the single arrow >.
- When all of your fields have been selected, click ‘Next.’
- You can choose how you want your form layout to look in this next dialog box.
- You can click in each radio button to preview the layout. Click next.
- You will then be given the option to pick a style for your form. Again, click each radio button to preview the style of your choice and click next.
- On the last screen, you will be asked to name your form. Make sure that you name it something that is unique. Even if you don’t think you will be creating additional forms, think big…just in case you decide to add more later on.
- You will be asked to either modify or view your form as is. Choose ‘Open the form to view or enter information.’ Click Finish.
Beautiful, right? This is just your basic form.
There is plenty more that you can accomplish with forms. Calculations and modifications are a bit advanced but those options are available!
The power of your forms is not limited as you can also use Visual Basic coding to enhance the automation and functionality of your forms. The same holds true with reports, but I will cover a small portion of that in our next topic….Hold on!
Okay, go get a drink. Ready? Here we go. Almost done.
Reports
Reports are just like they sound. Automatically generated data with the push of a button. Reports are great for running an analysis on monthly sales, calculations, filing, e-mailing to a boss or co-worker, keeping track of…ANYTHING. You can’t enter any data in a report, but any data that is added in your table or form will automatically update in your report. Same holds true for any data that is deleted in your table or form. All of the data is ‘related’ hence the term, “relational database.”
To generate a report, you guessed it, use the wizard on the create tab. I'm so confident you'll know how to do this, I won't even repeat those instructions again. But I will go over some questions the form wizard may ask you.
Nosy little bugger, that form wizard!
- You will be asked if you want any grouping levels. For instance, if you wanted to have reports that are based on month, the month would show as the title of each page, with any data reported in that month to follow. In other words, in a sales report it would separate each page by monthly sales. To choose a grouping level, double click the field from the left. You will notice that your chosen grouping level or levels (yes, you can have more than one) will be displayed in a blue font. You can also choose NOT to have any grouping levels.
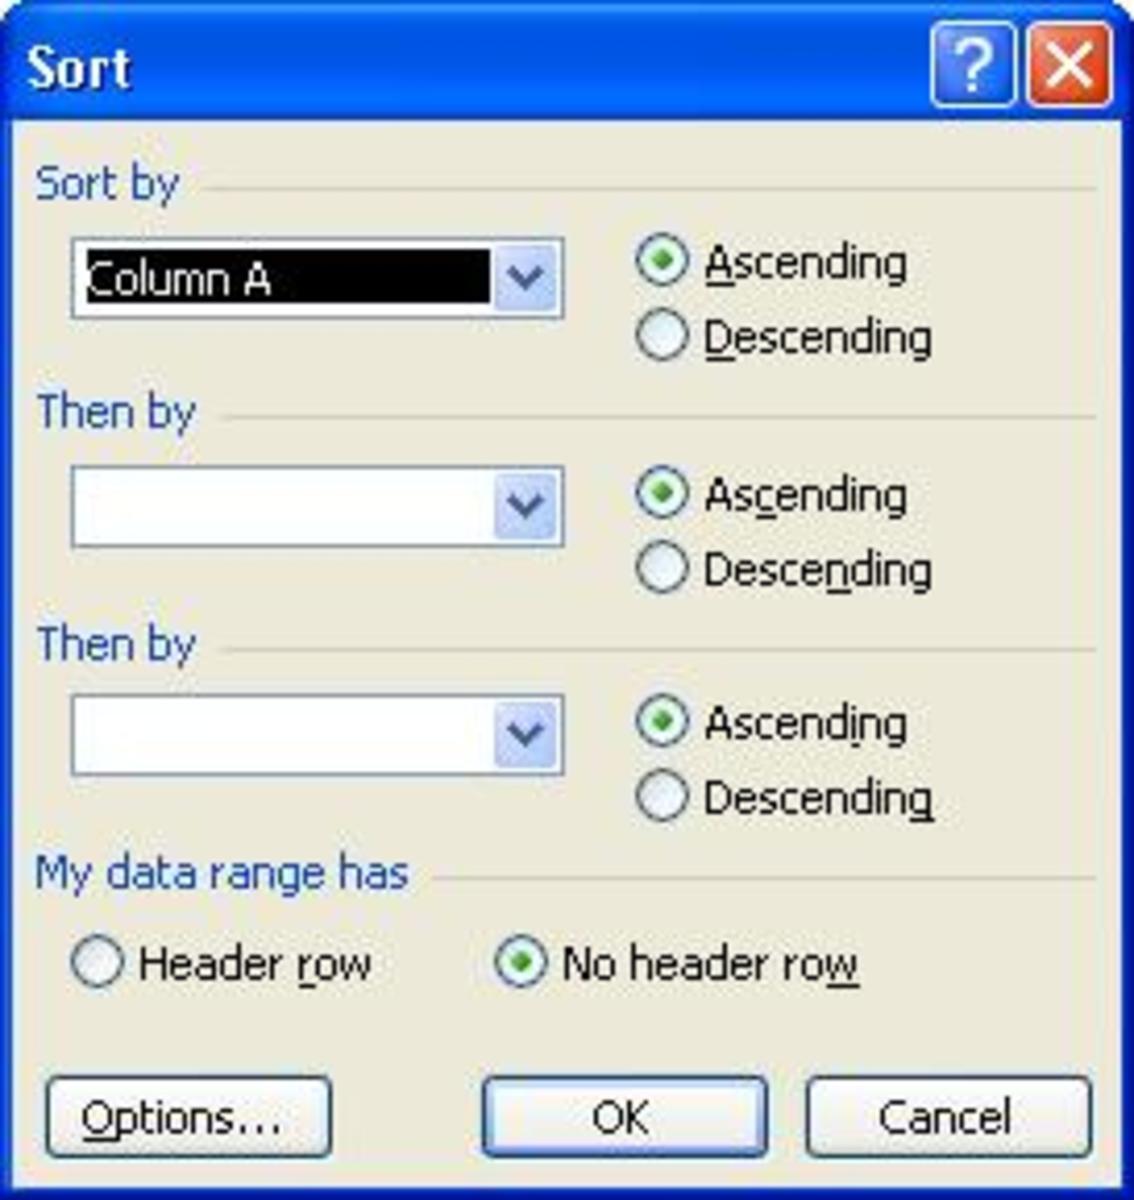
- You are also given the option to sort your data, up to four fields in either ascending or descending order. Choose your field(s) from the down arrow and click on either ascending or descending.
- If you click on summary options, you are also given a choice to have a summary displayed or details, and if you want anything summed or averaged, you can make your selection here. * Please note: This summary option is sometimes NOT available if, for instance, there is nothing to add, such as text boxes.
- You are also given the option to choose the layout and orientation of your report.
- And, you can choose the style of your report. Again, click on the option buttons for a preview, make a selection and click ‘Next.’
You will now see all of your data displayed in a neat report that you can now show off to EVERYONE!! Hurry- go show everyone!
Again, this is just skimming the surface of the power of reports and the power of Microsoft Access in a whole.
In all seriousness, I love Access. I use it for everything.
Uh oh, did I just divulge that I'm a total geek? I think I did. Oops. It is the one program that I actually use to create databases for my own books that I've written and for books I've read from other authors.
For my jewelry business, www.lvjewels.storeny.com, I created my own Point of Sale System and run reports with calculations from Access, keep track of my customers, shipping costs. You name it,
I can track it.
Best of luck with this program. For more detail, you may want to invest in a full Access book. It truly is a lot of fun and very useful once you get the hang of it. Keep in mind I only touched lightly on this program. You can create a fully automated program in Access that handles much more than I outlined here.
Thanks for reading!
~Elizabeth Parker
"Bringing awareness about dog adoption and rescue, one dog at a time!"
Author of Finally Home, Final Journey, Paw Prints in the Sand, Paw Prints in the Sand: Mission Accomplished, My Dog Does That!, Bark Out Loud, Unwanted Dreams, Phobia, Evil's Door and Faces of Deception. All books are available in Kindle and paperback format on Amazon.com.


