WordPress - Upload an image using the WP Editor
Displaying Images On A WordPress Page
To display images in your WordPress page you need not know how use an FTP client.
Actually you need not have any tech abilities to upload images into your webpage because the WordPress Editor permits you to do this in a pretty straight forward way.
You must have the image ( or images ) you want displayed in your WordPress page available in a folder on your local computer first.
Next Login to your WordPress Admin section in the usual way.
In the left hand column Click the link Pages and from the drop down menu that appears, click on Add New as shown in diagram 1.

The WordPress editor loads which will allow you to insert an image into your page. To do this look at the top left hand side of the Editing area, adjacent to the Upload/Insert label. Several small icons will be visible. Move the mouse cursor over each of them and read the help message displayed. The very first icon says 'Add an Image' as its help message. Take a look at diagram 2.
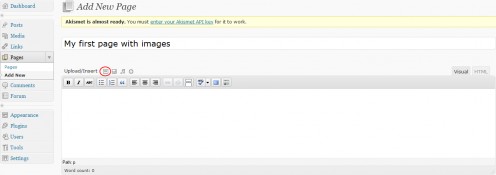
When you click this icon, immediately your entire page will go a dark grey, and a new window will open right in the middle of you screen. Take a look at Diagram 3.
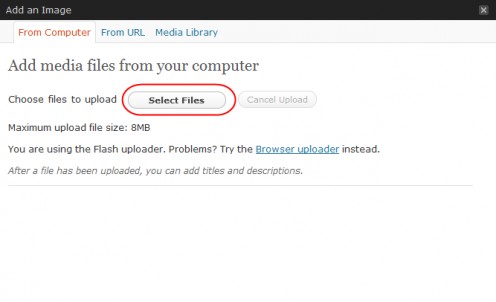
Click the button 'Upload File'. as shown in Diagram 4. Immediately a file Browser opens up and you can navigate to the folder in which you've kept the image that you want uploaded into your WordPress page. Double click the image that you want to upload the the upload process will begin immediately.
Next, add the Title, Alternate Text and Caption information you want.
Next, choose and alignment for your picture on the WordPress page, We choose Left.
Now you have one last job to do, and it's a pretty important one. Click the Insert into Post button.
If you do not, the picture you've chosen will get uploaded into the folder /wp-content/uploads/{year}/{month}/{filename} within WordPress CMS - BUT- will not appear on your page.
Next, choose a size, we chose Medium.
Finally, do not forget to Click the 'Save all Changes' button.
Do take a look at Diagram 5. It kind of visually explains everything.
Immediately your picture will appear in the WordPress editor, but most likely will appear cropped drastically. This is because the Editing space is often much less that the image size.
Take a look at Diagram 6.
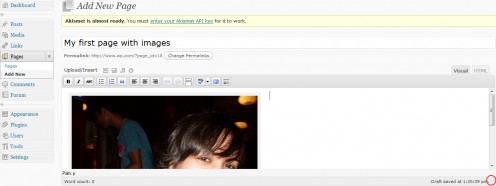
No issues, simply take a look at the bottom, right hand corner of the Editing area. You will see a handle there, it appears like a series of small gray diagonal lines. Simply Drag that corner until you can see your entire image and have some white space below the image for you to start typing in some content. Take a look at Diagram 7.
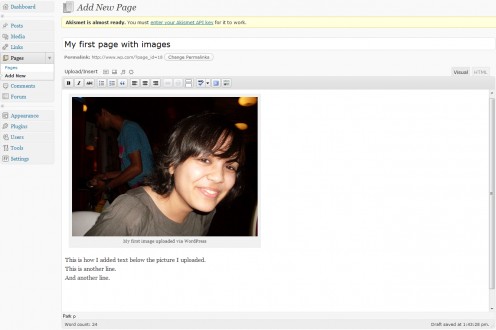
Now simply place you mouse cursor below the image and start typing the text you want.
TIP: If you want to move the mouse cursor immediately below the line you've just typed, to type another line, hold the SHIFT key down and then press ENTER.
Your first WordPress page, with an Image and Text has been done using the default WordPress editor.

