An Illustrated Guide to Making a Panini

The Panini is an Italian sandwich that has become popular throughout the world. Typically, a Panini refers to a sandwich that contains an Italian meat, and sometimes cheese, that has been pressed in a Panini press. This article will show you how to use a Panini press to create perfectly pressed Panini sandwiches at home. It only takes a few ingredients and the entire process takes about 20 minutes. So if you're ready for a great lunch (or dinner), let's begin.
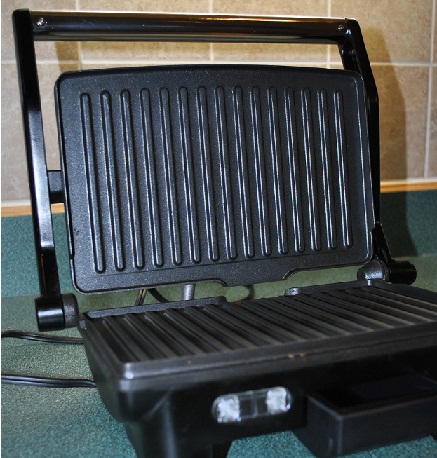
You're first going to need a Panini press. These can be found at many stores such as Sears or a cooking store and usually cost under $60. Once you have located a Panini press, you will need a few ingredients.
For an authentic Panini, you should purchase "Panini bread" from the local supermarket. This kind of bread usually has a more authentic Italian flavor, and is thinner to allow grilling in a Panini press. However, I have found that almost any kind of "sandwich bread" will work fine. In this guide, I am using standard bread I bought from the supermarket. The choice is really up to you.
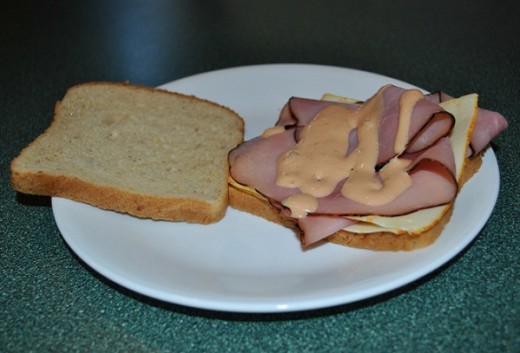
The next thing to consider is the meat. Again, you could go "super authentic" and use salami or an Italian meat, but you can also make good Paninis using ham, chicken, or roast beef lunch meat. I used ham for this example.
For the cheese, you can add your favorite cheese. Some cheeses don't melt very well, so make sure you ask your grocer what cheese they recommend. I have used Swiss, Muenster, and cheddar cheeses with good results.
You will want to top it all off with a sauce. I enjoy using Thousand Island dressing because it has a great taste, but the options are endless.
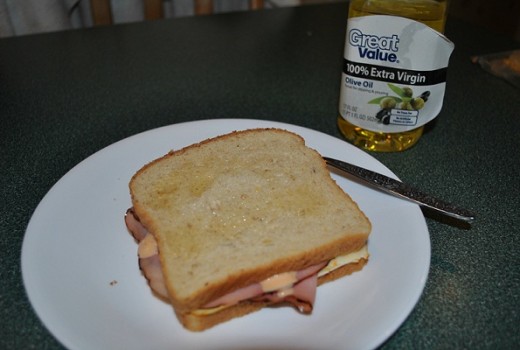
You will now want to spread Olive Oil on the outside of the bread in order to prevent burning and sticking and to allow it to become crispy on the outside. Use a spoon to lightly spread the oil over the surface of both pieces of bread.
Now, plug in the Panini press and wait for the light to indicate it is ready. Then, place the sandwich on the press and close the lid, applying steady pressure to the press.
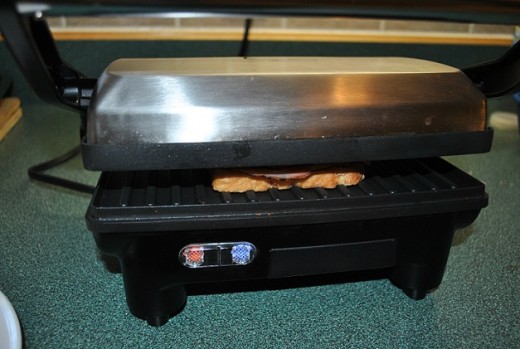
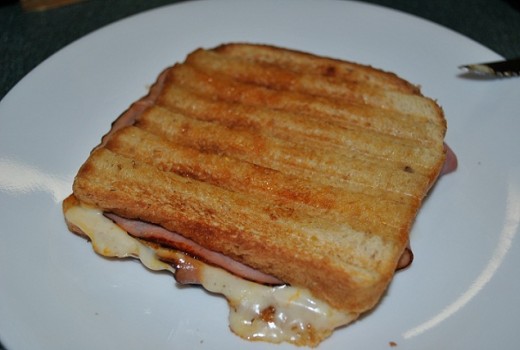
Check on the sandwich periodically to ensure it isn't burning. Then, when the color is to your liking, remove the sandwich. It's then time to eat! I like using some extra dressing to dip the sandwich in, but the choice is yours. This process works with any meat and any cheese. I have even made a chicken Parmesan Panini once with chicken lunch meat, and marinara sauce. It was very good. Enjoy!


 Back to Basics: Types of Sandwiches")
")