Homemade Sourdough Bread Bowls Recipe
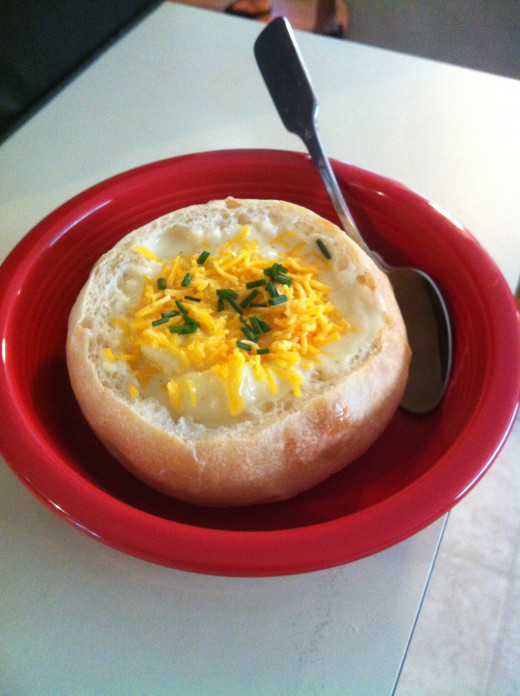
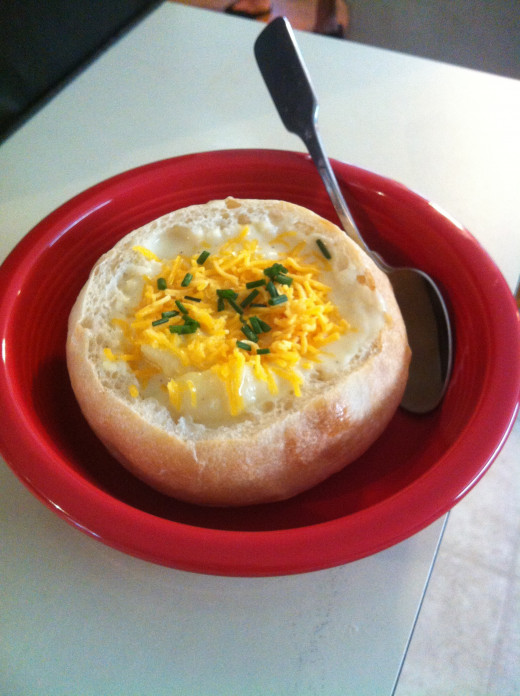
I realize it is the middle of the summer and soup is not the first thing on most people’s minds, but I have some delicious Yukon gold potatoes that I need to use up and I have a hankering for cream of potato soup topped with cheddar cheese and fresh chives from my herb garden. On top of that, I am pretty stressed and if you follow my posts here, you know I become a psychotic baker when I’m stressed. So I decided this morning to make sourdough bread bowls and fill them with cream of potato soup. My dog and my boyfriend are still sleeping, so it’s the perfect time to get in the kitchen and go crazy! No boyfriend to compulsively clean up my messes, no dog underfoot while trying to run around the kitchen like a mad woman. Yes, I must bake!
Ingredients
The recipe I’m using is not a completely traditional sourdough recipe, because it uses instant yeast to aid in the rise and to speed up the process (I’ve got to get this started before someone makes me stop, so speed is a virtue right now). Here is the recipe:
- 1 cup active, fed sourdough starter
- 1 1/2 cups lukewarm water
- 2 teaspoons instant yeast
- 1 tablespoon sugar
- 2 1/2 teaspoons salt
- 5 cups (21.25 oz) unbleached bread flour
Suggestions & Substitutions
- If you do not have a sourdough starter, you cannot make this recipe. Sourdough starters take time to develop. You can make your own from scratch (I have a whole series on this hyperlinked here) or you can order one from several places on the internet.
- You may use active, dry yeast instead of instant. If you do so, you need to add the proofing phase. Instant yeast can just be added to the dry ingredients without proofing.
- You may use all-purpose flour, if you like. The bread flour is a little tougher and will create a chewier bread bowl, more sturdy to hold up the heavy soup. Well, that’s what I am hoping for.
- If you want a traditional sourdough loaf…well, that is a whole different recipe and there’s no time now! Traditional sourdough loaves require a much longer fermentation process. There is no added yeast. The dough rises with the natural yeast from the sourdough and often is fermented in a refrigerator for several hours or overnight. This creates a stronger sour flavor. I don’t really want the extra sour flavor for the sourdough bread bowls, since I will be serving savory, delicious cream of potato soup in them. I like my assertively strong sourdough flavored breads to accompany a hearty Italian meal or to simply dip in olive oil and seasonings. Or to make paninis. Or…this could go on all day. Suffice to say, right now I want quick and mild sourdough. Instant yeast is the way to go.
The Process
- Combine all the recipe ingredients however you can—in a bread machine bucket, in a stand mixer, or by hand (if you are strong enough).
- Knead to make a smooth, soft, slight tacky dough. The length of time for kneading depends on your method. The bread machine will do the work for you and tell you how long it needs to knead. In a stand mixer, about 7 minutes on medium-low should do it. By hand, well, that might take 10-15 minutes.
- Since you are making sourdough bread, I must assume you are not a novice bread maker. With this in mind, pay attention to your dough. Add a bit more water if it seems too tight and dry. Add a little more flour if it seems too gloppy and wet.
- Round the dough into a ball and place it in a large, lightly greased bowl.
- Cover and let it rise until it is doubled. This could take about 90 minutes, but keep an eye on it. If you over ferment the dough, the yeast will eat all the good stuff in the dough and your loaves will not rise. Be careful here.
- I am going to make 8 bread bowls from this recipe. To make sure they are all about the same size, you can eyeball it if you are good at that sort of thing. I’m not, so I weigh my total dough after lightly punching it down. It weighs 1100 grams, so I divide that by 8 and measure out my dough balls for my bread bowls.
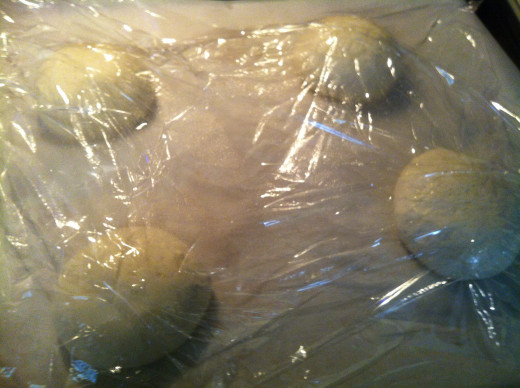
- Shape the bread bowls so they are tight and smooth. Put them on a parchment lined baking sheet with enough space between them to allow them to rise without touching each other.
- Cover the dough balls. I use plastic wrap sprayed with vegetable oil to prevent sticking.
- Allow them to rise until they are puffy, about 1 hour. Again, keep an eye on them and make sure it is warm enough in your kitchen to allow dough to rise. It needs to be 68 degrees or warmer. Cooler kitchens = longer rise times.
- While they are rising, preheat your oven to 425 degrees.
- When they have finished rising, spray the dough balls with lukewarm water. This water spray will make for a chewy crust. If you do not have a misting bottle, you can use a basting brush, but be careful not to press too hard and deflate your bread bowls.
- Now for the tricky part. Using a very sharp knife or a lame, slash your bread bowls in an “X” on top. The slashing allows the dough to expand while it bakes. You are helping control where the dough expands this way. You want it to go up, not out. Without slashing, your dough balls will not rise as high once they hit the oven’s heat or they might split in unexpected places. That will not do for bread bowls!
- Immediately after slashing, bake the sourdough bread bowls for 15-20 minutes, until they are a deep, golden brown. If you have an instant digital thermometer, they should be at least 205 degrees internally when done.
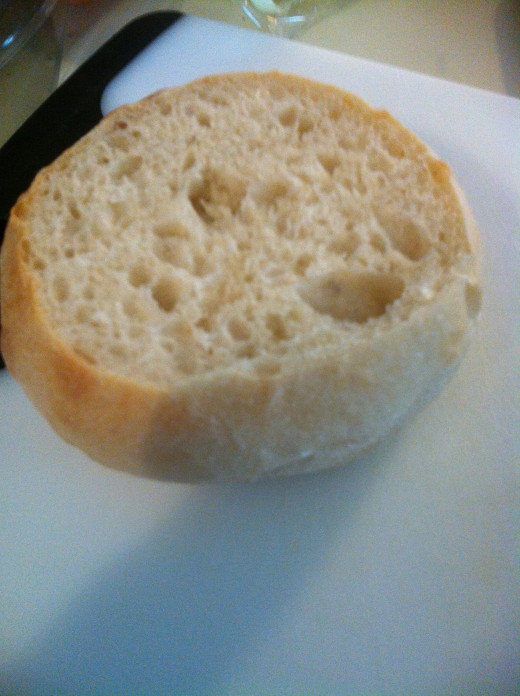
- Take the sourdough bread bowls out of the oven and allow to cool to room temperature before slicing their tops off. If you are impatient (ike me) and cut them before they are cool (as I have done a thousand times before), the sliced part will become gummy and the bread bowls will dry out as they lose their steam too quickly. Go make yourself busy doing something else. Trust me, you do not want to go through all this effort just to end up with weird, gummy bread.
- After the sourdough bread bowls have cooled to room temperature, using a very sharp knife, slice their tops off. Scoop or tear out their innards, leaving a ¾” shell to hold the soup.
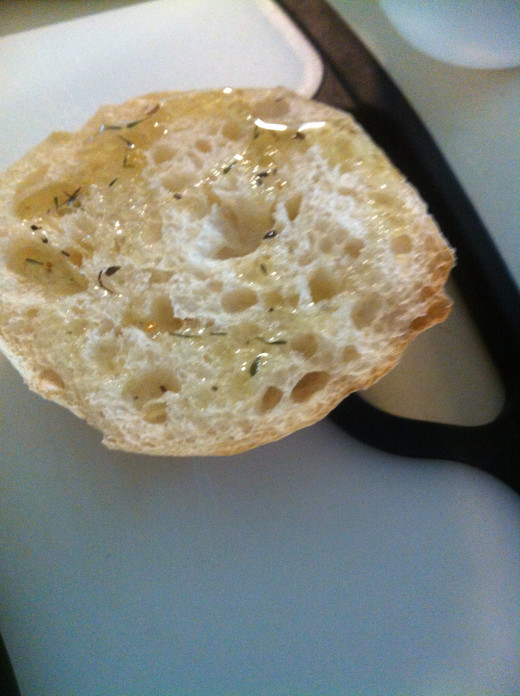
You can make croutons for your soup or toasted bread crumbs with the tops and innards if you like or you can simply serve them alongside the bread bowls for dipping. Your choice.
Now I am off to enjoy my cream of potato soup filled sourdough bread bowls on a 90 degree day. Yes, I realize I am not quite right. So does my doctor. We are all okay with it. Enjoy!
The Thermapen!
High Quality Digital Thermometer
I have found using a high quality digital thermometer is one of the best things I have done for my bread baking. Over-done bread is dry and hard. Under-done bread is gooey and sticky. Either way, you have put a lot of work into something that did not turn out to be great or sometimes even edible. I realize the Thermapen is bit an expensive; however, I invested in one about 8 months ago, and I am eternally grateful for this device. My initial guilt at paying nearly $100 for a kitchen tool has eased as I realize I have saved countless loaves of bread, steaks on the grill, roasts in the oven, and candy on the stovetop. The Thermapen gives you extremely accurate, reliable results on internal temperatures in about 3 seconds. I do not know of any other tool on the market that does that. It has a splash guard, an easy on-and-off function (you just close the pen), and it's easy to clean. It really is fool-proof. It is one of the best investments I have made in my kitchen.
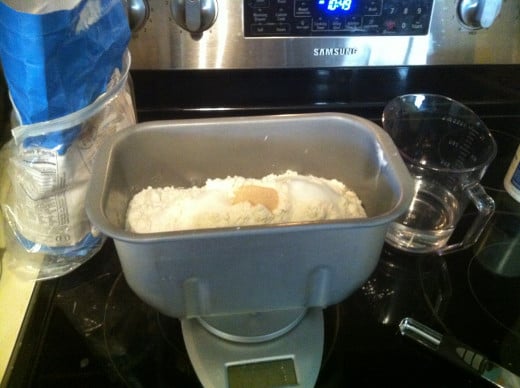
In the first video (above), the dough had just come together and began the kneading process. Notice how gnarly it is. In the second video, the dough was nearly finished kneading and had smoothed out dramatically. It was no longer clinging heavily to the sides of the bread machine bucket.
© 2013 Leah Wells-Marshburn


