How to Make An Aladdin-Lamp-Tissue-Holder .

Kinds of Polluting plastics.
Polluting plastics mostly found in environment are plastic bags, bottles and cups. They become serious pollutants since they are not degradable-the environment can not decompose them because they are made of non organic substance. You can sell used plastic cups and bottles to scrap plastic collectors but they only buy scrap things in bulk, they won't receive single cup or bottle in a transaction since it's not worth it. I believe that giving added value to used plastic bottles and cups will make them more profitable.
One way to make good use of scrap cups and bottles is by changing them into useful crafts. In my previous hubs I wrote some articles about how to give added value to polluting bottles and cups, please read this hub:
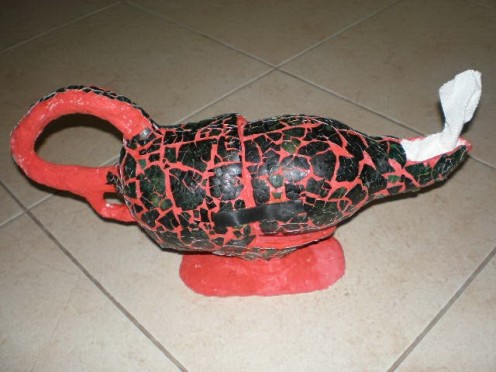
This time I'd like to share information about how to make an attractive roll tissue holder which looks like an Aladdin lamp and is made of a used plastic bottle.
Tools and Materials.
For tools and materials needed and some similar procedures used in this project (how to make paper pulp and thick compound ) can be read in this link :
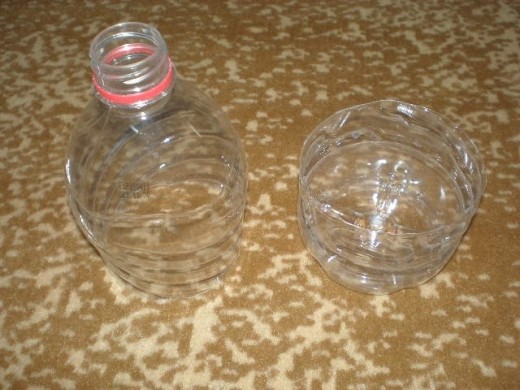
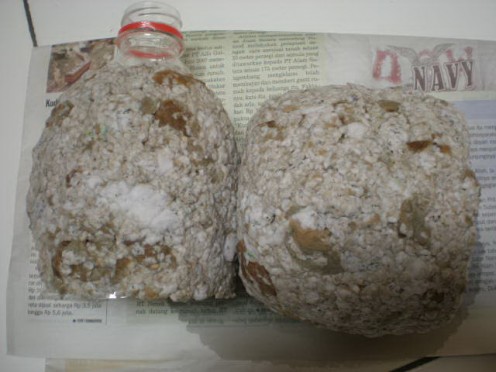
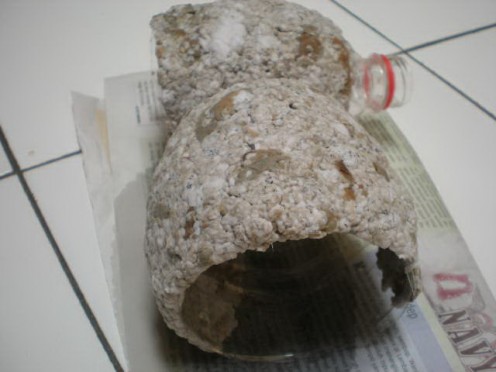
Cut the bottle :
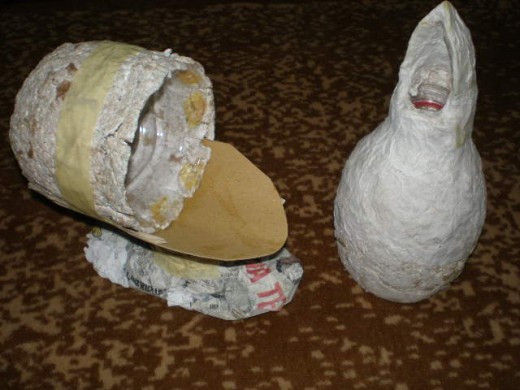
Cut the plastic bottle into 2 parts : the lower part will be used as container and the upper part as the lid of the holder. Trim the container's mouth just to make it more proportional as a tissue holder. Instead of vertically, the holder is positioned horizontally and so is the lid.
Paste It :
Paste the surface of tissue holder with paper pulp. Pasting the holder with paper pulp will make it more aesthetics and sturdy. Let it dry. It takes one or two days for the pasting to get dry, you can also smooth the holder's surface easily while the pasting paper still damp by giving some pressures around it.
Give a Stand and a Handle :
The basic structure of the stand is made of a paper lump: press some newspaper into an oval shape, squeeze at the middle part and enlarge the bottom part (which will become foot of the holder) and also the upper part (which will become support of the holder) of the stand. Tie the stand onto the holder using paper tape (look at the picture), then put some more paper pulp on the tie in order to make it stick stronger to the holder .
For the handle you can make it also from newspaper. Squeeze some newspaper so that it becomes as big as your middle finger and around 20 cm long. Tie around the squeezed paper with thin wires to make it flexible to be designed to your liking, then stick the handle onto the back of the holder. You can use paper tape to hold it stay still on the back part of the holder. Cover the joints with paper pulp too which will strengthen connection between handle and the holder.
Give an Outlet.
The tissue outlet is put on the tip of holder's mouth/opening. It can be made from a thick carton. Cut the carton in 6 cm x 4cm size, fold it longitudinally, round one end of it with scissors so that it makes like a bird's beak. Put the outlet carton onto lower part of the holder's opening and fasten it by tying it around using paper tape, then paste it with thin paper and tissue paper several times to make it thicker and strong.
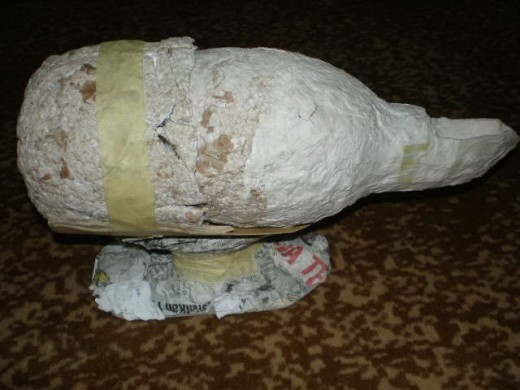
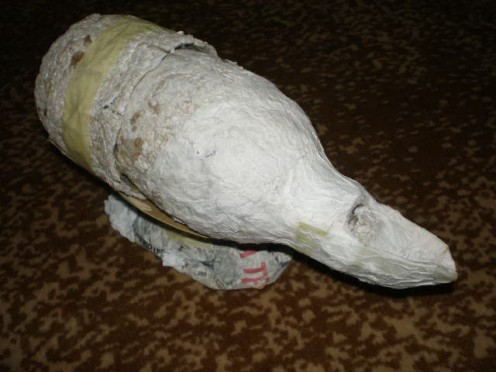
Smooth it.
There are two steps to smooth the tissue holder :
1. Plaster on the holder with thick compound. The purpose of this step is to smooth some holes and coarse surface. After the whole surface is plastered, let it dry which usually takes one day.
2. Sand the surface. Sand the holder using paper sand no. 1, so that its surface becomes really smooth. You'd better wear a mask to protect you from inhaling compound dust when sanding.
Color It.
You can apply any color you like. Here I apply red color first, then I give additional motifs in green.
Here is the Result.