Change your photo into a cartoon

Over the years I’ve been fascinated with caricatures! My friend, who is a decent artist, drew a ‘Judge Dredd’ type caricature of me when I was a teenager and I’ve always wanted to be able to reproduce this! Unfortunately, I have about as much artistic talent as my cat!
My interest in this never waned though, and over the years I’ve used programs like Photoshop to ‘mess around’ with my own face with varying results! Imagine my surprise and delight when I found a way to do this online! This article will teach you how to change your photo into a cartoon.
Introduction
There are many sites on the web offering you the chance to change your face into a cartoon, however most of them seem to either be too difficult, or want to charge you for the privilege. The one I found, not only is free, but is very easy to use!
Befunky is one of the easiest photo-manipulation sites I have found. There are many things you can do to a photo on this site; the one I'll concentrate is on turning your photo into a cartoon.

There are some sites that offer free software downloads, and generally you get to use the software for a couple of weeks before having to register. Additionally, some of the professional art / photo programs such as PhotoShop or Corel Draw offer far more sophisticated solutions for producing cartoons / effects from photos.
The method detailed below can be used on most cartoon producing programs - I go into the specifics of one site, but the method is generally the same on all sites and it's really down to your own personal choice.
- What are the best digital cameras?
Over the last ten years one of the most improved gadgets is the digital camera. With higher quality pictures available, and the advent of a decent digital SLR camera, it's taken the camera to a whole new...
Before you start - you need a camera to take your picture!
Before you can do anything with a picture, you have to have a decent camera to take a picture! Personally I'm a geek so my camera is a point and click camera. I flirted with low quality cameras, but find that spending a little extra to get a better quality camera, especially one with rechargeable batteries really makes a difference.
I'm not good enough to get a true SLR digital camera, but the one I have is the next best thing!
I went with the Canon Powershot G9 (No longer available) - it was easy to use, but has plenty of advanced features - most of the features it has are on the SLR version and therefore should I wish to transition to an SLR I have already got a great head-start.
The G9 is a 12 mega-pixel camera and is more than good enough for amateur photographers like me - it gives me the ability to shoot pictures quickly and easily using the auto feature, but also allows me to really 'mess' with the settings and produce some absolutely stunning photographs.
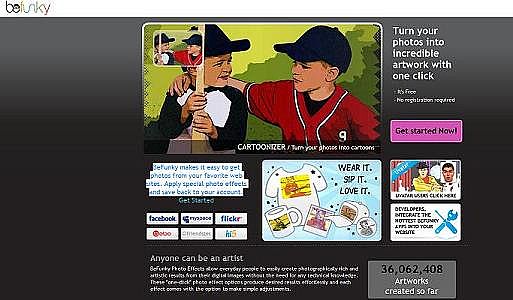
Step 1 - getting started.
Click the ‘Get Started Now’ button – nothing complicated here, you’re simply browsing away from the main introductory screen and heading over to the real ‘meat’ of the process.
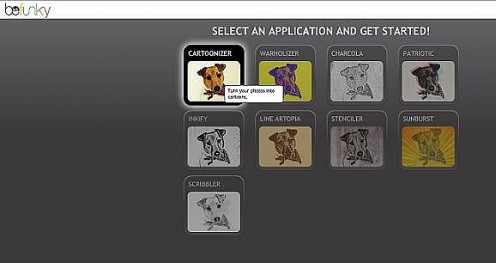
Step 2 - select an application.
For this example I chose the application Cartoonizer, but you have the following options:
- Cartoonizer
- Warholizer
- Charcola
- Patriotic
- Inkify
- Line Artopia
- Stenciler
- Sunburst
- Scribbler
At this time it doesn't really matter what you choose as you can change the application later one.
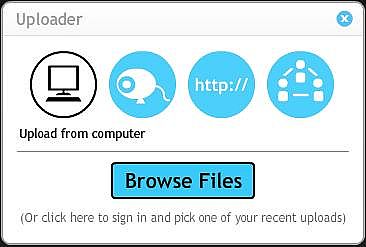
Step 3 - the photo.
You have several options on how to load or 'take' a photo; click the icon of your choice for more options:
- Upload from computer
- Upload via Webcam
- Upload from URL
All methods are simple - my preference is uploading from the computer, but using a hosting site like Flickr also works well.
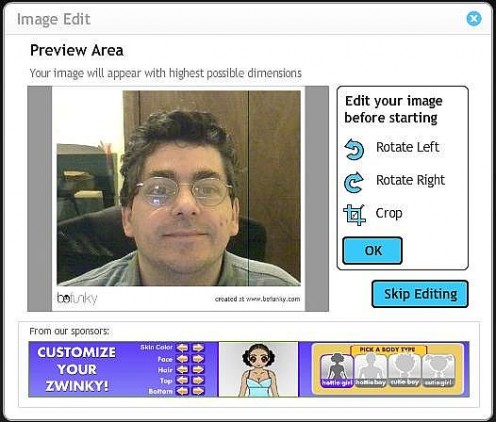
Step 4 - crop and rotate.
You can either edit your picture prior to uploading, or use the in-built tools that allow you to do rudimentary cropping and editing. The tools are easy and intuitive.
Alternatively, you can simply skip editing by clicking 'Skip Editing'
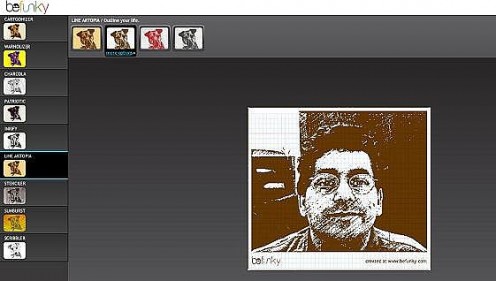
Step 5 - funkify.
This is where the majic begins; befunky takes the picture you uploaded an applies the 'application' that you selected in Step 2 - as mentioned before, you know have the ability to change the application - most of the applications have sub-settings that can be changed for different looks.
If you're happy with the results of the 'cartoon' then you can go directly to Step 8.
Step 6 - playing with the applications.
I decided I wasn't quite happy with the cartoon so I decided to change the picture in two ways:
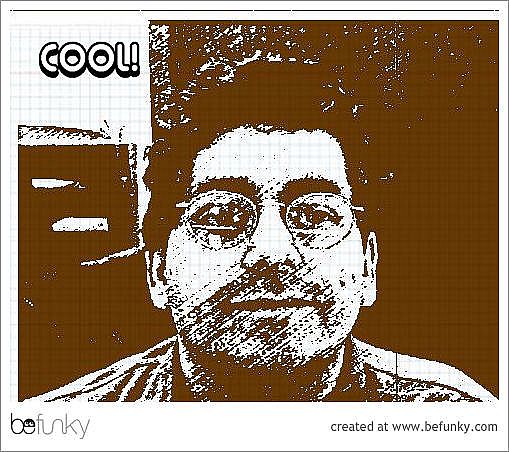
- I selected the apllication 'Line Artopia' using the icons on the left. This gave it a more 'artsy' kind of feel.
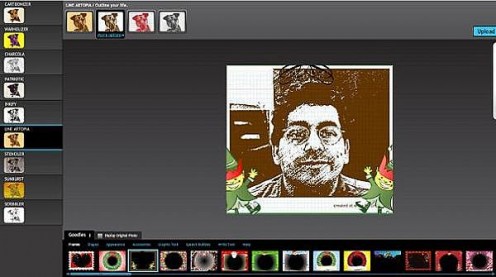
- I then changed the type of 'Line Artopia' by selecting the second icon from the left on the 'Outline your Life' icons on the top of the screen - this changed the picture subtly; far more to my liking.
Step 7 - and there's more.
There is a lot more than you can do to the photo. Click on the Goodies icon at the bottom and you have a whole bunch of different things you can do:
- add speech bubbles
- add arrows
- fun stuff
- borders
- etc.
For the example I added some weird elves - I removed them later prior to saving! But it is fun!!!
Step 8 - all done?
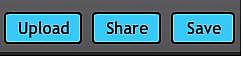
Once you have a final product that you are happy with, and cannot funkify it any more then you are ready to save the picture. You have a couple of options:
- Share - you can send an email to all your friends with a copy of the picture.
- Save - allows you to save the final picture to your local hard drive.
Step 9 - voila!
That's it - you're done! This free site is extremely addictive and fun; it's actually surprisingly powerful too and you'll be amazed by the fun pictures you can produce using this site.
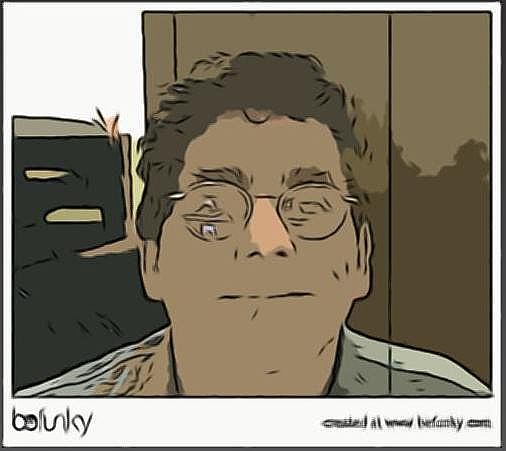
The final picture will have a 'befunky' border, but you can simply cut and paste this away.
Enjoy - here's my final picture!
The main website:
- BeFunky.com - Photo effects with one click, Turn your photos into artwork.
Photo effects for your photos. Cartoon, sketch, stencil, pop-art
Other Sites:
- Free download - turn yourself into a cartoon.
Before downloading always read the end user agreement. This will download a toolbar to your browser.
I have no association with the companies that make the products written about or advertised in this hub, however I could earn revenue if you click on these ads / products.


")

