How to Open Your 13 inch MacBook Pro: Upgrades and Cleaning

Open Sesame
All laptops get dusty under the hood and , especially my Macbook, is no exception. Dust builds up overtime and can cause pretty bad damage if left unattended. Dust, smoke and pets all contribute to the clogging of your fans. My fan actually stopped spinning due to build up of dust. I thankfully fixed the problem in time to avoid any permanent damage. It's pretty easy once you know what to do. I will give you instructions on how to clean the inside of your Mac as well as remove the fan, and upgrade the ram while we're under the hood. Let's get to it shall we?


Tools
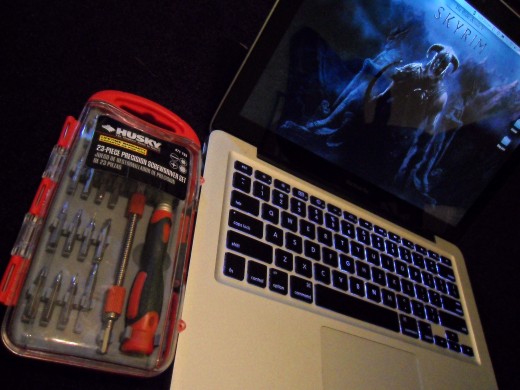
You don't need much to open your laptop. I highly suggest investing in a new set of screwdrivers for this task and all of the many other tasks you will need screwdrivers for. I can't find this exact set online, but I got I from the Home Depot and it was very cheap. I've had this set for only about three weeks and have used it for many applications. You will also need compressed air to actually get rid of the dust within.
That's pretty much all you need. The next step is to turn the laptop off and flip it over.

Unscrew

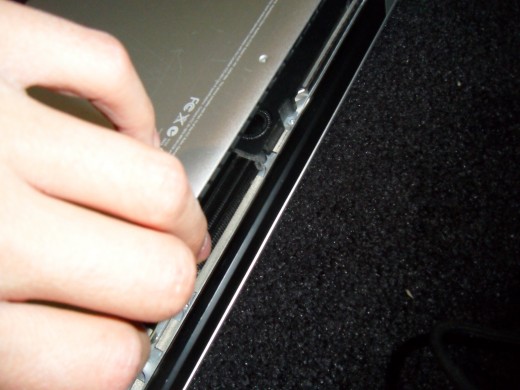
The next part is easy. Remove the screws and remember where they all go for reassembly. Remember that the three longest screws go in the upper right corner. Once all the screws have been removed, lift up on the lid hinge side first. Place the bottom cover aside and grab your compressed air. I use the Glottos air blower as it works great in removing dust particles and I never have to buy a can of compressed air again. Plus it's a great forearm workout.

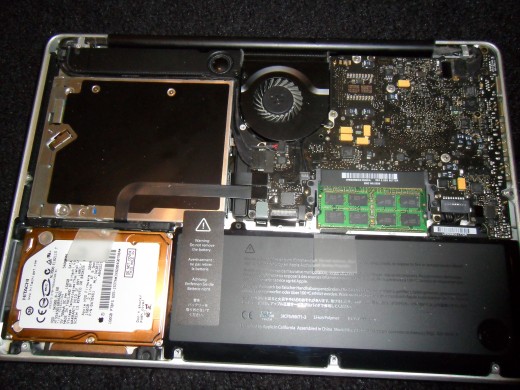
You know what to do from here. After the compressed air, get ready to remove the fan for cleaning or changing if it ever gets damaged and needs to be replaced.
Remove the fans three screws
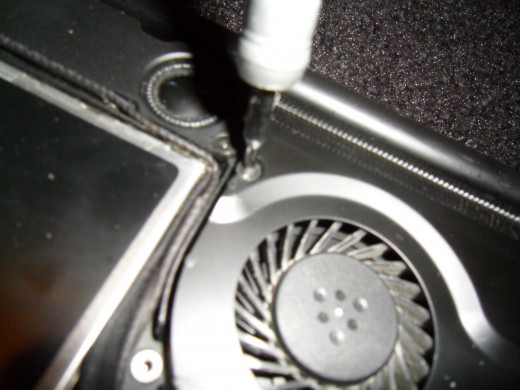
Remove each of the three screws and unplug the fan from the motherboard. Lift the fan out carefully and clean. Simply plug in the fan, place it back into the laptop, and screw in the three screws for the fan.

Upgrading the ram


Simply pull the clips holding your ram chip down outward to make the ram chip pop up as shown. Take note to reinsert it at this angle, then pushing down to secure it in place.

Reboot
After placing the bottom cover back on, reboot your MacBook.
And there you have it. Cleaning and upgrading the easy way. How did it go for you?


