- HubPages»
- Arts and Design»
- Crafts & Handiwork»
- Textiles
Beginner Knitting Classes by Lee Tea - Part 1 of 3
Yarn and Needle
Welcome to the "Beginner Knitting" Series by Lee Tea!
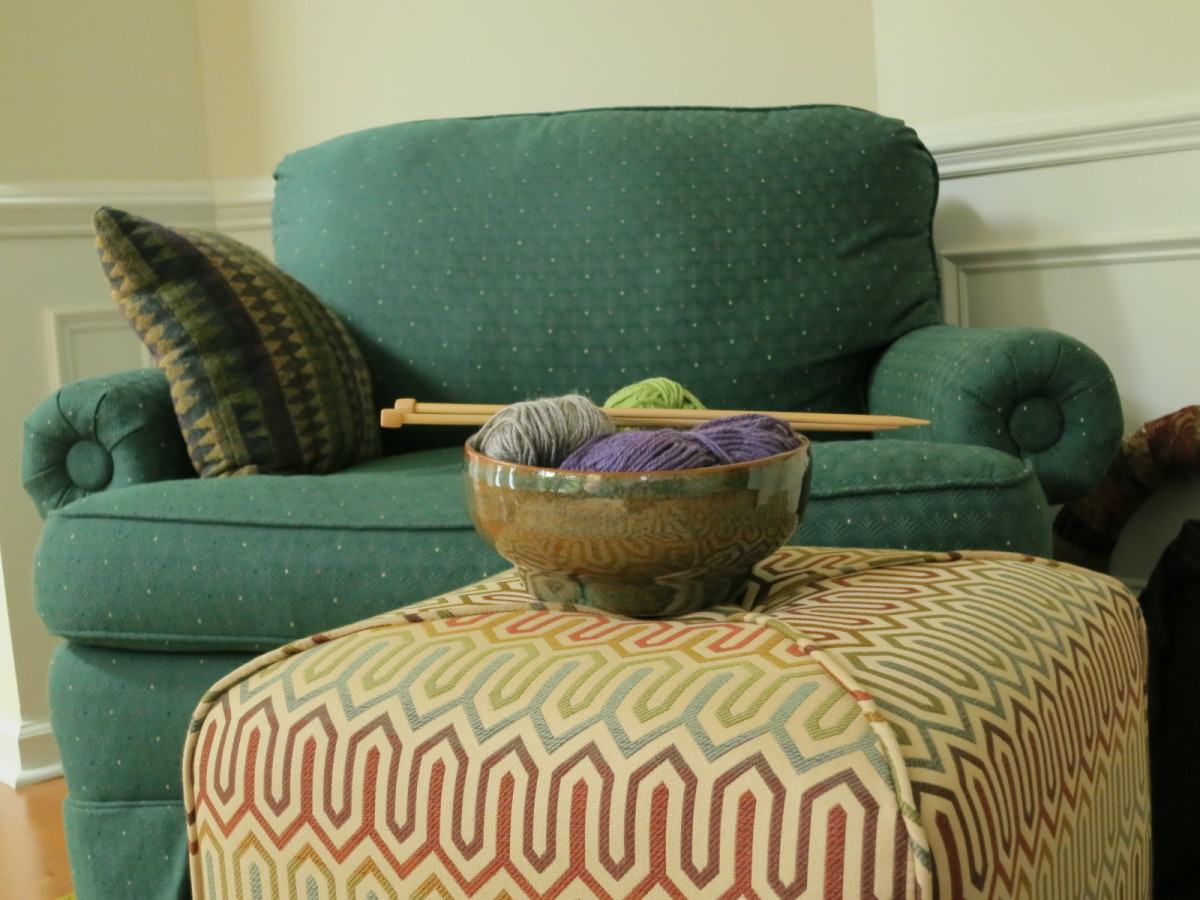
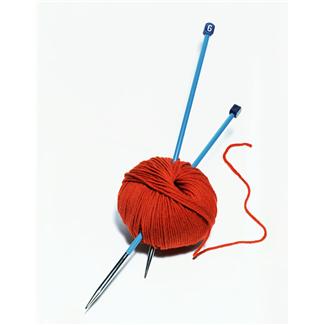
I'm so happy you've found this 3 part series. "Beginner Knitting Classes by Lee Tea" is a 3-part series that teaches you how to knit from square one. All you'll need to begin is:
- 1 pair of knitting needles (the shorter ones about 10" in length work best for learning)
- 1 skein of yarn
This series of articles is designed to be read one a week for three weeks. You could zip through all three articles in under 30 minutes, but you won't remember the material when you pick up your knitting needles tomorrow. To learn how to knit from these articles, read one article, then take a week to digest the information and practice the lessons. Once you can perform the lessons without having to peek at the article to remember how, and do so for a couple days, you are ready to move onto the next article.
Every lesson is an enjoyable, peaceful, and fun practice, so sit on them a while! Try them in different colors, do and undo them to understand them better, and pace yourself. In three weeks you'll be joining a long legacy of knitters who can twist string into nearly anything!
Beginner Knitting - Class 1
Each class is broken down into a series of lessons. These lessons continue consecutively throughout the three-class series.
In our first class of Beginner Knitting we'll learn three hands-on lessons:
- String Games: Witches Broom
- Slip Knot
- Casting On
This article reviews these three lessons, with links and videos to remind you how to do them!
Lesson 1: String Games - "Witches' Broom"
Our first lesson is the string game called "Witches' Broom", which introduces us to the ideas of pulling loops through other loops, dropping and picking up yarn, and paying attention to which side of the loop we're entering. It's also a great finger warm-up and dexterity exercise!
- Take the loop of yarn, and string it in front of your palm between the thumb and pinky finger.
- Pull once on the string, bringing the other end up to your hand.
- Drop the yarn, and pull the string that's now across your palm again.
- Drop the yarn again. Put your hand through the big loop, and with your thumb and pinky, hook the loops that go around your pinky and your thumb from the outsides.
- Bring your pinky and thumb together, and pull them through the loop, making "Eiffel Tower".
- Lay the Eiffel Tower back over the three fingers of your hand.
- Pull the loose string up, and we have "Witches' Broom"!
Witches Broom - the Video
Take the Poll!
Thanks for visiting today! How did you discover this tutorial?
Lesson Two: Slip Knot
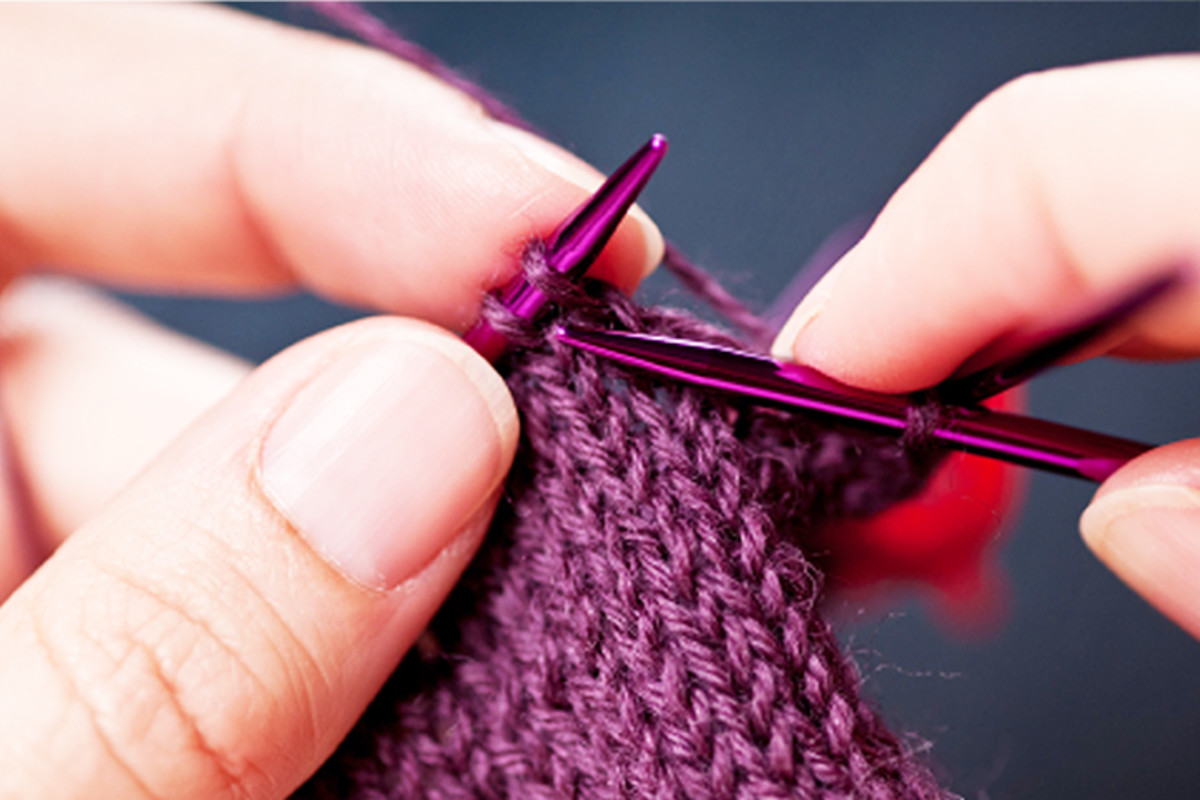
Once our fingers are all nimble and warmed up from string games, we're ready to begin working on the needles. To get the yarn on the needles, we make a slip knot:
- Wrap the yarn around your first two fingers 1 1/2 times, ending above the fingers behind the loop.
- With your index finger, push the yarn in your hand through the loop you made on your fingers from behind the wrapped yarn part way, making a loop like you're tying your shoe.
- Holding the loop you just pushed through, drop the yarn you wrapped around the fingers.
- Pull the ends of the yarn to tighten the slip knot.
Now place the slip knot on a needle with the tail end facing away from you, and you're ready to cast on!
Slip Knot - the Video
Lesson 3: Casting On
Now that we have the yarn on our needles, it's time to cast on the number of stitches we need to begin our project. This number is always provided in the first step of any knitting pattern, notated as "CO (however many) stitches". In this example, let's pretend this time our pattern says "CO 10 stitches". This is a very simple method for casting on stitches, called the "single cast-on":
- Place your slip knot on your needles. Pull it snug enough so the yarn won't fall off the needle, but not so tight that it can't slip up and down. Hold the needle with the yarn in your right hand.
- Grab the working yarn (the yarn coming off the skein) with your left hand. Turn your left hand so the palm is facing you, and wrap the yarn you're holding around your thumb counter-clockwise.
- Bring the point of your needle to the left side of the loop, and hook the tip of your needle under the yarn from the outside and through the loop in front of your thumb to the middle (like in Witches' Broom!).
- Drop the yarn off your thumb and pull the yarn (still in your left hand) to snug the new stitch up to the needle. You now have 2 stitches on your needle!
- Repeat 8 more times to make 10 stitches on the needle.
Single Cast-On - the Video
Practice Makes Perfect!
Though working with needles and yarn will feel awkward at first, practicing these exercises will soon make them feel second-nature. Have fun twisting yarn and playing around with these fundamental knitting lessons. With the three simple steps learned here today, we're all set to learn knit stitch in our very next class!
Please take one week to master the lessons taught here in Class 1. When you can perform them without looking back to remember how, for several days, you are ready for "Beginner Knitting Classes by Lee Tea: Part 2 of 3".
Happy yarning!


