Custom Wall Art from Contact Paper
After getting my place, I found myself wanting to buy a lot of things to cover up empty wall space but wanted to save money and am a very DIY type of person. One day I came across wall stickers while shopping online, I loved the idea! Nothing seemed to fit for the price. I decided to look into making my own.
That was when I rediscovered contact paper. It was never something I had around my house growing up but if I had my room as a teenager would have had a very different look.
Contact paper is very easy to work with. It will be especially fun for those who enjoy stickers.
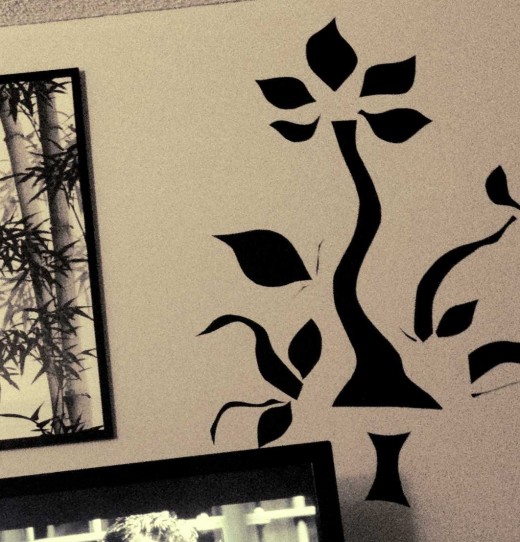
For your convenience, the back of a typical roll of contact paper is gridded. It makes it a lot easier to cut straight lines and keep your proportions in check when drawing freehand. That is what I did while trying to make an abstract flower.
When tracing your design, I suggest using a pen or pencil with a dull point to prevent leaving imprints on the reverse; for this reason, I prefer markers.
Push pins ruin posters and photos. Dry mounting images on a poster board can get costly. A dry mount also runs the risk of warping and or peeling off the board after a short period of time. Though this is more common with larger images, I encountered this many times while working in an art and frame store. You also see the sides of the foam board if the dry mounted image is not placed into a frame.
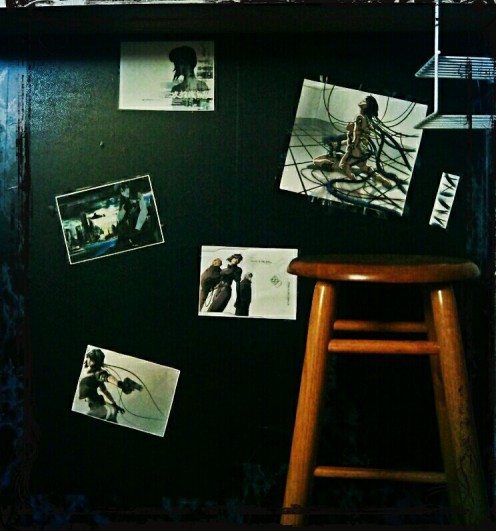
Incorporating contact paper as an alternative to taping, pinning, or stapling papers and photos to your wall works great for college students in dorms or people with stricter renting situations.
You can do this in a variety of ways. I like to pick out contact paper which can double as a border for my photos.
- Glue or use double sided tape to mount your picture onto the contact paper (I would use an acid-free glue stick to minimize damage if it is something of higher value).
- Once glued, cut the exact image out or add 1/8 of an inch around the perimeter to give a nice framing (the larger the image the thicker I would make the border).
- Decided where to place the image. Done.
This is a damage-free way to post your favorite images on your wall and easily rearrange them if necessary.
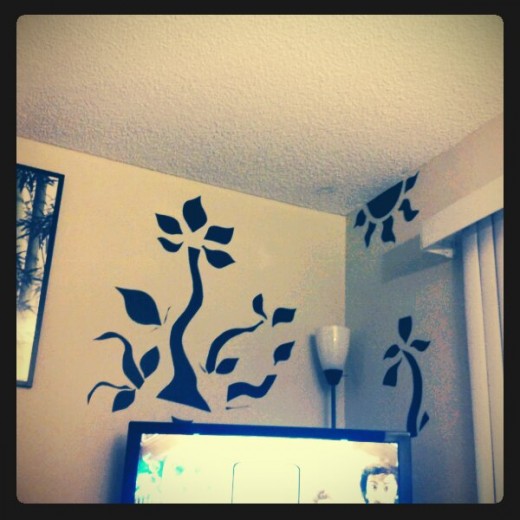
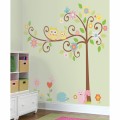
There are stencils all over the internet you can print out and use. I decided to have fun cutting out random shapes to rearrange on the wall until I was satisfied with the result. No residue was left after removing a piece, and it did not have trouble sticking a second or third time.
This project is for everyone regardless of artistic level.
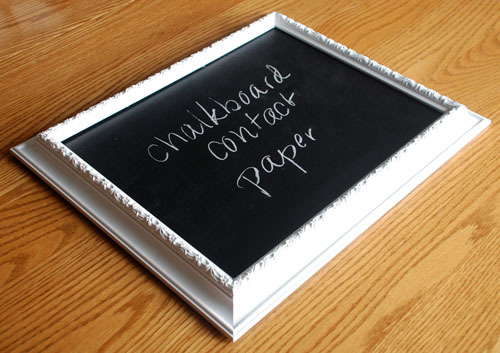
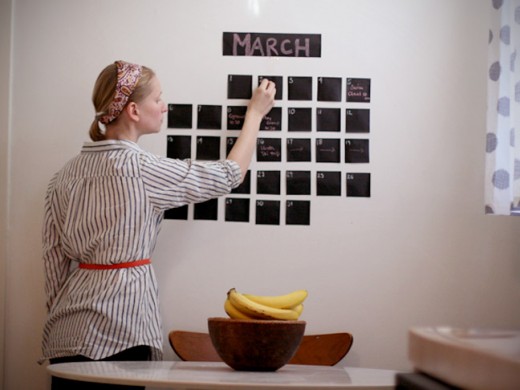
Chalkboard Contact Paper
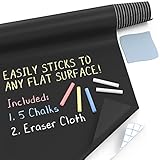
Create multipurpose chalkboards with commercial chalkboard contact paper (check Amazon).
Here are some ideas:
- Framed chalkboards: Cut a piece of board (mat, cardboard, posterboard etc.) to fit the frame dimensions, stick the contact paper onto a board then mount it into your frame. You now have yourself a custom-made chalkboard.
- Freestyle: Cut the contact paper into a shape you like and stick it next to your desk or on your fridge.
- Teachers can make economically priced individual chalkboards for your students. You can even use it as a day project and have the kids make it themselves.
The contact paper can even be stuck to the top corner of their desk, as a scratchpad for their math problems. - Create calendars for home or work environments.
- Restaurants can use this to display menus in a variety of ways.
Where to find contact paper?
- Hardware store
- Online stores (check out the Amazon links in this post)
- Craft stores
- Dollar stores (it varies with each store but some carry unique patterns you may not find elsewhere)

