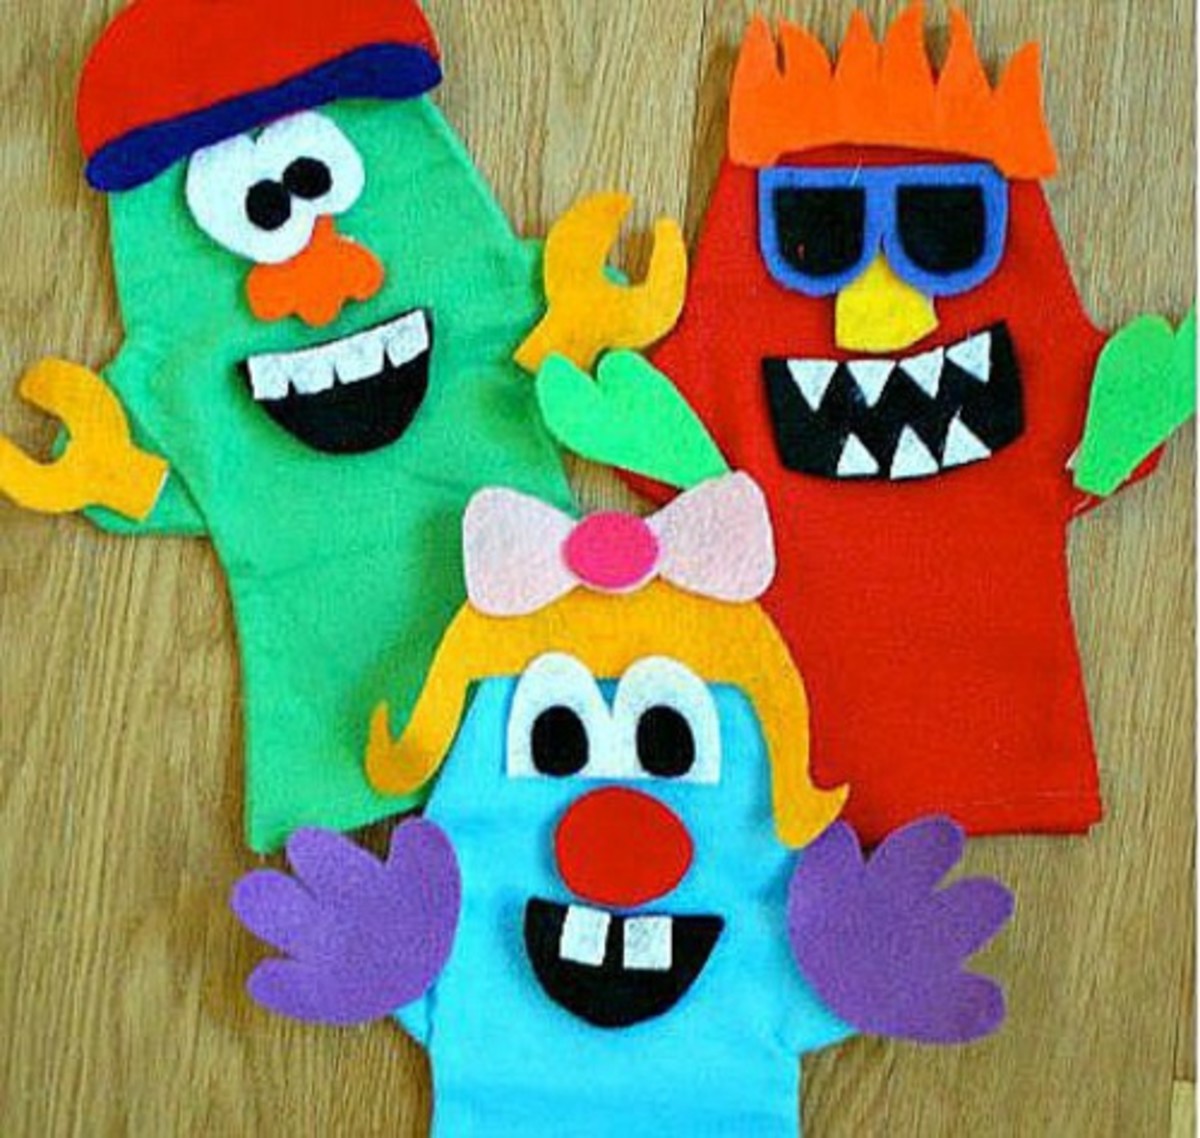
Easy Crafts - Make Patchwork Cats
Simple Craft Project!
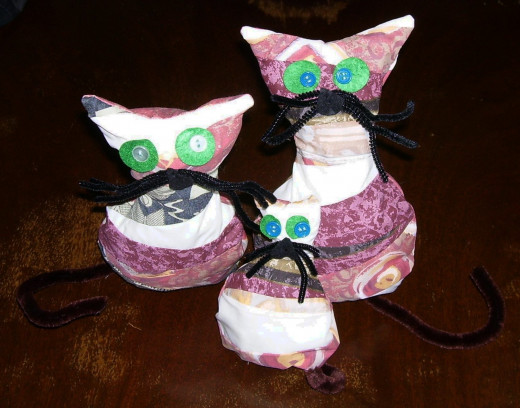
If you are looking for a simple craft project, which is easy to do and involves only basic sewing, and which can be made economically from fabric scraps, then look no further - especially if you love cats!
These cute and quirky patchwork cats can be made in a couple of hours.
You could use this project to:
- Make gifts for a bring and buy sale;
- Teach kids to use a sewing machine;
- Fill a rainy afternoon during school holidays;
- Quickly make a gift for a cat-lover;
- Use up fabric scraps;
- Make crafts for charity.
Patchwork Cats!
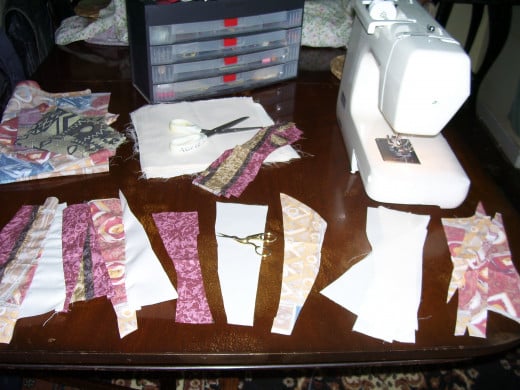
You Will Need...
- scissors
- scrap paper (an old envelope will do)
- a variety of cotton fabrics, patterened or plain
- sewing machine (or you could hand-sew but this will take longer)
- stuffing - kapok (fabric scraps, odd socks, lentils etc.)
- sewing cotton
- buttons or beads
- pipe-cleaners, thick wool or ribbon
- felt
If you are working around a tight budget, this project is great as it readily allows you to improvise on materials. Many, if not all, of the items you will need may already be lurking at the bottom of your sewing box!
If you do this project with very young children, please take all the usual precautions with needles, small objects, sharp objects and machinery.
Creating Stripes!
How to Make the Stripy Bodies!
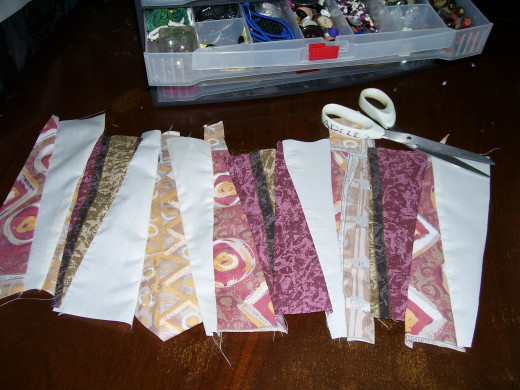
Collect together a variety of cotton fabric. It can be plain or patterned or a mixture of both. The patterns don't have to match in any way. However the end result will look better if the colours are reasonably similar. For the patchwork cats shown here, you can see that all the fabrics were of cream, brown and tan colours.
You do not need to use a pattern to cut your pieces of cloth. You can if you absolutely wish to, but it is easy to simply cut long triangles of cloth then mix and match them all, so you'll have pale colours next to dark patterned colours.
The fabric pieces shown here measured approximately 7" long and 2.5" to 3" at the widest point. It is ok if they are not all the same size - in fact it looks better if they aren't.
Using a sewing machine for speed, join them lengthways. You can hand-sew them if you prefer but this will take longer, obviously. Mix them up, so fat ends go next to thin ends, so the whole thing does not look too uniform.
When you have sewn them together, iron the back of the cloth so all the hems lie flat.
Creating the Stripy Patchwork Fabric
Cat Templates
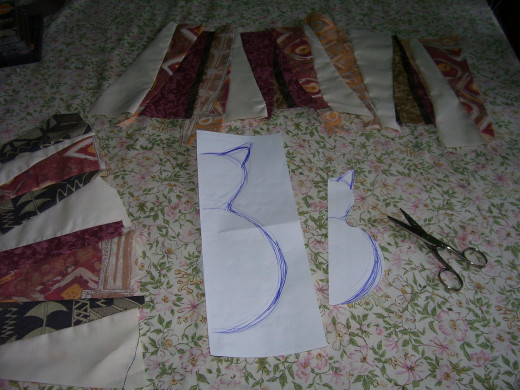
How To Make Cat Templates!
You will need a pen and some scrap paper for this. An old envelope will do, so will the side of an empty cereal packet. There is absolutely no need to use quality paper, and you don't need to be gifted at drawing by any wild stretch of the imagination.
Take a piece of paper slightly larger than the size of the cat you aim to make.
Fold the paper in half lengthways.
Draw two half-circles, and one on top of the other - like the photo shows. Make one slightly smaller than the other. The large circle will be the body, and smaller circle will be the head.
Smooth the outer edge where the two circles join, which will form the cat's neck. Add a triangle on the head, which will be the ear.
When you are satisfied with the simple cat shape, cut it out. If you are making several cats, it can be fun to make them in different sizes so it looks like you have a family of cats.
Cut-Out Cat Shapes
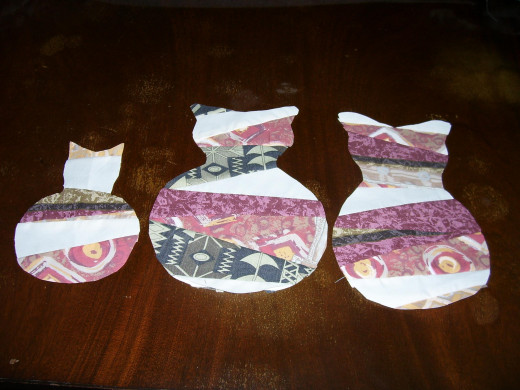
How To Make the Patchwork Cat's Body!
Fold your stripy fabric double. It is ok if the patches don't match up.
Pin the paper or card template onto the fabric and cut out.
If you haven't enough stripy fabric, you could use a plain fabric in a complimentary colour or pattern for the back of the cats.
Do not sew the two sides together until you have added a cat's face.
Adorable Kitty Faces!
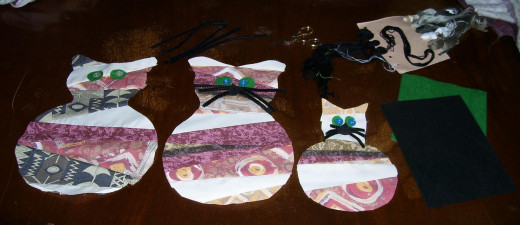
How To Make Cat's Faces!
Each cat will need two eyes, some whiskers and a nose/mouth in order to give its face character.
Keep thing simple, and see what you can find in your sewing box. Buttons are great for eyes! Put a small circle of cloth underneath the button to add colour. Felt is good for this as it won't fray, but use what you already have.
I used pipe-cleaners for whiskers, then trimmed them to size. These are held in place on the cat's face with a few simple stitches, which themselves are largely hidden by an small triangle of black felt which acts as a nose.
If you don't have pipe-cleaners, then thick wool will do just as well. Or how about those bendy wire ties used to seal sandwich or freezer bags? Ribbon can be used too, preferably thin ribbon. Or cut up an old shoe-lace.
Stuff Your Cat!
When your cats faces are finished, pin teach cat face-down onto the back half, making sure the inside of both sides is facing out.
Then sew both halves of the cat's body on the sewing machine. Again, if you prefer you can sew by hand. Leave an unsewn, open space at the base.
Gently pull each cat so the right side is facing out again, then stuff the body with kapok. If you have no kapoc but a few odd socks, cut these up and use this instead. Alternatively, use dried peas or lentils, scraps of cloth, or polystyrene packaging broken into small pieces.
When the cat's body is stuffed, take another pipe-cleaner and tie a knot in one end. Put the knotted end inside the body, then using a needle and thread sew up the opening. The knot will prevent the pipe-cleaner from pulling through.
And there you have it - one easy-to-make patchwork cat, or a whole family of them!
Share Your Views!
What did you think about this Hubpage?
Further Reading...
- Sew a Patchwork Eagle Wall-hanging - Free Pattern
Make your own easy-to-sew patchwork eagle wallhanging! Use the FREE SEWING PATTERN! - Sew a Suffolk Puff Tablecloth!
Easy to sew and economical to make, traditional Suffolk Puffs can be stitched together to create colourful and surprisingly beautiful tablecloths. - Easy to Sew Seasonal Decorations
Learn how to make easy-to-sew seasonal decorations which are fun, colourful and low-cost.
© 2013 Adele Cosgrove-Bray

