HDR Photography Processing
HDR Photography
By Steve Robson
One of the weaker areas that digital photography has is a limited range of tones that can be recorded at the time of exposure. With black and white, it has a far greater range on tones that can be present. When printing up B&W a number of tools can be used to get the best out of a negative for well made print. Ansel Adams zone system uses a number of methods starting with the exposure of the film to create a full tonal range in a finished print. Digital imaging lacks the flexibility of film and up until the HDR program, one had to make the choose of what exposure was to be used in difficult lighting to get it to work. Photo workshop could help edit some of these problems but not all of them. HDR is the next step in helping photographers create images that has more full range of tone that was only seen in the darkroom days. I will go through this program and explain how it can help out the photographer create improved image quality.
As with all computer programs, there is wide range of settings that can be used to set-up a finished print. The effects can range from very realistic to very poster like in appearance. I will look at the differences in process a bit later. As stated in the introduction, HDR photography is intended to aid the photographer get better pictures in high contrast lighting conditions. There are many programs that can be down loaded for free off the internet. I am using "Photomatix". It is a free down load being and is to be used on trial basis. The program can be used without any expiring date but a watermark name appears on the finished image. For now I am just cloning out the word so I am not paying the fee for the licensed version. There are other programs that can be tried out as well. They all basically work the same in attaining the same result.
The first item that must be done is to take some pictures to be loaded on to program. Photomatix recommends the use of three pictures, taken at "normal", at two stops under and two stops over exposure. Any modern D-SLR can auto bracket these types of pictures. If the subject is very still, even a simple point and shoot camera be used to take a series of images when they are used in there programmed mode. From here, you select the images to be placed into the program when you open a file up. The next step is to merge all three images into a HDR file. At this point there is too much information for the create a finished picture. It is a 32 bit file.
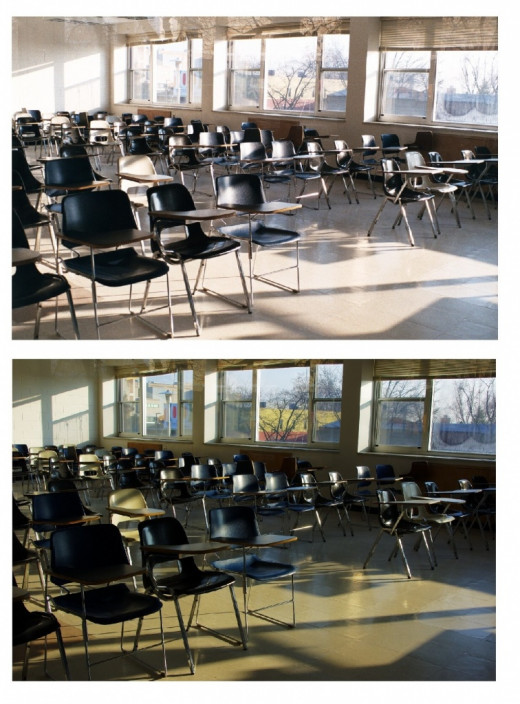
You need to go to the next step. This part of the processing is called toning. This where the image can now be created to give whatever look you are looking for. There a number of different looks that can be done but I will be looking at the fusion setting. This gives a very realistic looking image when finished. The Photomatix program setting to get realistic is called "Fusion". This comes up in the menu once the tone mapping done. From here you have control of how well the three layers merge together. It is matter of time and experience get the right amount of bending to see the finished picture will look. This where I get the feeling of working in the dark room I used to have. The big difference is the lack of toxic chemicals that where part of the old school dark room. This newer method is far safer to work with. By adjusting the lightness and darkness of various layers, a balancing act takes place. The overall look will result in natural looking scene that looks like what the eye saw. This is the goal at least for me most of the time. With time and practice, some great looking pictures can be created.
I have been looking up forums regarding this program and there is a lot of division of its use. A lot of this it how many of the final images being created look. Many users have used the settings that create a very graphic, cartoon look. Seeing first impressions can have a lasting effect, photographers used to seeing a accurate rending of a scene are put off by the graphic look first time users of HDR have applied to their work. If applied in very gentle manner, you should not really notice the affects that HDR have applied to it. Given that this is a new way of seeing an image, it will take some time to settle into the photographic world.
The normal set-up recommended for doing a basic to set a camera, Mostly a D-SLR camera to under and over expose by 2 stops. While this is a good first basic step, other types of cameras like bridge cameras may only have only a setting of either plus or minus 1 stop. Other cameras lack any type of auto bracketing at all. This does not mean that that they cannot be used at all. As long as they have some form of manually setting the camera to do different exposures away from main setting you can create a set of pictures for HDR processing.
One item I read about was using the zone system in digital photography. Zone system is a method creating a print on the film world and uses a variety of light metering and developing of the film to create a quality print. I think that this method can be applied to the process of HDR picture making. By using a series of meter readings from a hand held light meter to get precise light measures could help get a more accurate high and low exposure values. This would mean using your camera in manual mode. The resulting base HDR file will have a better to start setting up a more balanced picture and print. It would be the next logical in the system that Ansel Adams started. The start of this process by taking the mid-tone range of scene that is to be taken. Use an 18% grey card to determine the exposure. Then take a reading in the shadow areas using the same 18% grey card. Meter the sky as well. There will varying and may not have the same readings as auto bracketing settings. From there, you can process the files in the normal manner. Small adjustments will still be made but it should give a more finally tuned looked image. I have to experiment with this method to see how it works.
Another way of using HDR is to us it to recreate better copy pictures and older slide. Copies. When copying pictures, there is some loss of detail due to increased contrast. Working with colour slide film results in the same thing. By shooting three bracketed images and merging them into one using the HDR program, you can get a superior copy that will very close to the original slide. One can even try to change the appearance of the original slide or print to give the image greater drama if needed.
The next question is when and where do you use HDR. Not all pictures need HDR. You can feel that there is some drama in a scene that is best left for a single image that can be done. Sometimes the simple solution is the best. Many times, it is nice to record a scene is surreal in feel. The photograph is just that, a graphic reproduction of a real scene. Once it is placed into the 2-D world it becomes a graphic that can be transformed into whatever the creater makes of it. There are no real hard and fast rules that the image must maintain the realistic appearance. There are settings in the HDR program that allow very poster-like graphic looks as well. Sometimes the photographic image is just the start to another level of seeing. Many photographic programs have settings to allow one to change the look of the photograph.
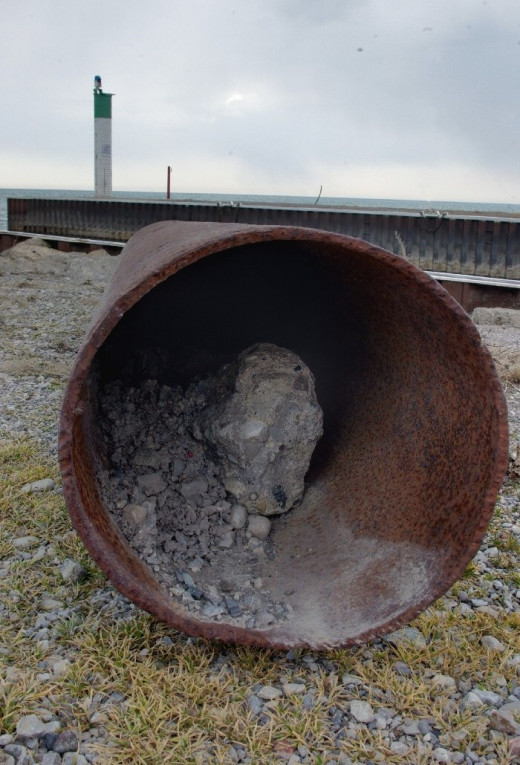
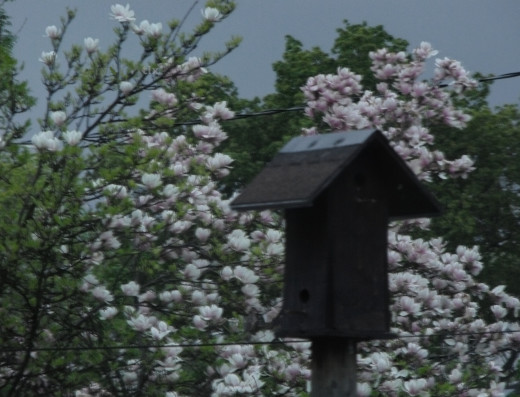
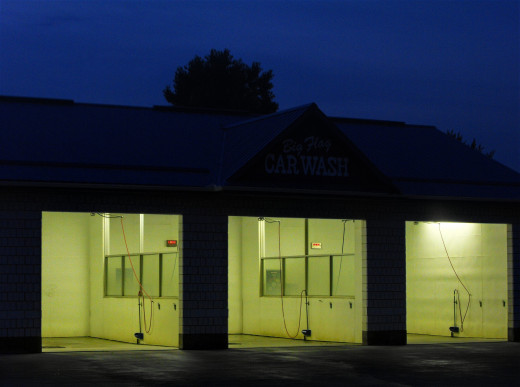
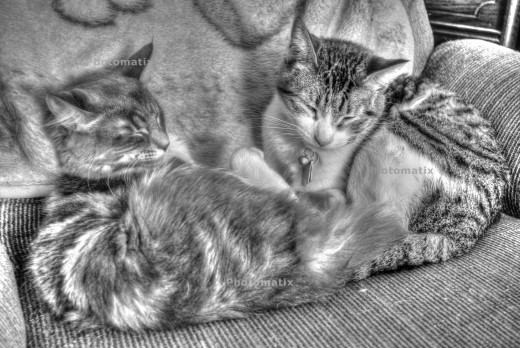
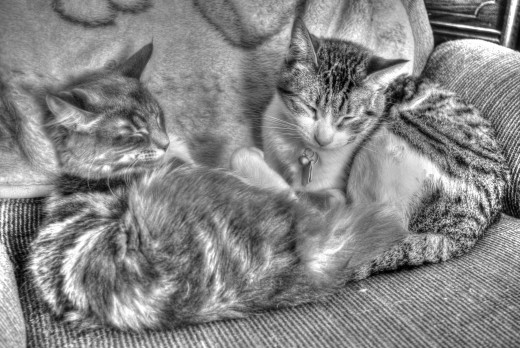
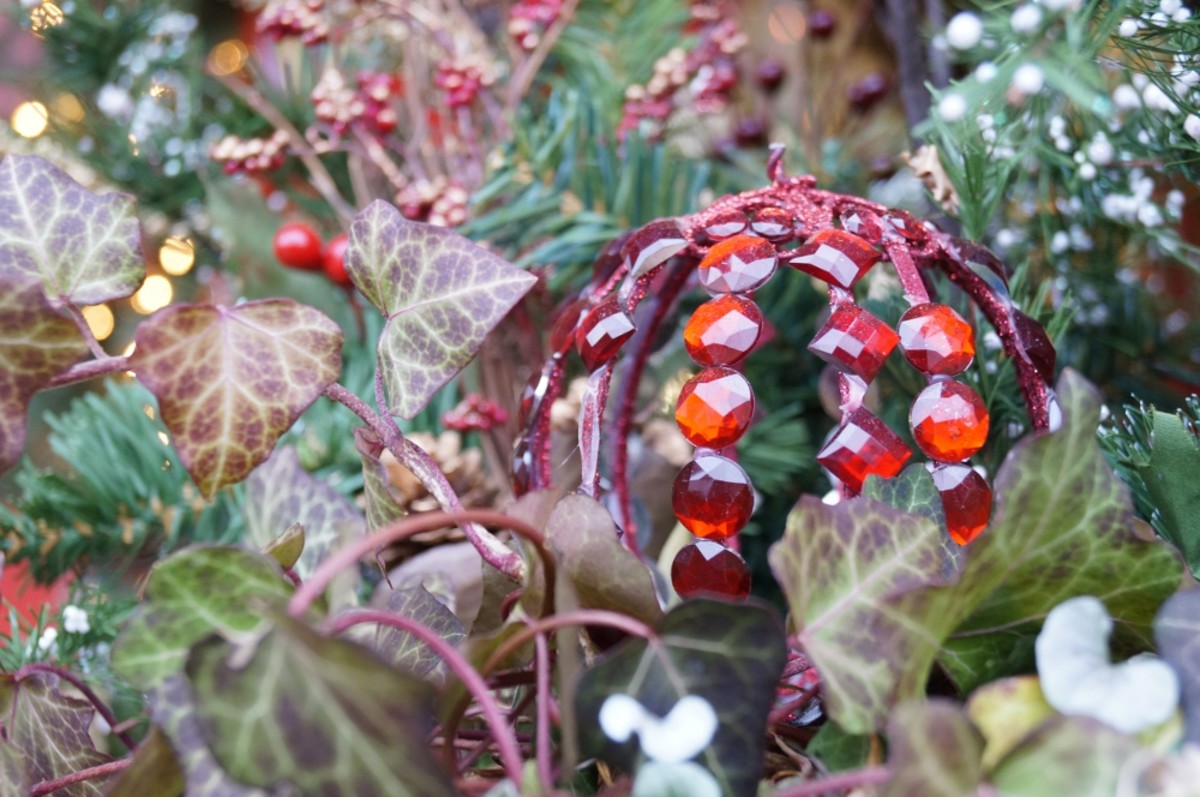
Sample HDR Pictures
