- HubPages»
- Arts and Design»
- Drawing»
- Drawing Tutorials
How To Draw Chibi

How To Draw Chibi Tutorial
Here is a quick how to draw chibi tutorial I put together tonight. I am not really into practice of teaching people how to draw things... but I tried to make this easy to follow along.
This hub is a how to draw chibi tutorial, not a how to draw hair or eyes or how to color... so I did not go into great detail about the specifics of things like that. Another hub, another day. Hopefully this will get you started, enjoy!
Okay let's learn how to draw chibi!
Step 1
Stick Figure...?
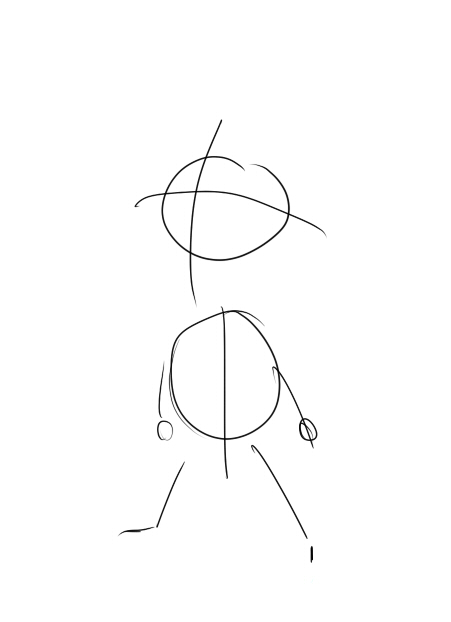
First thing is first... starting off with a stick figure will help you make sure the sketching done in the next steps is in place.
Think of it like a mini skeleton, but remember this isn't going to be seen later it doesn't have to be perfect just enough for you to know where to sketch things in later.
I always like to add my guidelines to the face, the cross I drew over the circle for the head because it helps we with the shape of the head as well as placement for eyes, ears, nose and mouth later on.
Okay now that you have your stick figure we can move onto the next step....
Step 2
Let's Flesh It Out A Little
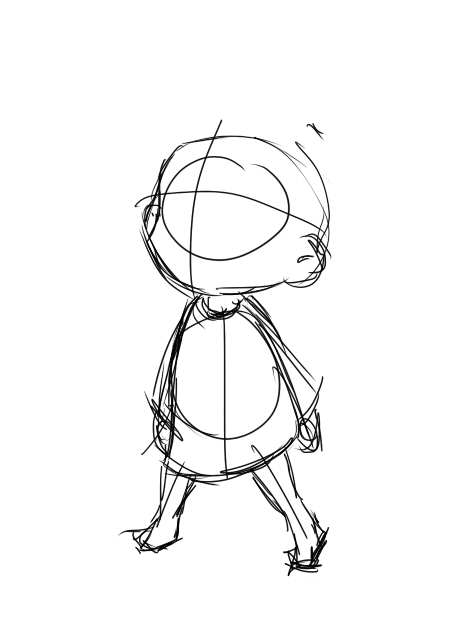
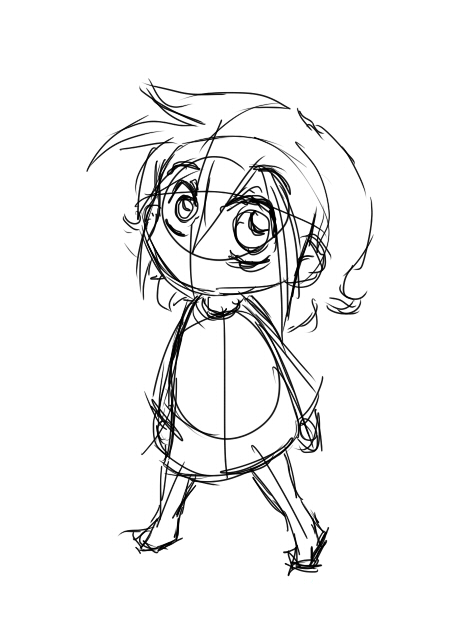
The next thing I like to do is start loosely sketching in the head and body...
Once, again it doesn't have to be perfect, just starting to get a feel for what I want to see in the finished drawing.
Here I am drawing a female chibi character wearing a school uniform dress, so as you can see I started sketching that in this step.
In this step we also start fleshing out the chibi. We drew the skeletal structure in the last step, Now it's time to flesh it out!
No we didn't forget the face or hair we will move onto that soon...
Step 3
How To Draw Chibi: Eyes
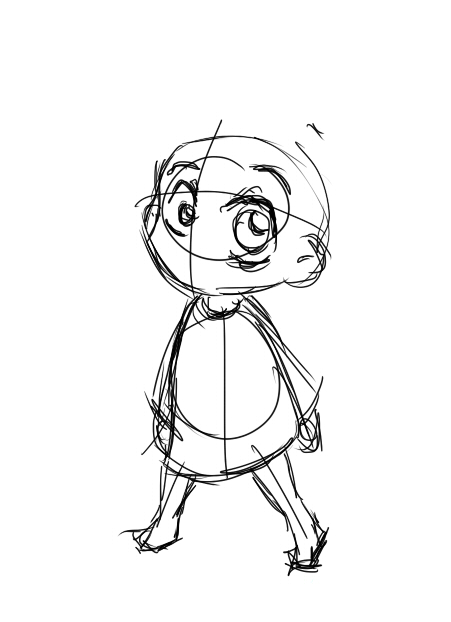
Okay! You've got the basics for the body in place let us now move onto the face!
I always like ti draw the eyes before I draw the hair. That way there are no lines in the way distracting me or pushing my lines for the eyes out of proportion.
Often times you will see in chibi character or in manga characters that the hair becomes invisible as it goes over the eye.
Unless it is a style where the hair is completely covering the eye of course. But one or two strands falling over the eyes do not actually go over them. Sounds funny but it looks well drawn out.
Step 4
Let's Add Some Cute Hair!
Now that we've drawn in some basic eyes we are going to add the hair.
Wait, hang on... If you noticed her left eye is now different? I didn't like the way I drew it originally and I wanted to fix it quickly so in the final lines it would still look strangely placed. Feel free to use an eraser and fix things if you don't like them, but don't go overboard... these are not final lines.
Chibi characters have the same kind of hair that manga characters or anime characters do. Unrealistically bouncy high volume hair. Often in wild colors! I thought about doing this chibi with purple hair but it didn't turn out that way.
So play around with the hair, I love to draw my chibis with short to medium hair but chibis can have any length or style of hair you want! Have fun and I'll see you at the next step..
Step 5
Finishing Up The Sketch..
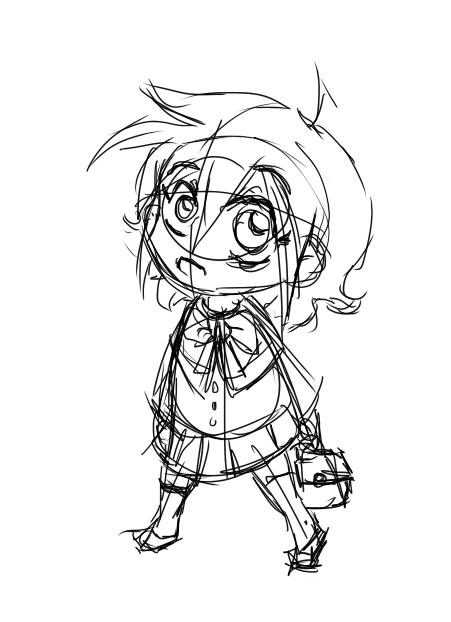
In this step I am just going to say finish adding details.
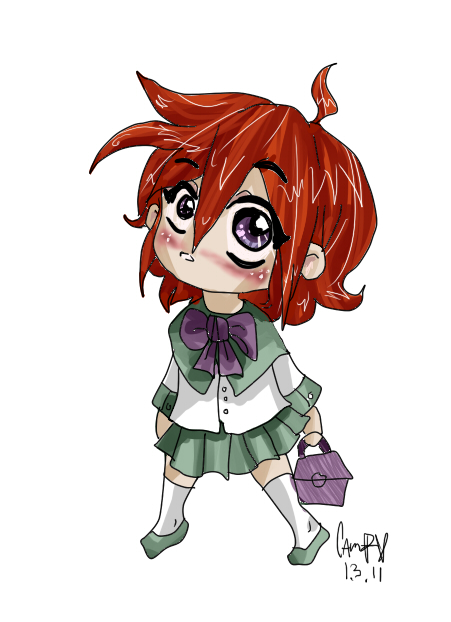
As you can see I finished sketching out her clothes, defined a pleaded skirt, some shoes, a handbag, finished up her school uniform outfit... and added a mouth, just a little one remember chibis do not have detailed mouths.
They can have big smiles or frowns or whatever but they are never detailed and traditionally I chibi mouth is left white.
Though you can do it differently, it is your drawing... so do what you want with it!
Step 6

How To Draw Chibi -Final Lines
Okay here is where we will take a our sketch and put down our final lines.
Right now I am drawing digitally so I simply lightened the original sketch, then added a new layer on the paint program SAI and drew over clean lines.
I lightened the sketch so I could see the lines I was drawing cleanly. Adding a layer in traditional art is the equivalent to suing a light-box and inking your sketch on a brand new sheet of paper.
You can either do that if you want or you can ink on to the same paper and just erase the pencil lines. Any way around it, your drawing should look clean and finalized like this hen you are done.
Step 7

Color Your Chibi!
Now comes the really fun part! Add your colors!
If you are drawing digitally you can do whatever you want with it. My colors are digital of course.
However if you are doing this traditionally you can use markers, pencils, paints, crayons, etc to color your drawing. Using different materials is going to create different results. Use what you have or what you like whatever you have access to and have fun!
Remember that with chibi characters you can easily go overboard on color. I have drawn quite a few chibis with rainbow hair.. fun right?!


