How To Make A Cute Toddler's Bib While Practicing Beginning Sewing Stitches Part 3
Putting it all together!
Welcome to Part 3 of How To Make A Cute Toddler's Bib - where it will be finished! Like I said in the other hub, this is a larger bib that covers more of the little one's clothes so that they can make a playful mess and hopefully won't get any of it on their clothes.
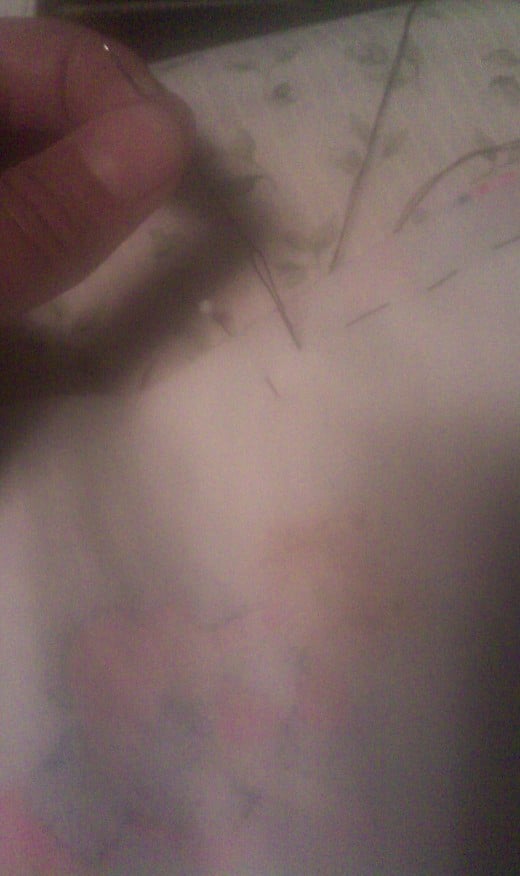
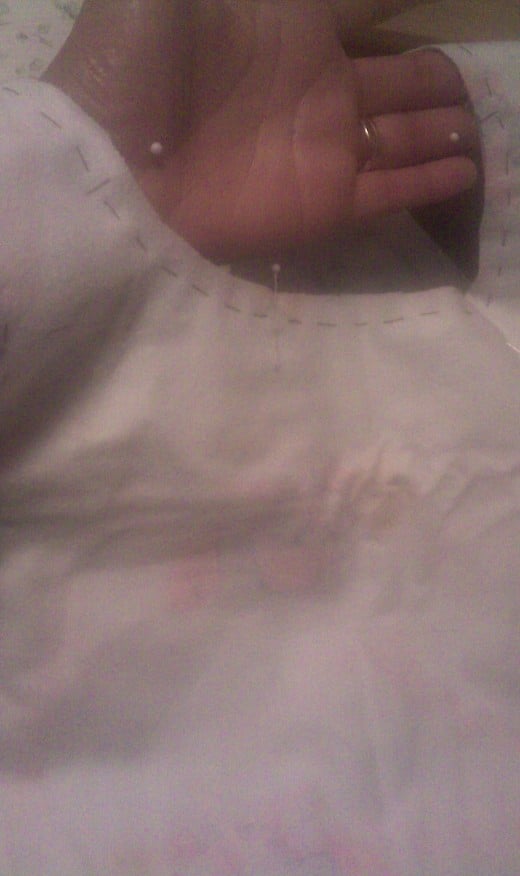
The first thing that needs to be done now is to baste the bib together. The basting stitch is a temporary stitch which only holds the material together until it is sewed together permanently by a sewing machine or a tight straight stitch by hand. After the permanent stitches are in place, the basting stitches are then removed. The basting stitch is one of the first stitches which needs to be learned in sewing. It is a straight stitch which is a longer than a regular stitch and has a wider space in between stitches.
basting stitch
Click thumbnail to view full-size

The basting stitch ( A temporary Stitch)
Start by cutting a piece of thread, (I always make the thread the
length of my arm) and knotting it at the end. I'll teach you how to
do a back stitch instead of knotting the thread at the end a little bit
later. Start by inserting the needle from under the bib and pulling it through the
material, pulling it all the way up. Make your seam allowance a little
over 1/4 inch. After the needle is pulled up leave a
small space and insert the needle from the top of the material right in
front of the first stitch and pull
it through the bottom all the way down. Repeat this process all around
the bib.(figures 1 and 2).
Back Stitch
When you've sewn around the bib and reached the first stitch, here is where you will do the back stitch. The back stitch is a securing stitch. Just go backwards one stitch inserting the needle into the material from the top and pulling it down, repeat this about three times in the same stitch, then cut the thread. After you've basted around the bib, take out the straight pins.
sewing a straight stitch on the machine
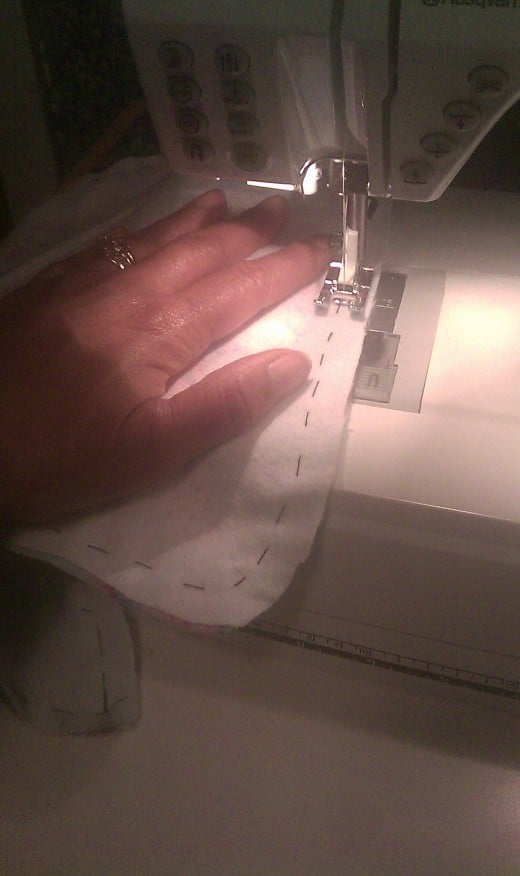
Sewing the bib on your sewing machine
Now is when you
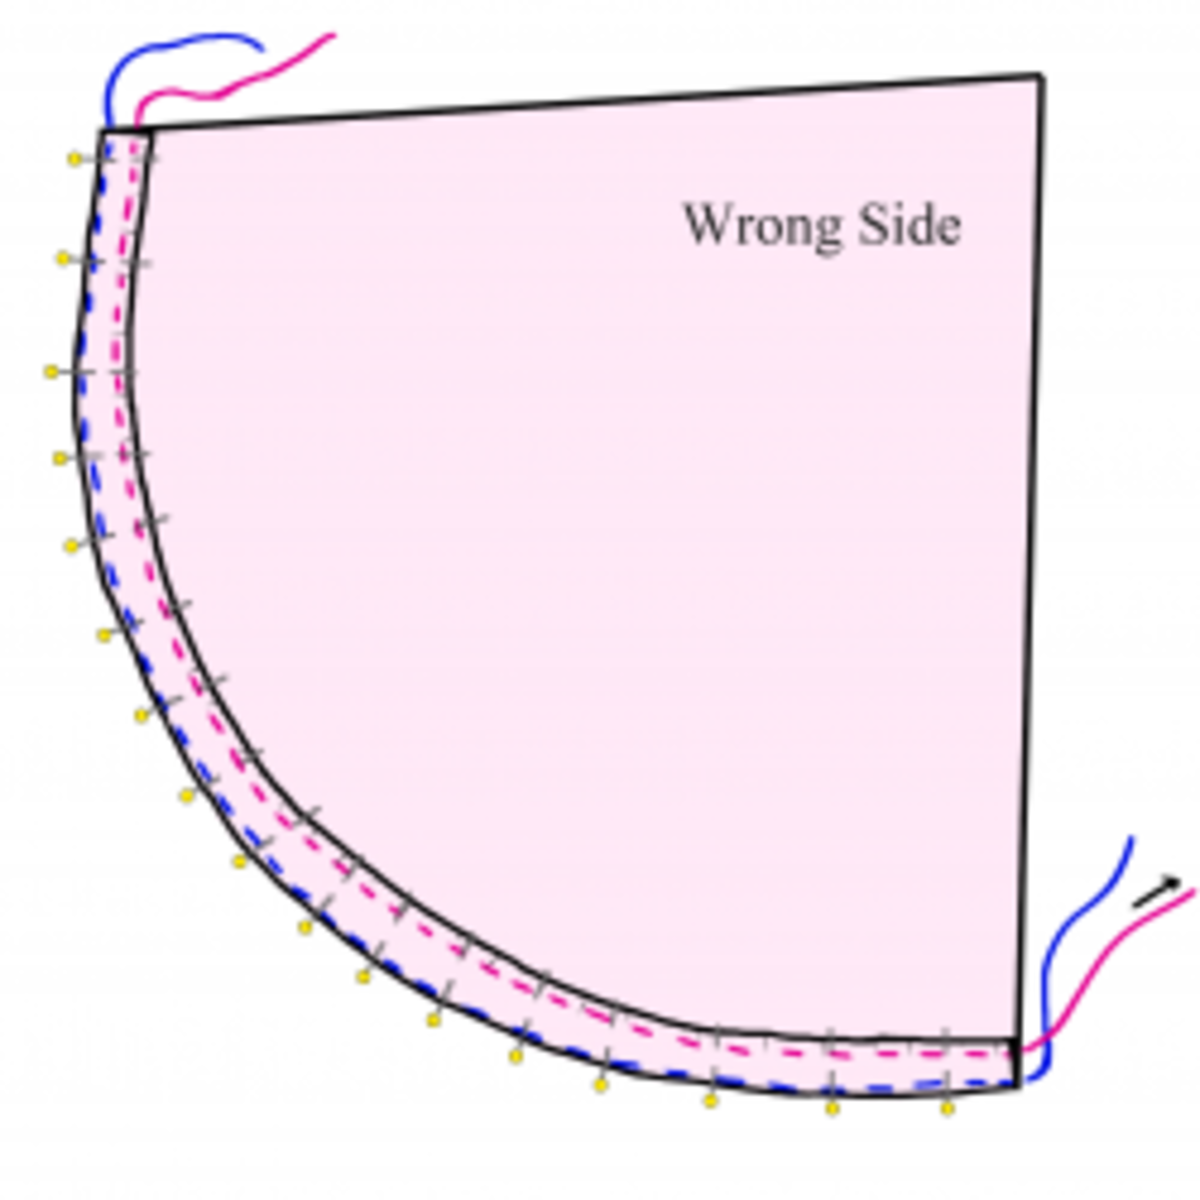
will sew the bib on the sewing machine. Using the straight stitch, sew
leaving about a 2 inch space for turning the bib. At
the beginning of sewing with the machine, reverse a few stitches for
security at the beginning of stitching and do the same at the end,
reverse to secure the stitches. After stitching with your sewing
machine, remove the basting stitches. (figure 3).
turning the bib rightside out
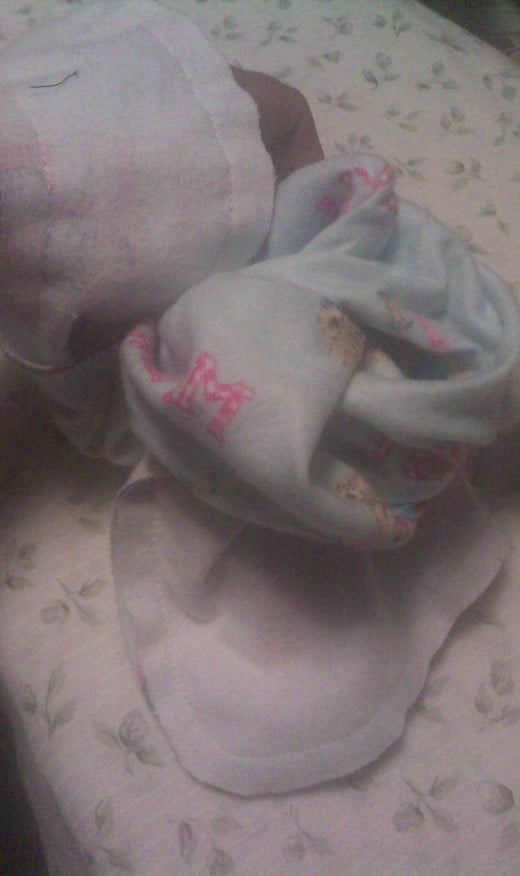
Turning the bib
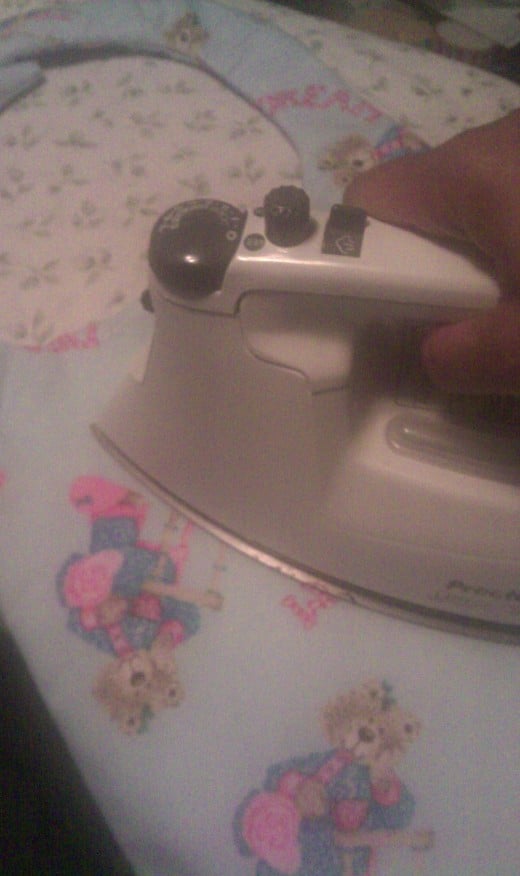
Turn your bib right side out and iron. (figures 4 & 5).The 2 inch space that is opened
will be secured with a slip stitch which is another basic stitch for
sewing. Again, take some thread about the length of your arm and knot
at the end or you can try securing with the back stitch. Make sure the
material is in the proper position for securing, then insert the needle
in one side, only taking up a very small part of the fabric, then insert
in the other side and pull (make sure your thread is already secured in
the material by knotting the end or using the back stitch a few times).
Again insert the needle in one side, only taking up a small piece of
material, then the other side and pull. Repeat this until the opening
is secured, Do the back stitch at the last stitch, then cut the thread.(figure 6).
slip stitch
Pinning on the rickrack
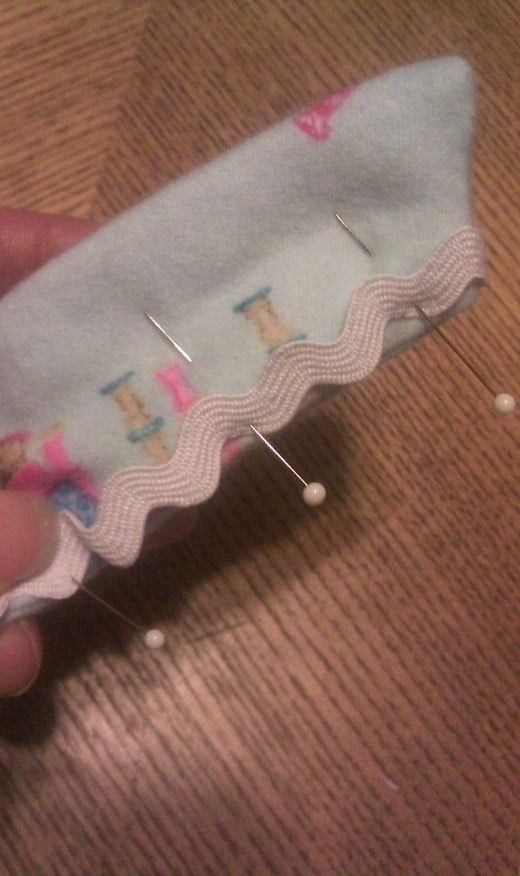
Now is the time to add the rickrack for embellishment. Measure the area
which goes around the neck and add two inches to that. Pin your rick
rack around the neck edge making sure to lap an inch of rick rack over
on either side of the back of the bib. Now your going to do the
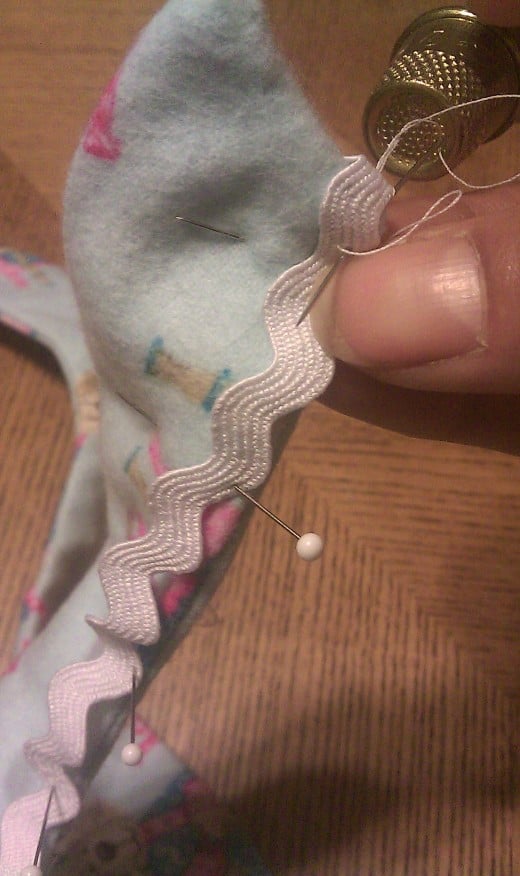
straight stitch to secure the rickrack to the bib.This is where a
thimble will come in handy, I use the thimble comfortable on my third
finger to push the needle through the material.(figure 7)
pinning on the rickrack
Securing the rick rack onto the bib with the straight stitch
To secure the rickrack onto the bib with the straight stitch, take a
piece of thread the length of your arm, you can knot the end or do the
back stitch. Insert the needle from under the bib and through the bib
and rick rack. Now insert the needle from the top of the bib down right
next to the stitch. Don't leave a space in between like you did for
the basting stitch. The straight stitch is a permanent stitch. My
mother used to make clothes for my oldest sister by hand using this
stitch, she didn't have a sewing machine then! (figure 8)
sewing on the rickrack
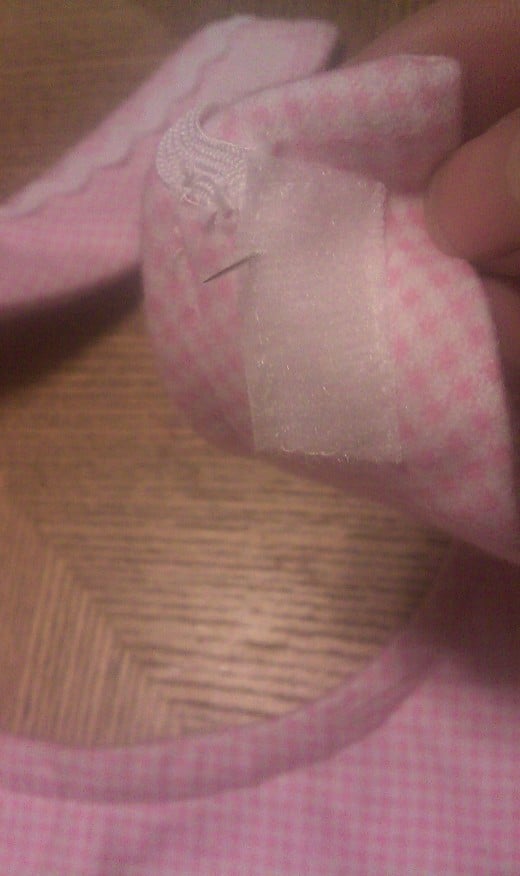
Applying the velcro fastener
After the rickrack is secured, the velcro fastener will need to be
applied. There are several types of velcro fasteners to choose from,
There are little round ones, square ones and there is a roll of velcro
where you cut off the size needed. Pin the velcro in place to the back
of the bib, the smooth side on one and the rough side on the other. Try
to place the smooth side on the upper side so it won't scratch the
toddler. Sew the velcro on using the straight stitch going all around
it and securing tightly.(figure 9)
sewing on the velcro fastener
It's All Done!
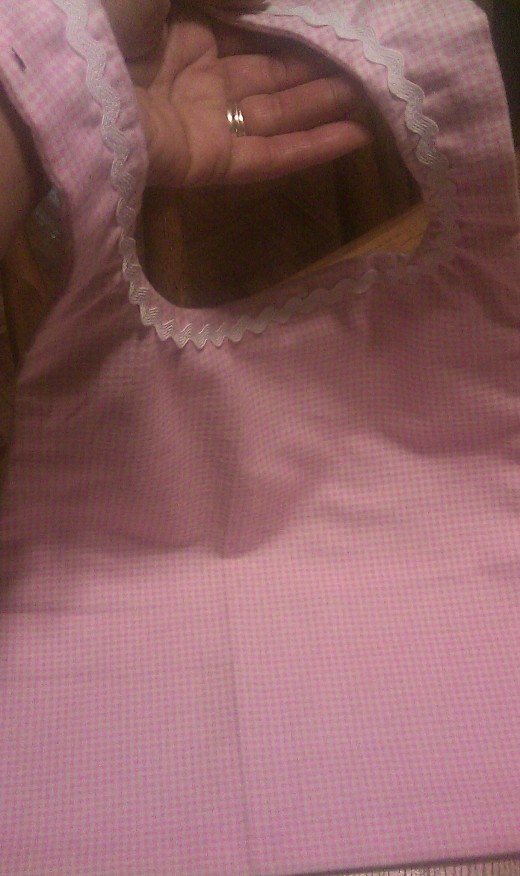
There you have it. You can vary the design of this bib by changing the shape of the pattern or adding different types of embellishment or none at all. Just have fun making this as a gift for your little one or for a busy Mom, I guarantee you she will appreciate it!
Parts one and two of this project can be viewed at the links below. Take Care!
a cutie pie toddler bib!
My Home Based Fashion Design Business
The Little Sewing Shoppe
Give hub pages a try!
- http://hubpages.com/
If there is something that you are passionate about, join hubpages and share it with the world. You and many others will benefit from it! Just follow the easy instructions at the link and you can start writing your first hub!

