How To Make A Cute Toddler's Bib From A Pattern While Practicing Beginning Sewing Stitches - Part One
Part 1
Click thumbnail to view full-size


Toddlers and bibs are always in style!
Skill level: beginner
Where there's a toddler, there must be a bib nearby. And believe me you can never have enough bibs when caring for a toddler.
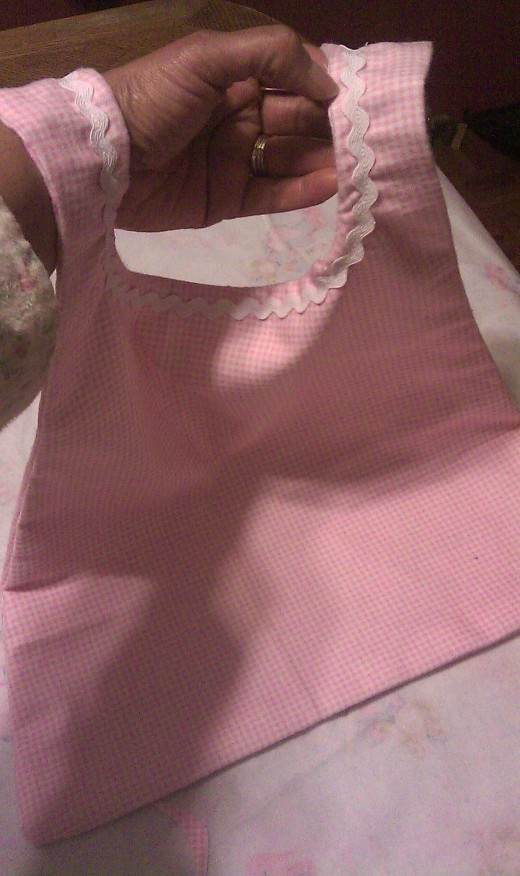
This project is nice because you can practice several beginning sewing techniques and stitches using both the sewing machine and hand stitching- while making a really cute bib. You'll get the experience of sewing a straight line and a curved line on a sewing machine. By sewing rickrack onto the bib, you'll get the experience of sewing the running stitch by hand, the velcro will be sewn by hand also for the closure of the bib. You will also use several sewing supplies and learn how to make a pattern for a bib
Part one of this project will involve getting the materials for the bib, sewing supplies and making the pattern. Hopefully you'll have some of these supplies and the material already at home. As you're making the pattern, look at the pictures to guide you along!
Materials needed
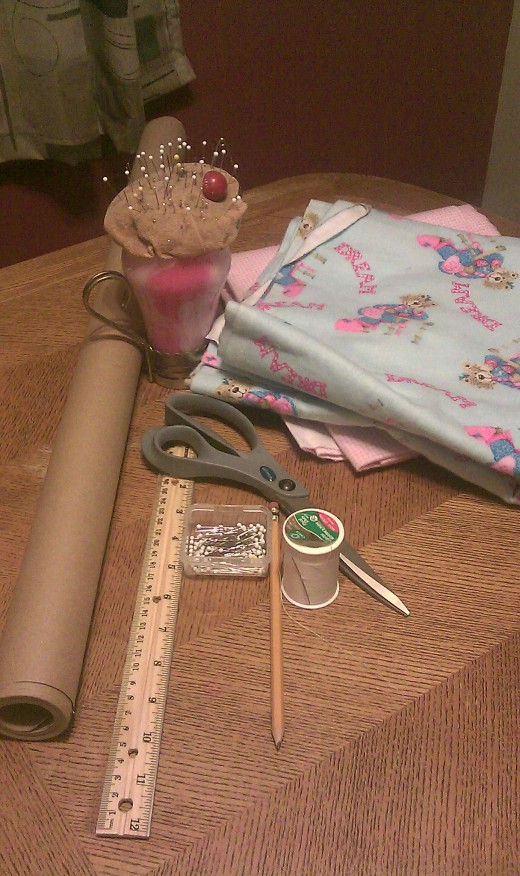
With this project, you'll need the following supplies: soft absorbent material, thread, straight pins, a sewing needle, pincushion, ruler, pencil, tape measure and paper to make a pattern with (I used brown paper), sewing scissors, rick rack (rick rack is the zigzag looking embellishment that I put around the neck of the bib) and velcro for fastening, you can also use a thimble for the hand stitching if you wish. All of these supplies can be found in sewing centers or at stores like Walmart or KMart. These may seem like a lot of supplies, but, most of the supplies are basic for sewing and they will be used over many times if you become hooked on this great art!
The process of making a pattern
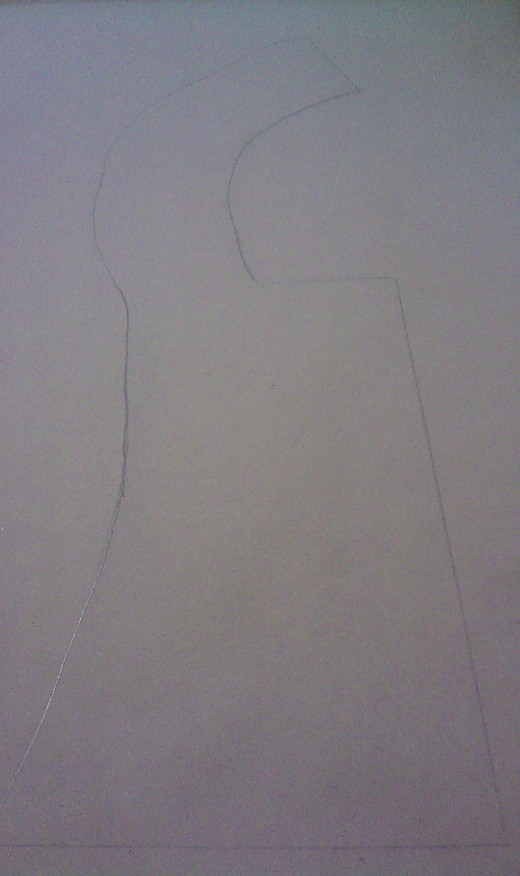
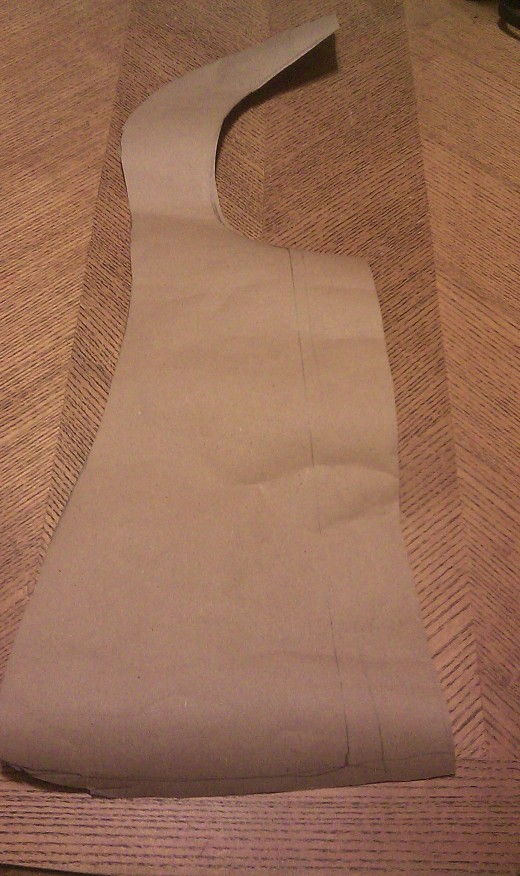
Making the pattern may sound complicated, I'll try my best to explain the process to you as best as I can and hopefully the pictures will give you the basic idea. Don't be scared, you can do it! The pattern will look like half of the bib with the center front line of the pattern being the most important line. Half of a pattern is made so that both sides of the bib will be equal. After the pattern piece is cut out it will then be placed onto the material which will be folded, with the center front line of the pattern right on the fold of the material, and then when you open the material after it is cut out, both sides of the bib will be equal.
O.K. let's get started, this is one of my favorite parts, I like making patterns. In the future I'm going to add a video to this article where you'll actually see me making the pattern and the bib, I have to purchase a decent video camera first :) O.K. enough of my talking.
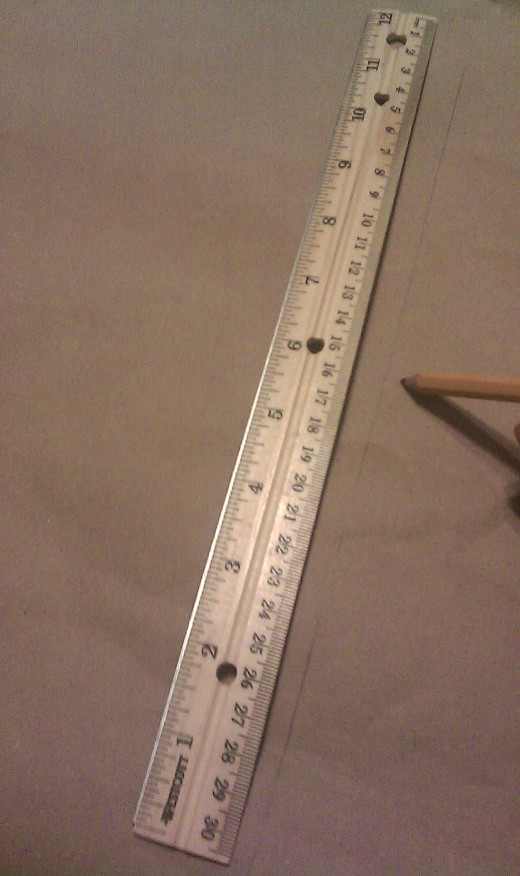
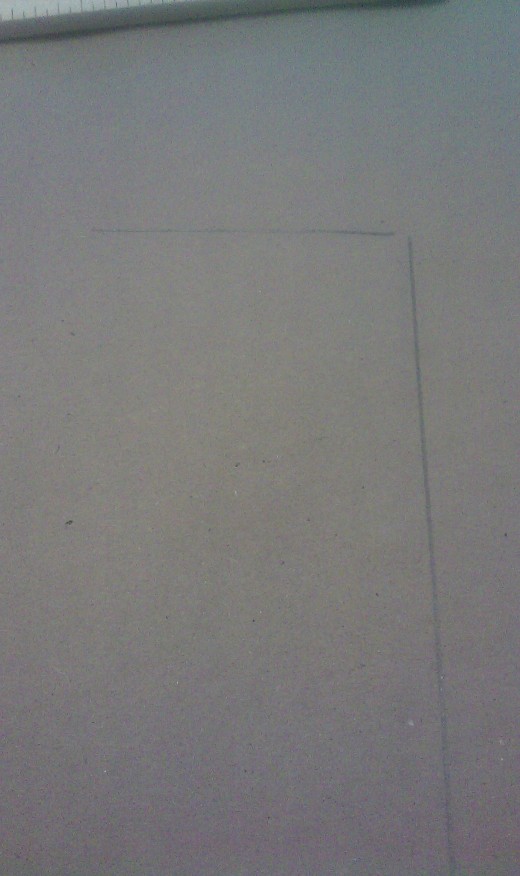
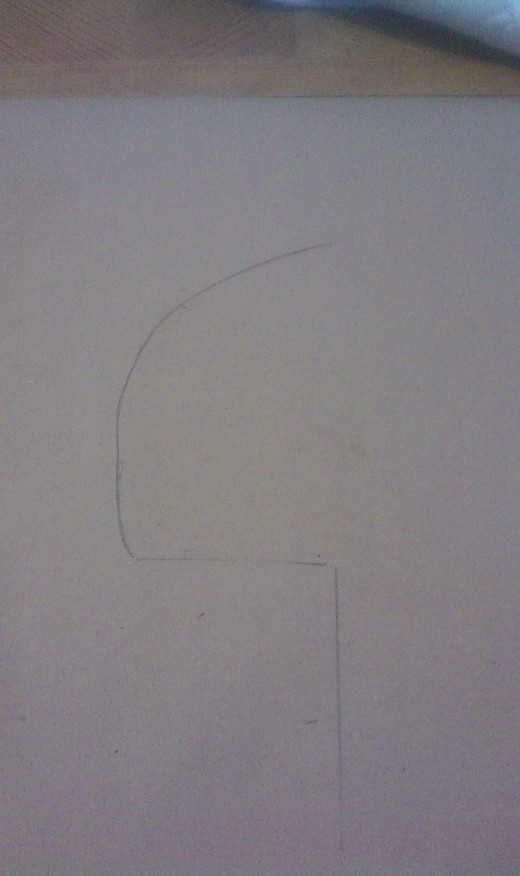
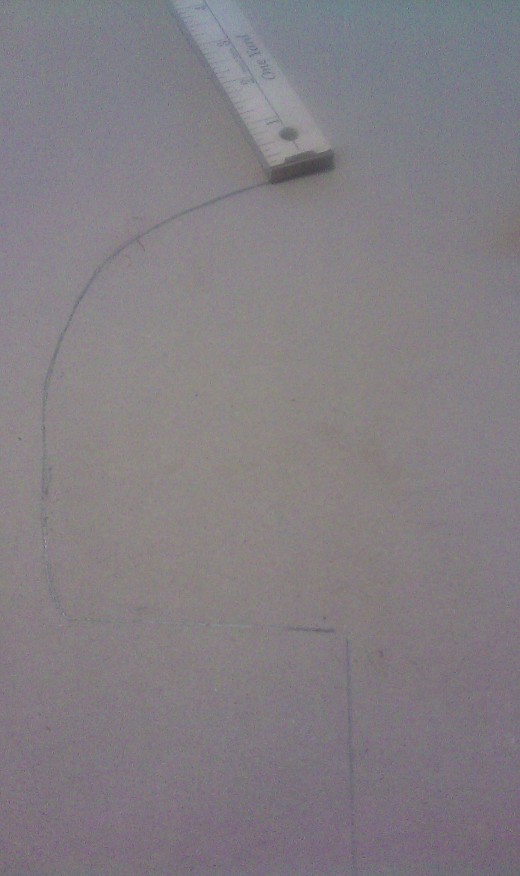
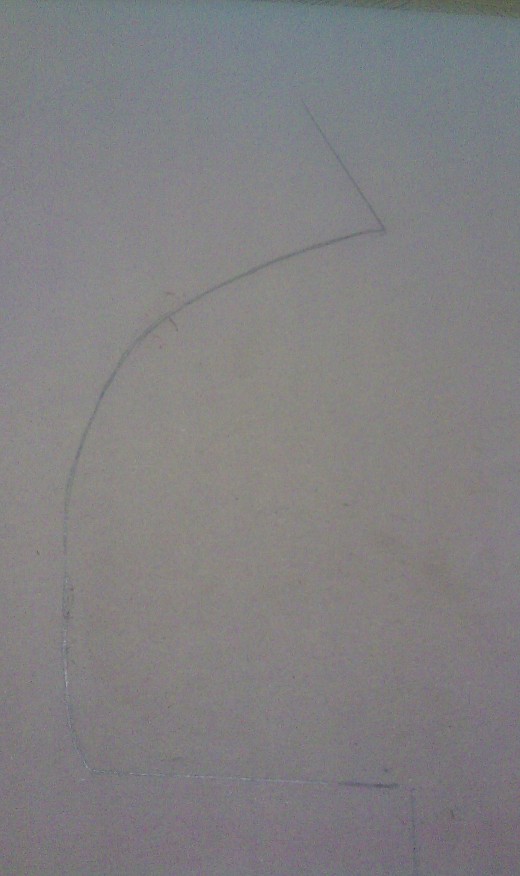
Lay out the brown paper or the paper of your choice flat on a table and starting in the middle of the paper draw a straight line down, using the ruler as a guide, approximately 12 inches long. That will be your center front line of the bib.(figure 1) I'll try to describe this next step as best as I can. At the top of the line, place the ruler at the top of the center front line extending to the left and draw a line about 3 1/2 inches long.(figure 2) Next draw a half circle, looking like a bit letter C, starting at the end of the 3 1/2 inch line,(figure 3) all the way to the top. The half circle should be about 12 1/2 inches around.
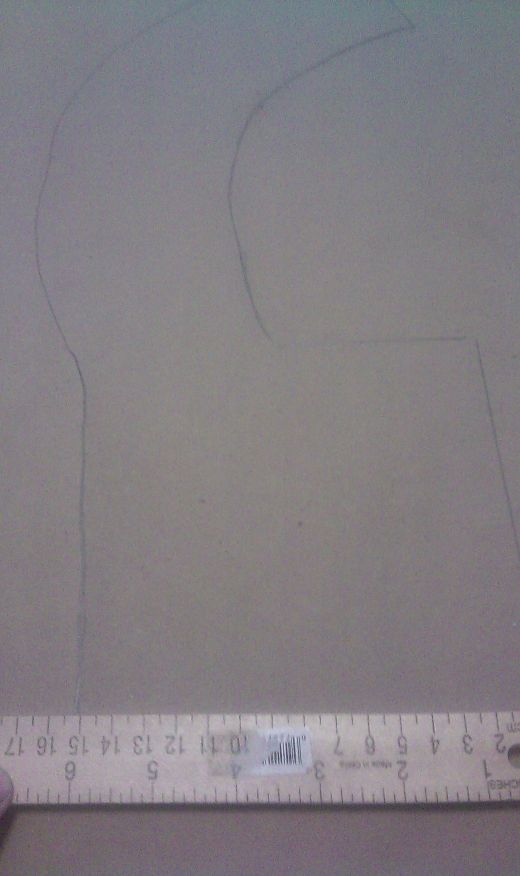
At the top of the half circle or big letter C, take your ruler and draw a line 3 inches long to the left, (figure 4) don't worry we're almost finished and I apologize if I'm not explaining well. Now draw down around the letter C or half circle keeping it 3 inches wide.(figure 5) When you get to the bottom of the letter C start drawing down and out, the middle half of the pattern will be 6 1/2 inches (figure 6) wide and the bottom half of the pattern will be 7 1/2 inches.(figure 7)
Once your pattern is drawn cut it out and trace it to make a duplicate one.(figure 8) It's so much easier using two pieces when your first learning rather than just one as you'll see in part 2.
There, we have it! Part one of getting the materials and making the pattern.
Part 2 will involve laying out the material and cutting out the pattern pieces.
Thank you and good luck!
Part two and three of this project can be viewed at the links below, take care!
My Home Based Fashion Design Business
- Learn to Sew
I frequently bump into people that tell me they sure wish they knew how to sew. Gone are the days where school's required women to take sewing classes. And a lot of men never got a chance at all. So what do... - How to Stitch: Step-by-Step with Pictures
A simple basting stitch for hand sewing is really not hard, once you know what steps to follow and what to look out for. This simple stitch will work for mending ripped cloth, sewing on buttons, hand-sewing...
Give hubpages a try!
- http://hubpages.com/
If there is something in your life that you are passionate about, hubpages is the place to write about it and share it with the world. Just follow the easy instructions at the link and you can start writing your first hub. You'll be happy you did!

