How To Use Aperture, Shutter Speed and ISO With A Digital DSLR Camera
The core components of any exposure are light and time. These two variables are governed by the camera's aperture and shutter speed, but also by the sensitivity setting in use, the ISO setting. All three of these settings are different in what they do for your pictures. Aperture gives you the depth of field in your pictures, Shutter Speed is how fast your camera takes pictures, and ISO is how clear and crisp the picture turns out. Below you will find out more about each setting and how to use them with your DSLR camera.
Aperture
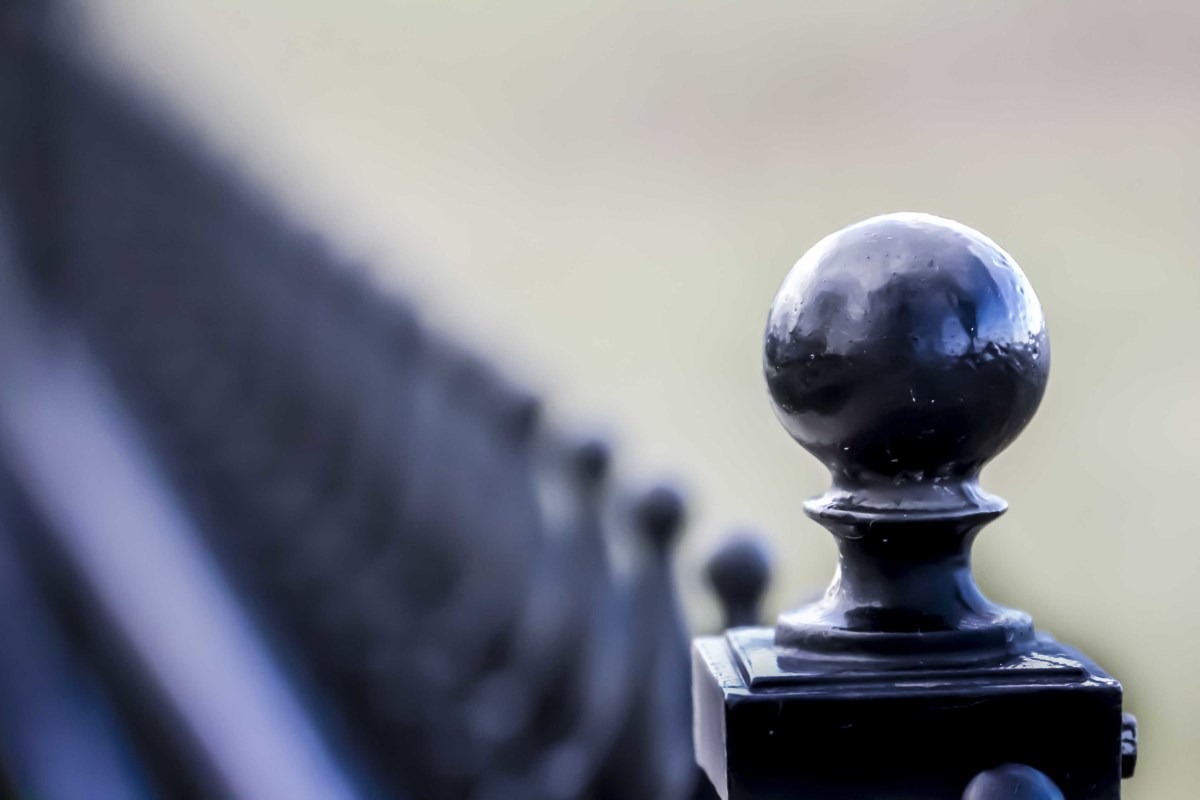
The aperture window is located inside your lens. It is the one that controls the amount of light that reaches the camera's sensor. By varying the size of the aperture, you can also creatively control the depth of field of the shot.
In the past aperture was controlled mechanically by rotating a ring on the lens, but nowadays the f-number is selected by an input dial on the camera. The f-number in use is displayed in the viewfinder along with the shutter speed, and both can be found on the LCD screen. Inside the lens, aperture size is varied by a number of blades making up the diaphragm and these move in and out to create the size of the window in the middle.
Just like shutter speeds, the range of aperture settings on a lens is calibrated in a regular sequence of increments that are called "f-stops". Depending on how wide your lens's maximum aperture is, the standard full f-stop sequence goes f/1.4, f/2, f/2.8, f/4, f/5.6, f/8, f/11, f/16, f/22 and f/32. As you move the input dial to make the aperture smaller by one full f-stop you are exactly halving the amount of light reaching the sensor. Example: Going from f/5.6 to f/8 is a one stop decrease in light and reduces the amount of image-forming light by exactly half.
The maximum aperture of a lens is always etched on the barrel of the lens and shows how "fast" the lens is. On my 58mm lens it the maximum aperture is 1:3.5 - 5.6.
The thing that often confuses photographers (as I know it does me) is the fact that the larger the f-number (say f/22), the smaller the aperture becomes, when it would seem more logical the other way around. When I take pictures, if the exposure if off I turn the f-stop to the opposite. If I started at the largest aperture and it didn't turn out right then I will go down to the smallest aperture and it usually turns out.
Shutter Speed
The shutter curtain is located inside the camera body just in front of its sensor. This controls the length of the exposure. It opened up for a specific number of seconds (or fractions of seconds) as you press the shutter release button, thus controlling the amount of time the sensor is exposed to the image-forming light.
If your shutter speed is too fast for the aperture, your image will be under-exposed as you are not allowing enough time for the light to be recorded properly by the sensor.
If your shutter speed is too slow, to much light will get through the sensor and your shot will be over-exposed, blowing out the highlight detail.
Most DSLRs offer a range of shutter speeds from slow (30 seconds) to fast (1/4000sec and in some cameras it can be as fast as 1/8000sec). This range goes up in a neat, calibrated sequence of increments that are called "stops". For example, 1/100sec to 1/125sec is a one stop increase, as is 6" to 8". Increasing the shutter speed by one stop halves the amount of light that reaches the sensor.
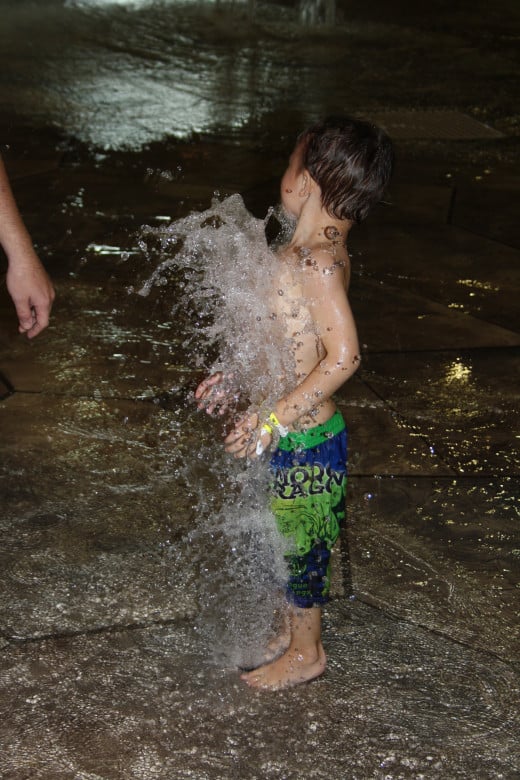
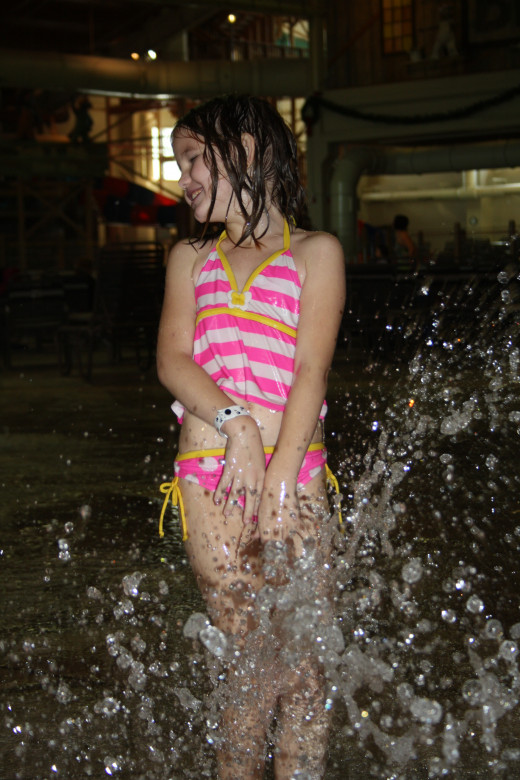
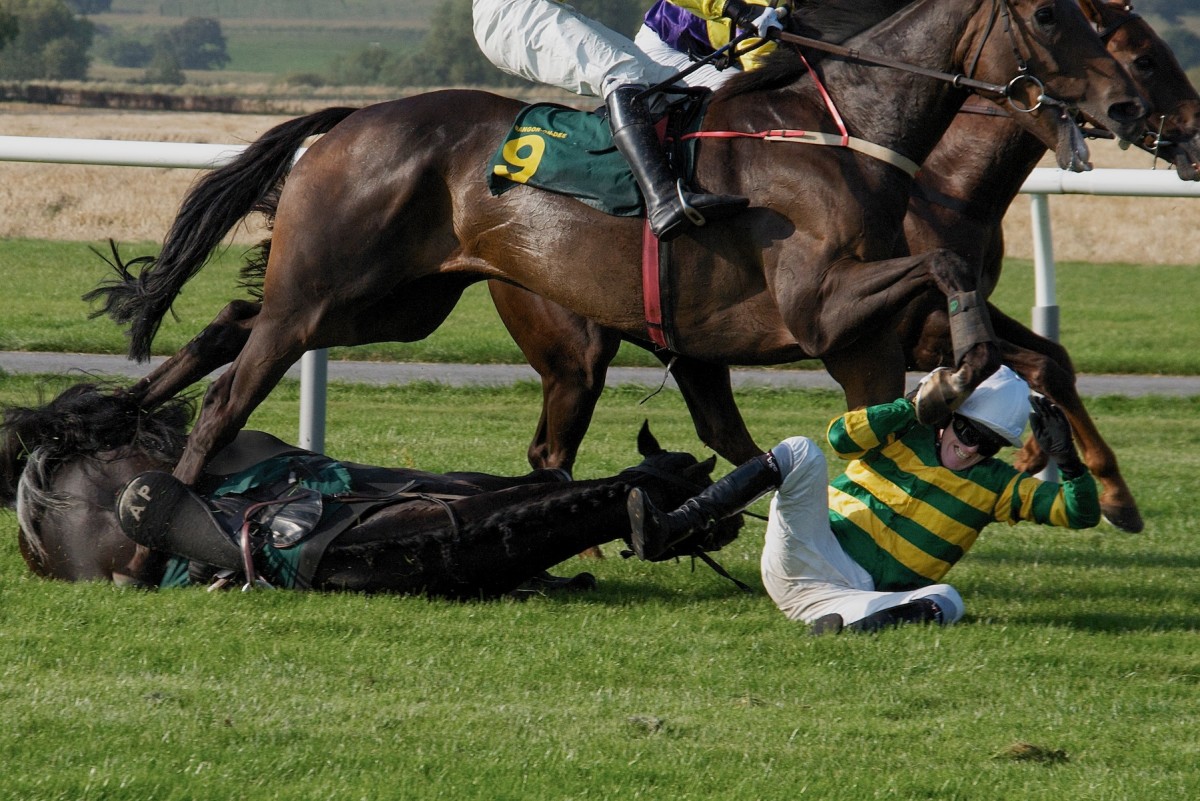
If it is a bright day and you have selected to use a wide aperture, you will need to use a very fast shutter speed to avoid over-exposing the picture. The key benefit of using a fast shutter speed is that it allows you to freeze the action, stopping even fast moving subjects in their tracks. This happens because the sensor is exposed so quickly, there is no chance to record any motion at all.


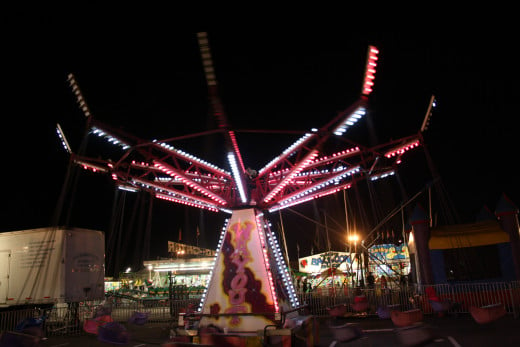
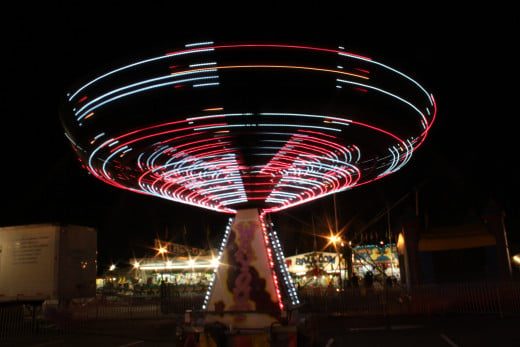
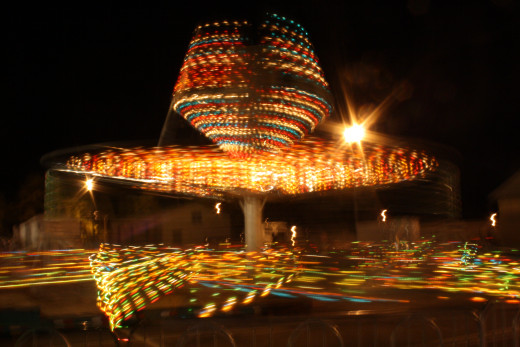
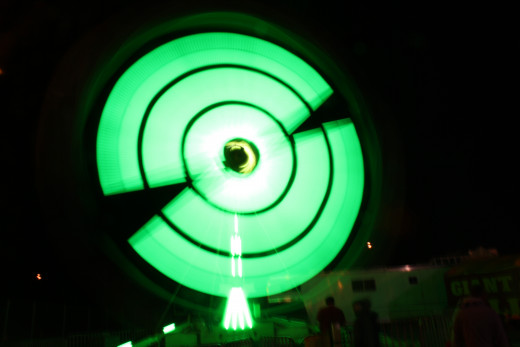
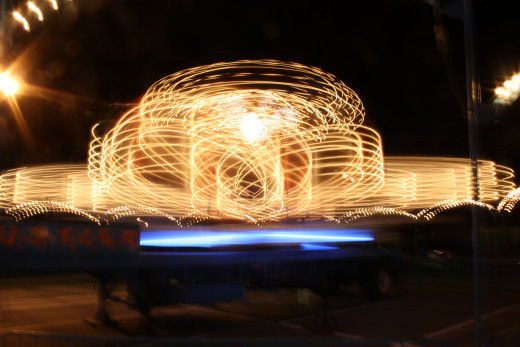
As you select a slower shutter speed, more and more subject movement will be recorded because the shutter will be open for longer. When you reduce the shutter speed down to 1 second (1"), any movement that is recorded will appear as a blur. When using a DSLR with a slow shutter speed it is essential to support the camera using a tripod so at least some of the scene records sharp.
Slow Shutter Speeds
Click thumbnail to view full-size


You can control both the aperture and shutter speed in the Manual mode on your DSLR. This gives you complete control over the exposure. But being in control of both time and light can be a bit overwhelming if you are just getting into photography. Using the aperture priority and shutter priority modes might be a bit easier to use. In aperture mode (A or AV), you can set the aperture to your desired value and the camera will automatically work out and set the correct shutter speed for you. In shutter priority mode (S or TV) you set the shutter speed and the camera will select the aperture value required to achieve the correct exposure. I go over the different modes on a DSLR camera in a previous hub How To Use The Mode Dial On A DSLR Camera.
ISO
The amount of light available changes according to the brightness of each scene and the aperture in use. So the shutter speed you select will need to vary accordingly. Matching the correct shutter speed with the aperture you are using will help you make a correct exposure.
The ISO setting on your camera governs the sensitivity of the camera's sensor to light. The term ISO refers to "International Standards Organization" - the governing body that created a standard for fil sensitivity back in the days when photographers used film to record their images.
Rather then all film types having the same degree of light-sensitivity, different film "speeds" were developed wich had improved levels of sensitivity to light. The higher the film speed, the more sensitivie it was to light, allowing you to use faster shutter speeds in lower light conditions.
ISO is still the term used when referring to the sensitivity of the recording medium - in the case of DSLR photography, the image sensor inside the camera. Just as before, low ISO settings (ISO 100 and 200) are best for fine resolution and optimum image quality, while faster ISOs (400, 800, 1600) are great if your maximum aperture is too slow and you are stuck for a faster shutter speed to use in low-light.
For example: if you need an exposure of 1/125s at f/5.6 for a scene at ISO 100, setting the camera to ISO 200 instead will halve your exposure time allowing you to increase your shutter speed to 1/250sec and maintain the same aperture.

Here is a simple test for you to try in your garden or out in an open space that will let you experiment with apertures, shutter speeds and ISO settings.
#1
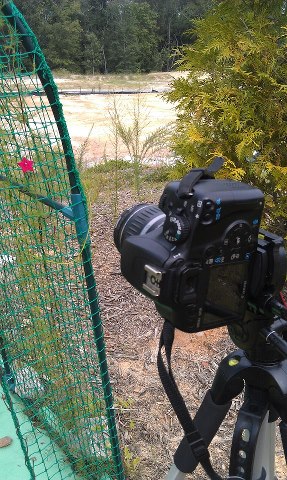
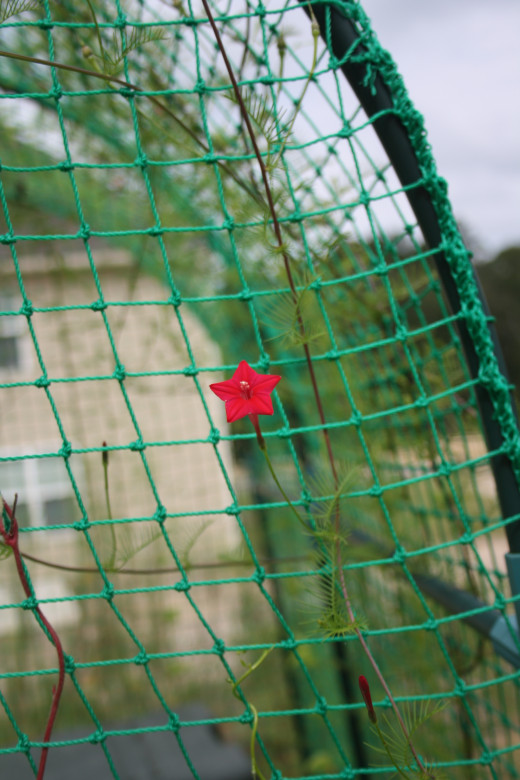
Set up your camera on a tripod using a standard zoom lens and place a still life subject, such as a flower or watering can, about 12 inches in front of the camera. Zoom out to around 18mm then frame up the flower with the camera in the vertical, portrait format, so that the subject fills the bottom half of the frame. Now switch over to Manual Focus and focus on the flower in the foreground.
#2
Set the exposure mode to aperture-priority (A or AV) using the mode dial on the top of your camera. Now set the ISO sensitivity to the lowest value (normally 100) and make sure your camera's metering mode is on its multi-segment setting. Now set the aperture to the maximum value, usually f/3.5 on a standard zoom lens. Gently press the shutter and take the shot.
#3
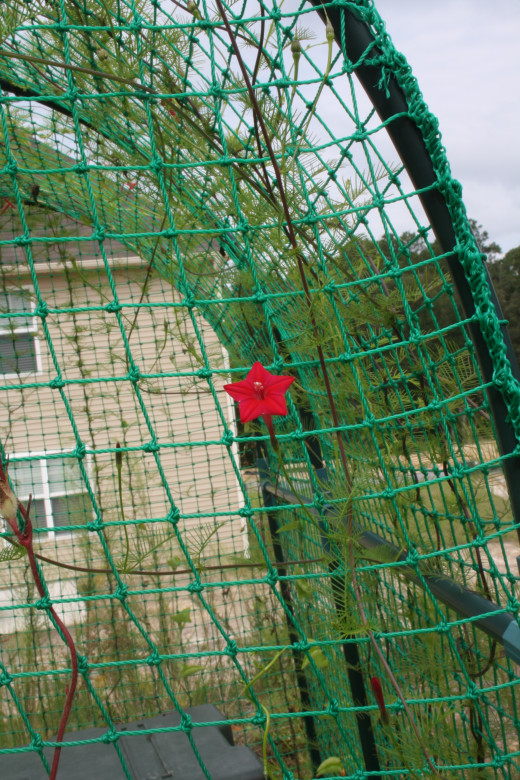
Next, stop down the aperture value to the minimum possible, usually f/22, and take the shot again.
Later on, when you have downloaded the images to your computer, zoom in to 100% and you will notice how in the first shot, where you used a wide aperture, the background is out of focus compared to the sharp background in the second shot. This shows how aperture affects depth of field.

