How to Create a Dream Board
Supplies Needed to Create a Dream Board
Getting Started
In this tutorial there are a lot of photos, step by step on how to make a dream board. Keep in mind you can be as creative as you like. This dream board is made with a 1/2" thick cork board, allowing for pinning anything to it and as well as in the end, the ability to just tuck photos, quotes, etc. in between the straps of ribbon. A dream board can be constructed from any backing material such as wood, cardboard, plastic, etc, just keep in mind that the harder the material, the more difficult it will be to staple or attach fabrics, glue may end up being the only option.
On a side note, I must give credit to my wonderful wife for creating and capturing this project.
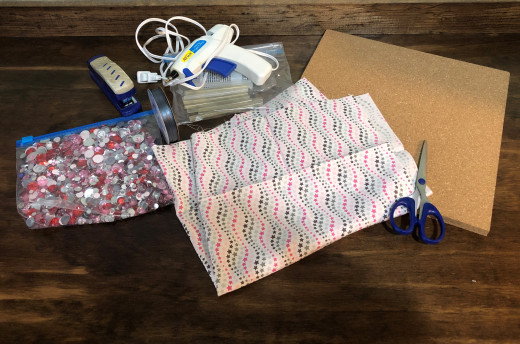
Supplies as shown above:
- Hot glue gun & glue sticks
- Fabric
- Scissors
- Stapler & staples
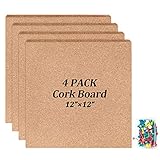
- Cork board (12" x 12" in this project purchased at Amazon.com)
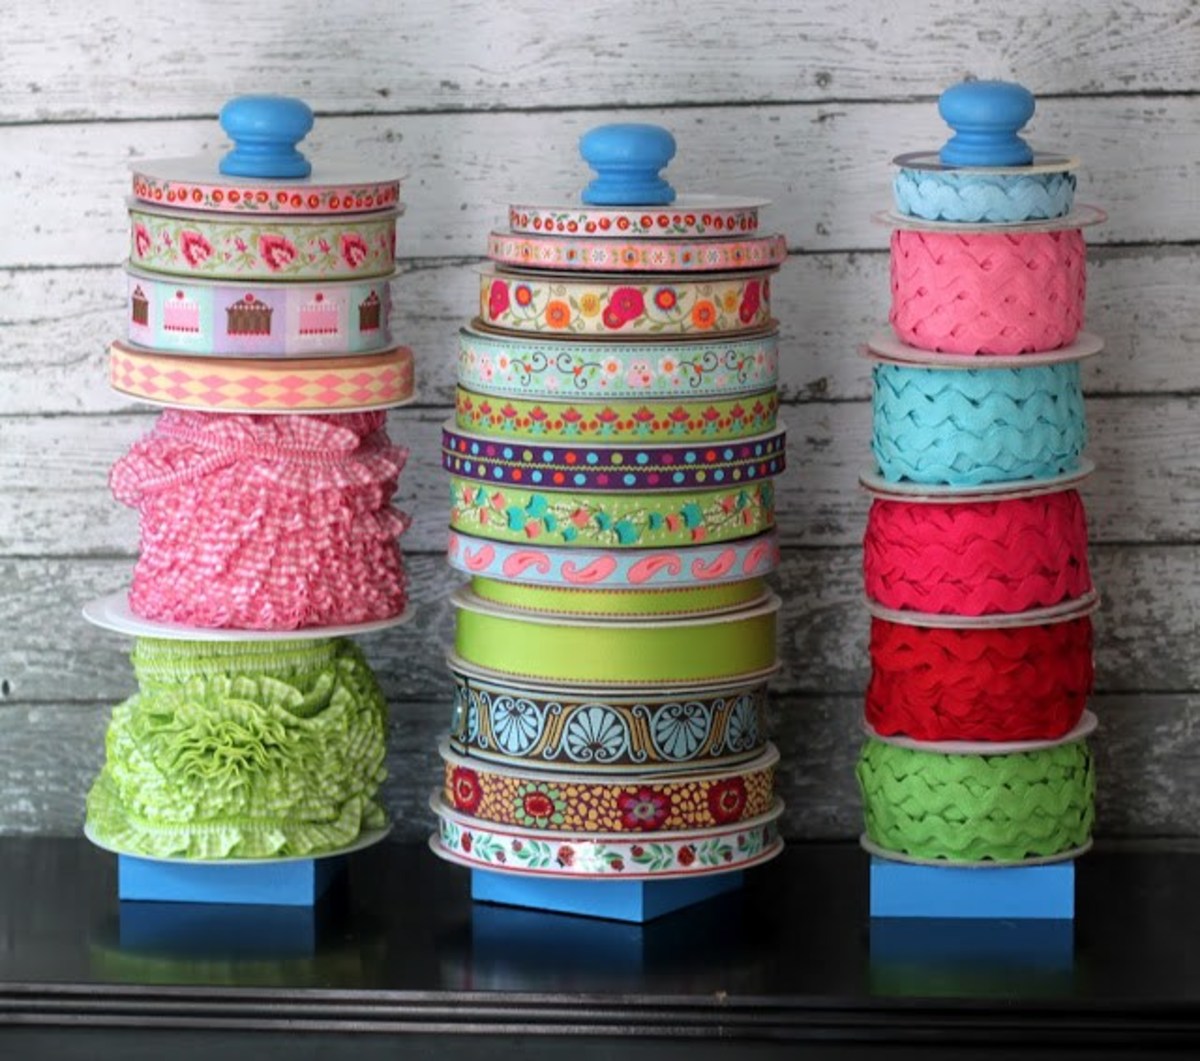
- Ribbon
- Decorative buttons/gems
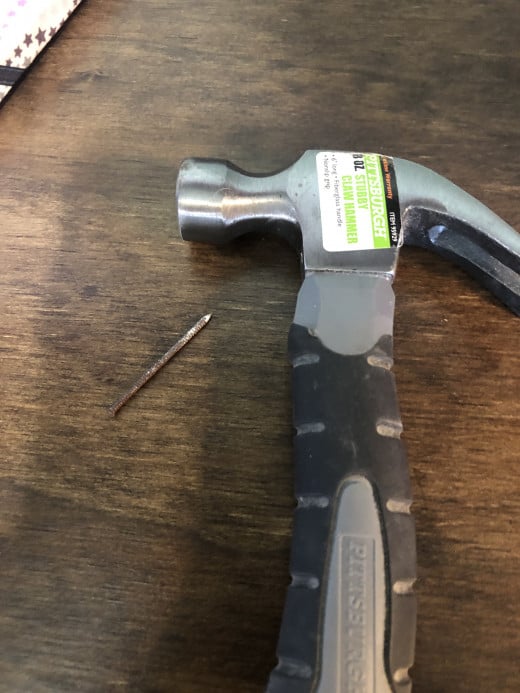
- Optional: Hammer and nail to hang on wall
Time to complete, typically less than an hour.
See picture captions for instructions.
1/2" 12" x 12" Cork Board
Step 1-: Wrap The Board
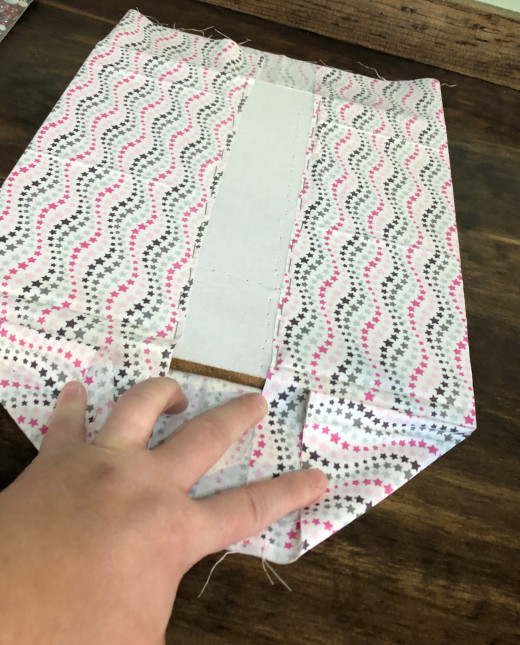
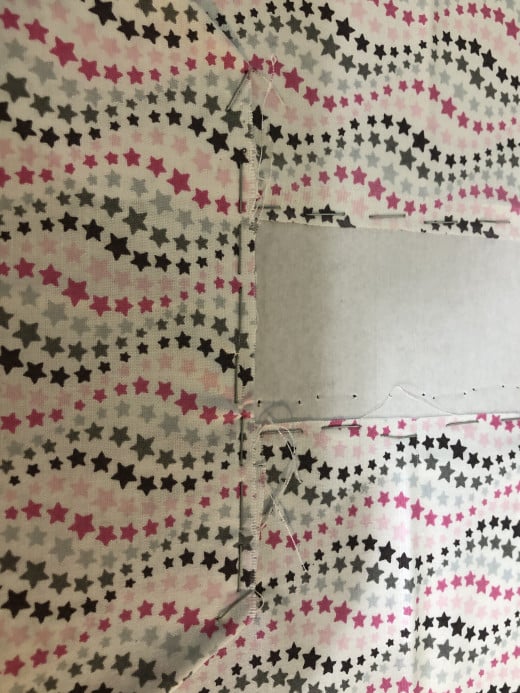
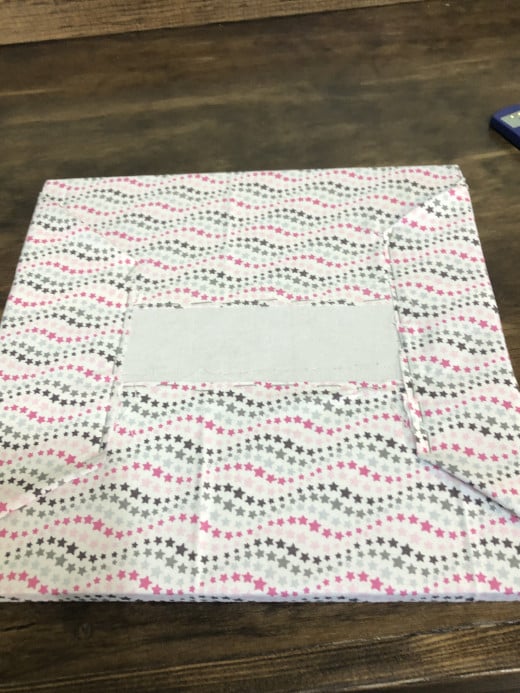
Stapling and Securing the Fabric
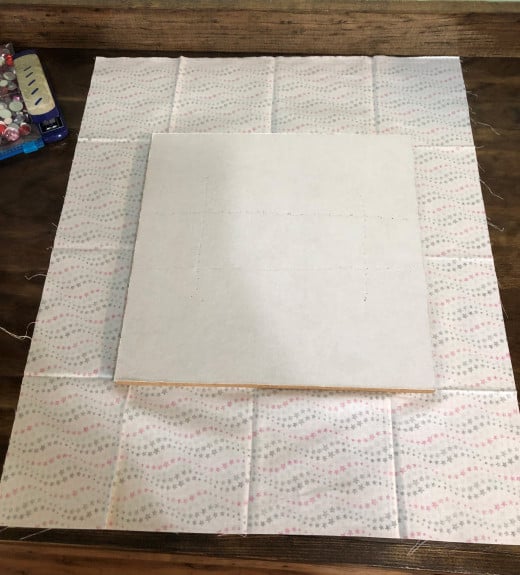
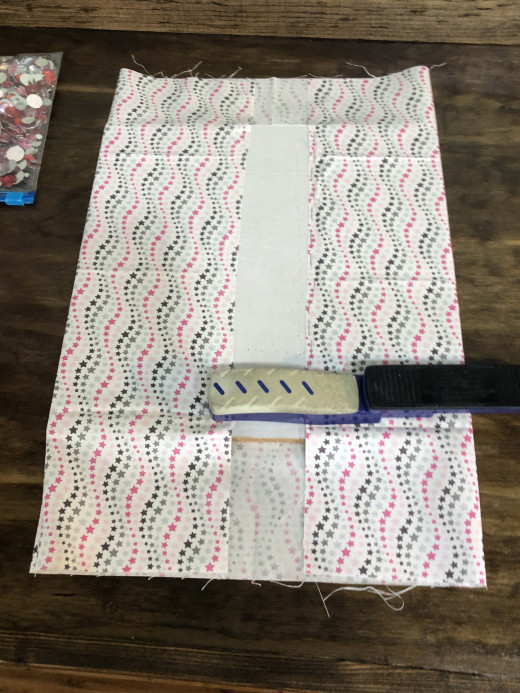
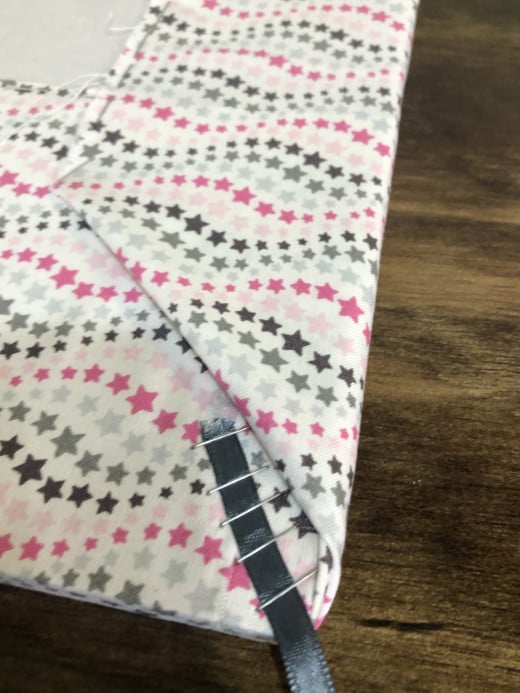
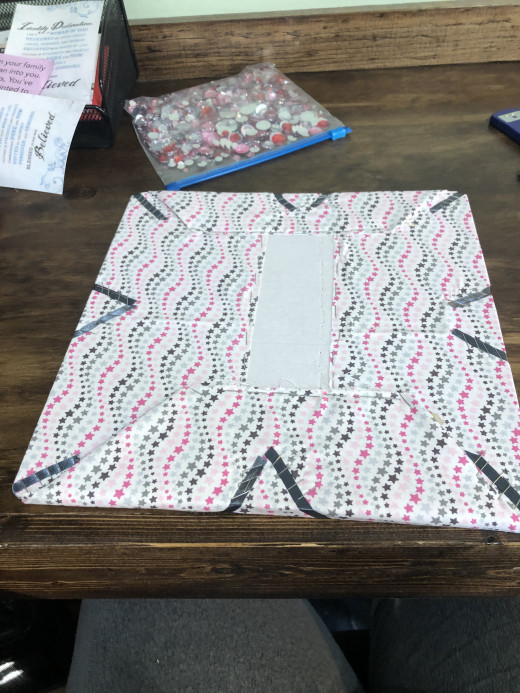
Be sure to staple the fabric firmly to the board and leave little spacing between staples as see above. If this is done well, the fabric will not come undone without excessive force.
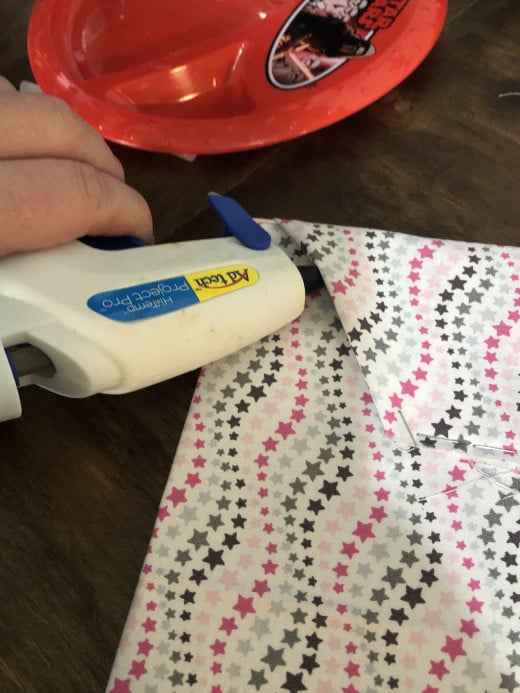
The next step is apply some hot glue in the creases as shown below.
Step 2: Secure Corners with Hot Glue
Adding Ribbon
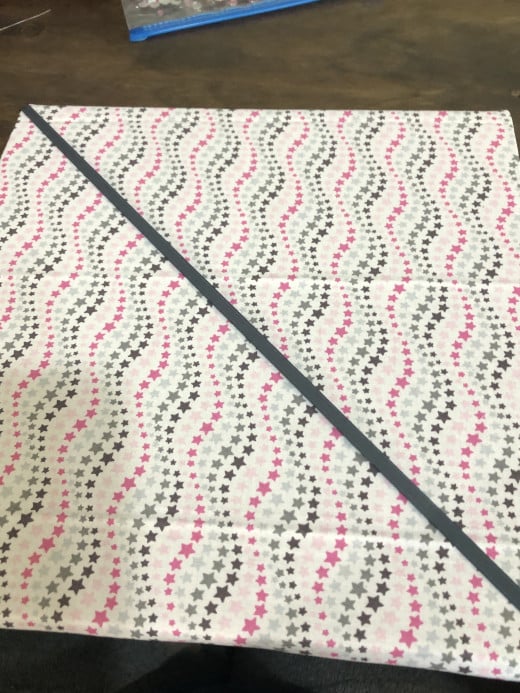
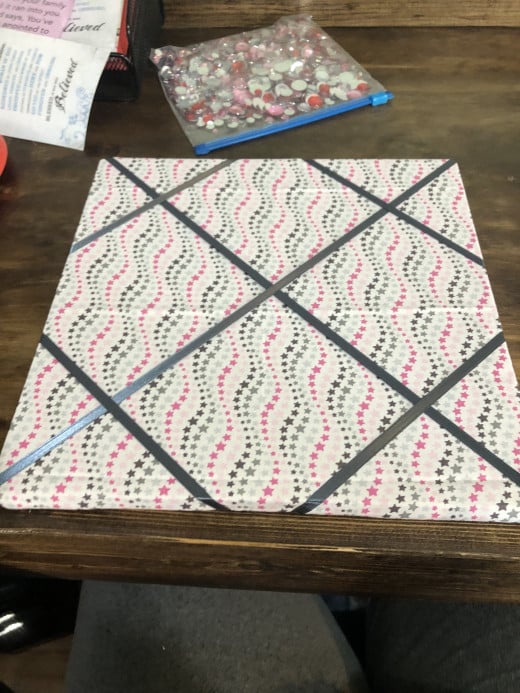
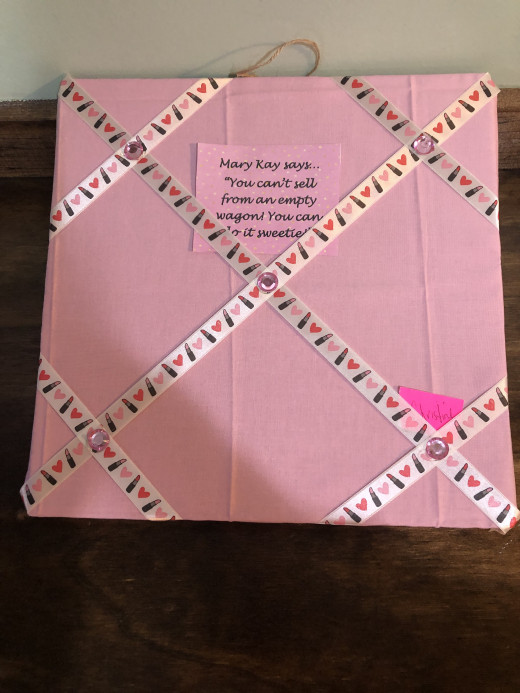
It doesn't really matter what the ribbon looks like, be creative, do a theme if you wish. Patterns can be varied too, in this project the diagonal crisscross pattern was used. Do recommend to use durable, not easy to tear ribbon.
Step 3: Securing the Ribbon
Hot Glue
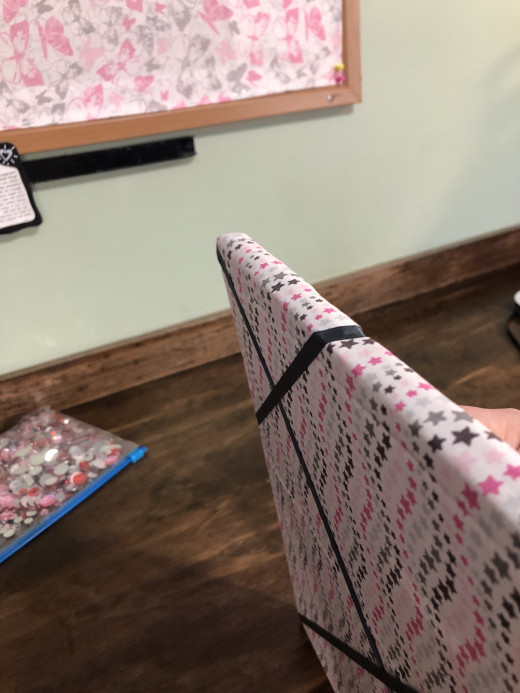
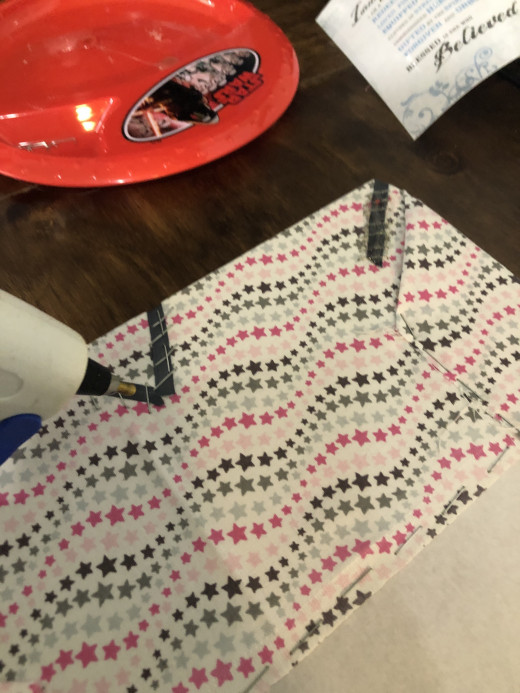
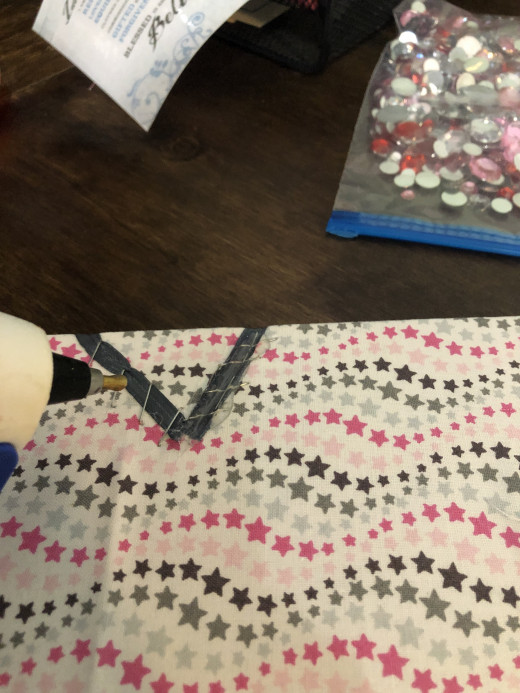
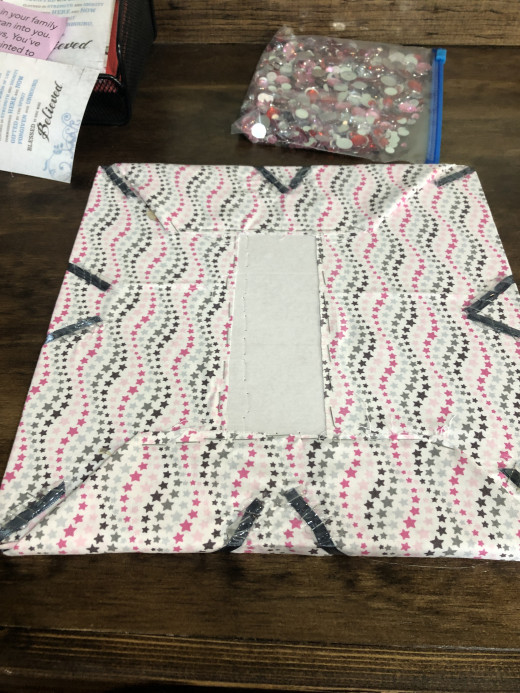
There will be a fair amount of hot glue to be used in the coming steps. Every project may very with design on how much is needed, just don't be afraid to apply in liberal amounts. This will help with the durability and strength of the ribbon.
Step 4: Hot Glue Ribbons, a Lot of Hot Glue!
Test the Glue Strength.
After the glue has dried on the ribbon, be sure to give it a little pull test. Don't pull like Hercules's, but just lift up a little to be sure the fabric, staples, and ribbon are well bonded. Add more glue if it comes undone too easily.
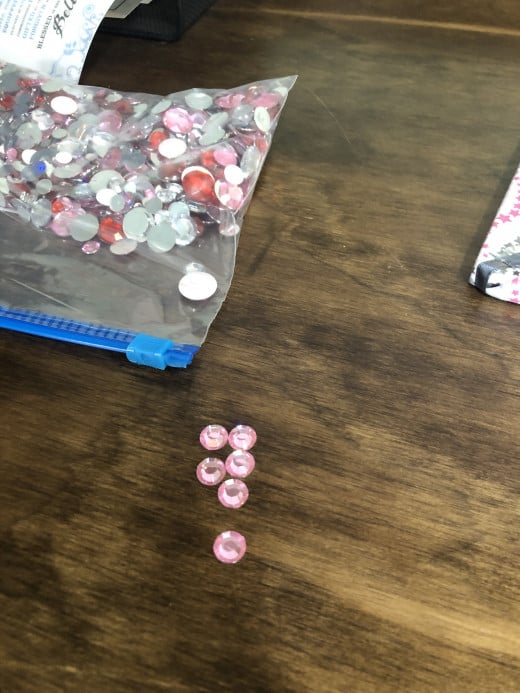
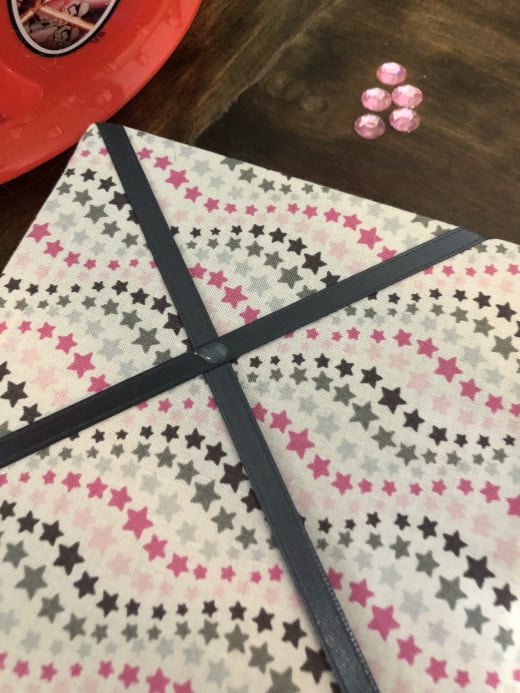
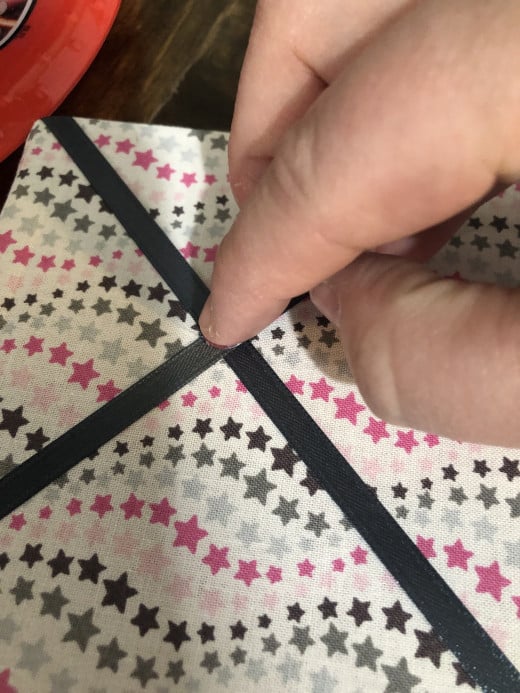
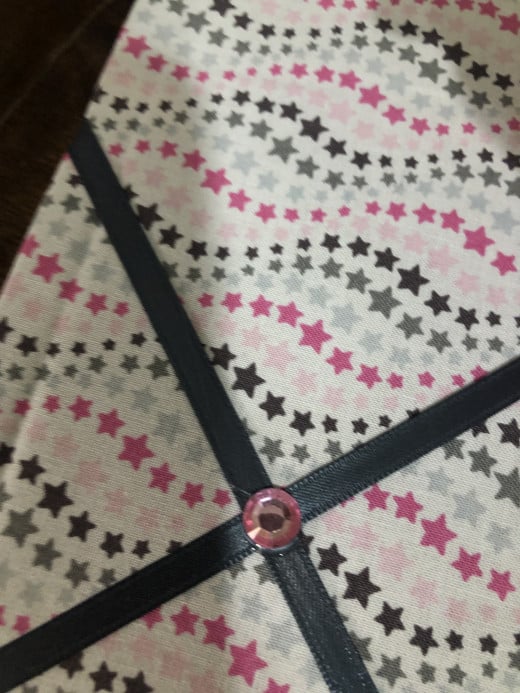
Step 5: Add Some Flash and Sparkle
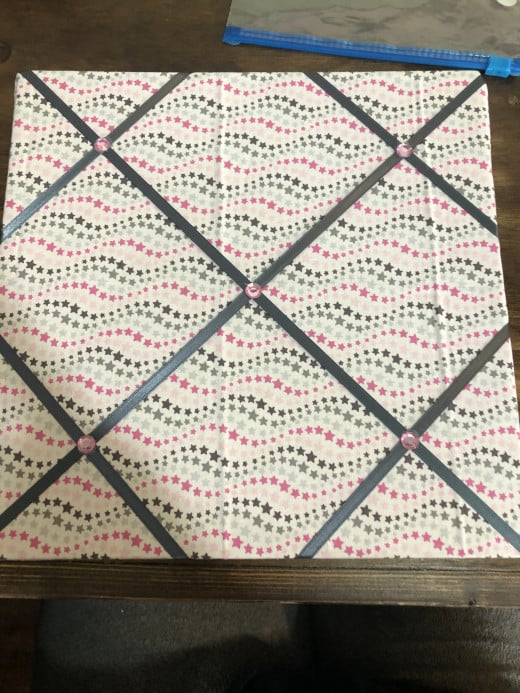
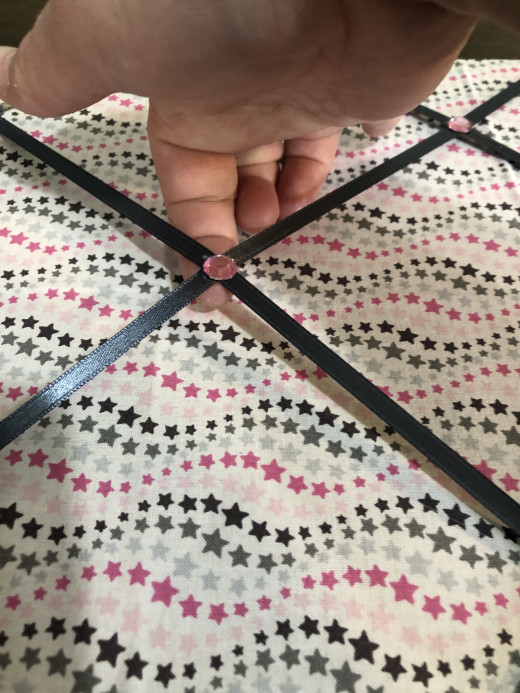
Add the Ability to Hang on the Wall
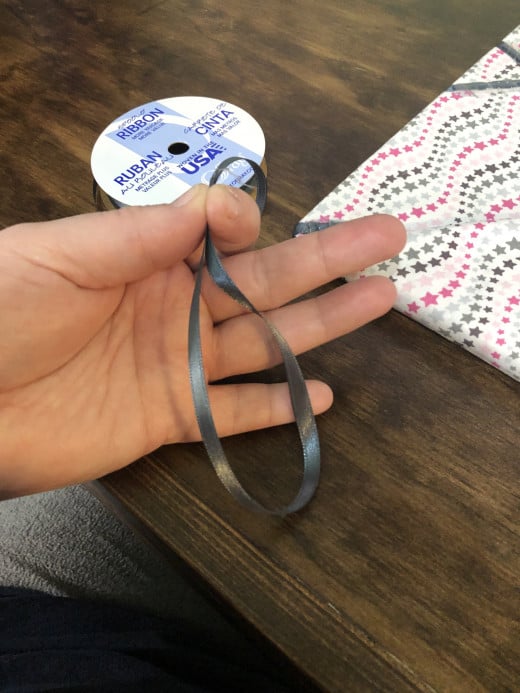
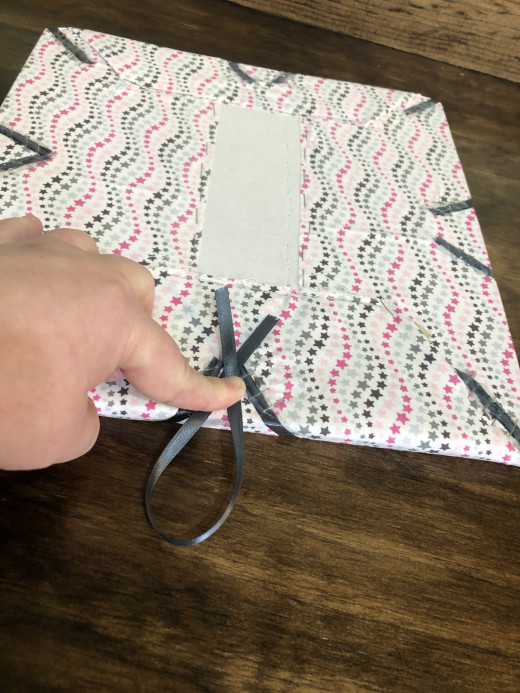
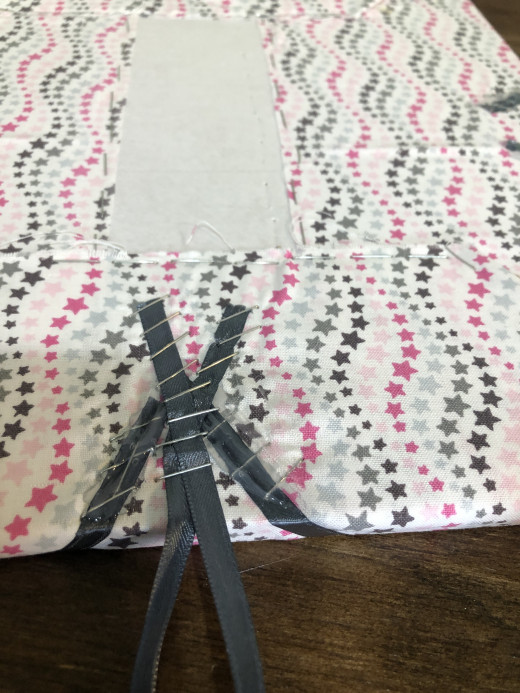
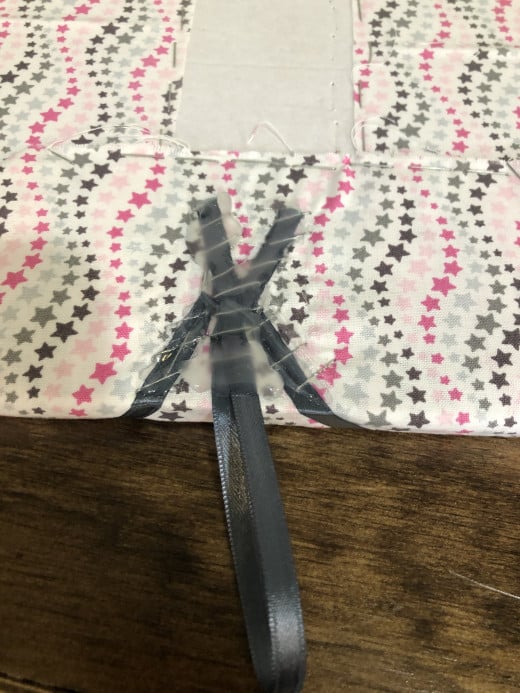
As not in this step, I believe I have stressed the idea of really stapling down the ribbon. Well, this next step, please really go nuts on stapling and the hot glue.
Step 6: Ribbon Hanger
Before Hanging the Dream Board
Before hanging the dream board, be sure the hot glue has had plenty of time to dry, hot glue when applied thick can take a few more minutes to fully harden and dry.
Hang on the Wall
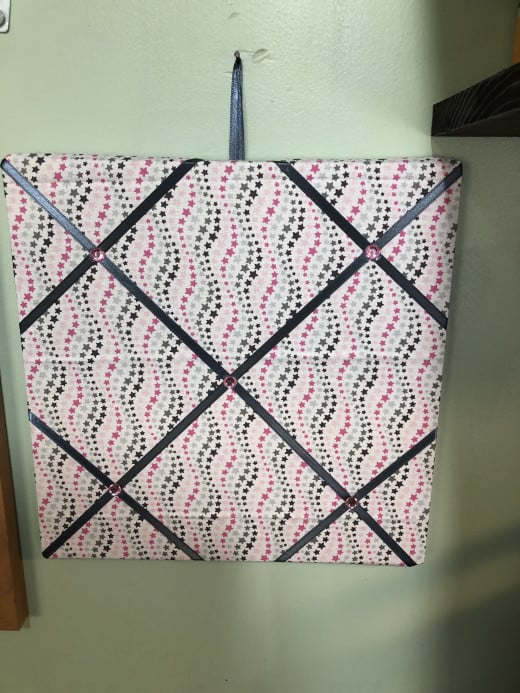
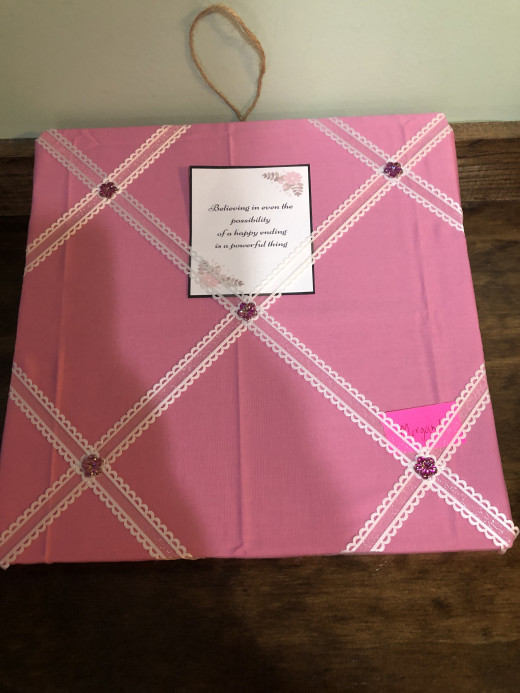
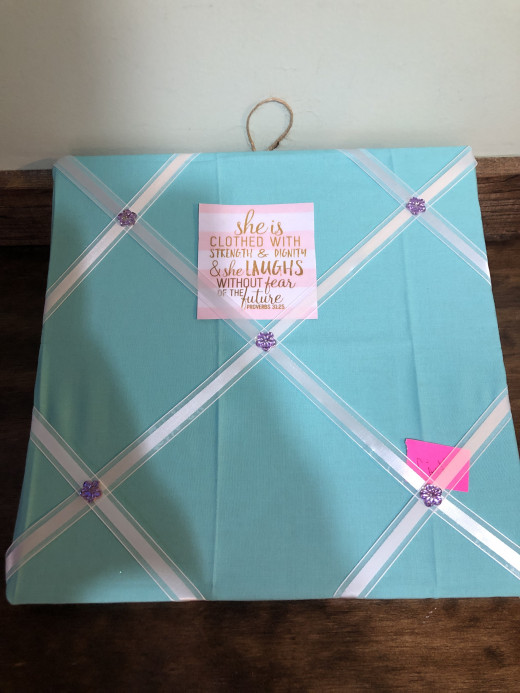
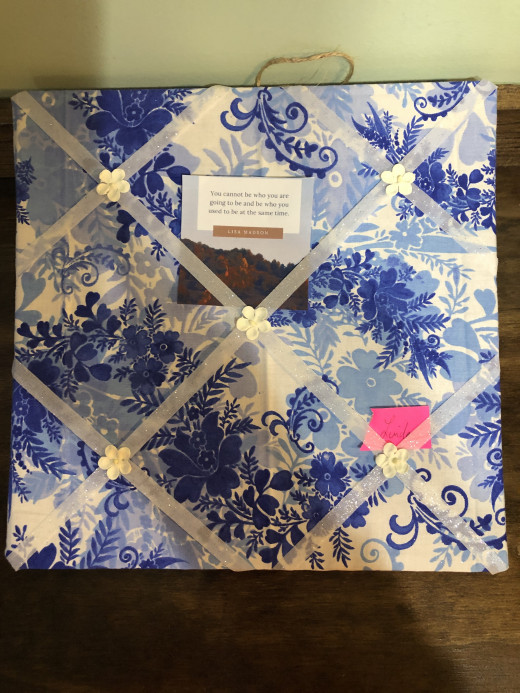
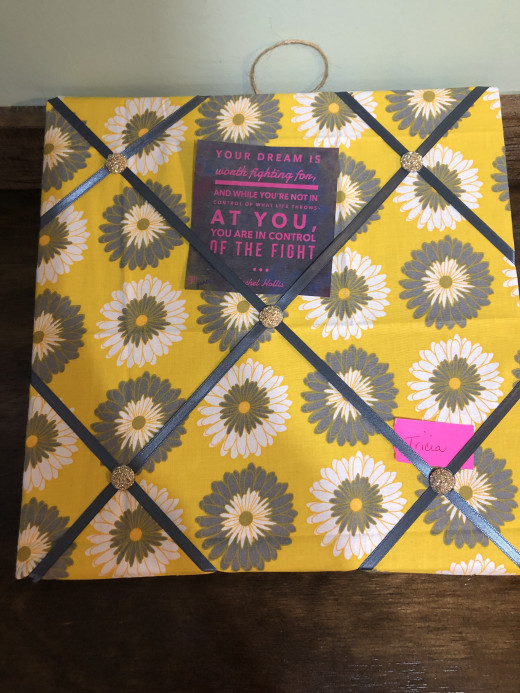
Other Dream Board Designs
© 2020 Ryan Hutzel

