How to Make a Jewelry Holder from a Picture Frame
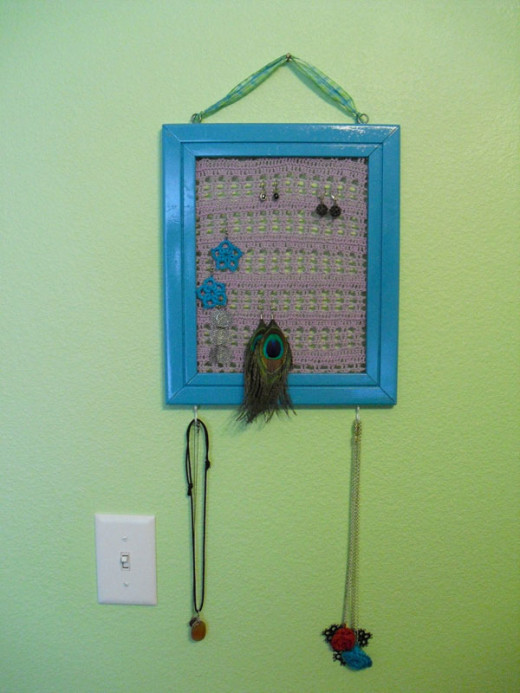
If you don’t have a good solution for your jewelry, consider making a jewelry holder from a picture frame. This quick, inexpensive project is easy to create from things you probably already have laying around the house.
A jewelry holder can be a perfect solution for keeping your jewelry organized and in one place. And, if you’re guilty of leaving your jewelry in a clump by the sink (like I was), using a holder like this means you’ll never again have to untangle a mess of chains that are stuck together, or worry about your jewelry going down the drain.
Additionally, when your jewelry is organized and in one place, it’s not only easy to see what you have, but easy to quickly grab what you need, which can help minimize the time it takes to get ready in the morning.
To complete this project, all you need is a few easy to come by materials, and a few hours to spare on a sunny day.
Materials Needed:
- A Gentle Cleanser
- Picture frame
- Sandpaper
- Spray Paint
- 7/8” Cup Hooks - 4 or more
- Ribbon / Lace / String
- Crochet Motif / Lace / Open Weave Material
- Sharpie / Pen
- Staple Gun & Staples
- Drill & 7/8" Drill Bit
- Hammer
- A Nail or Picture Hanger
Steps
1. Locate a Picture Frame
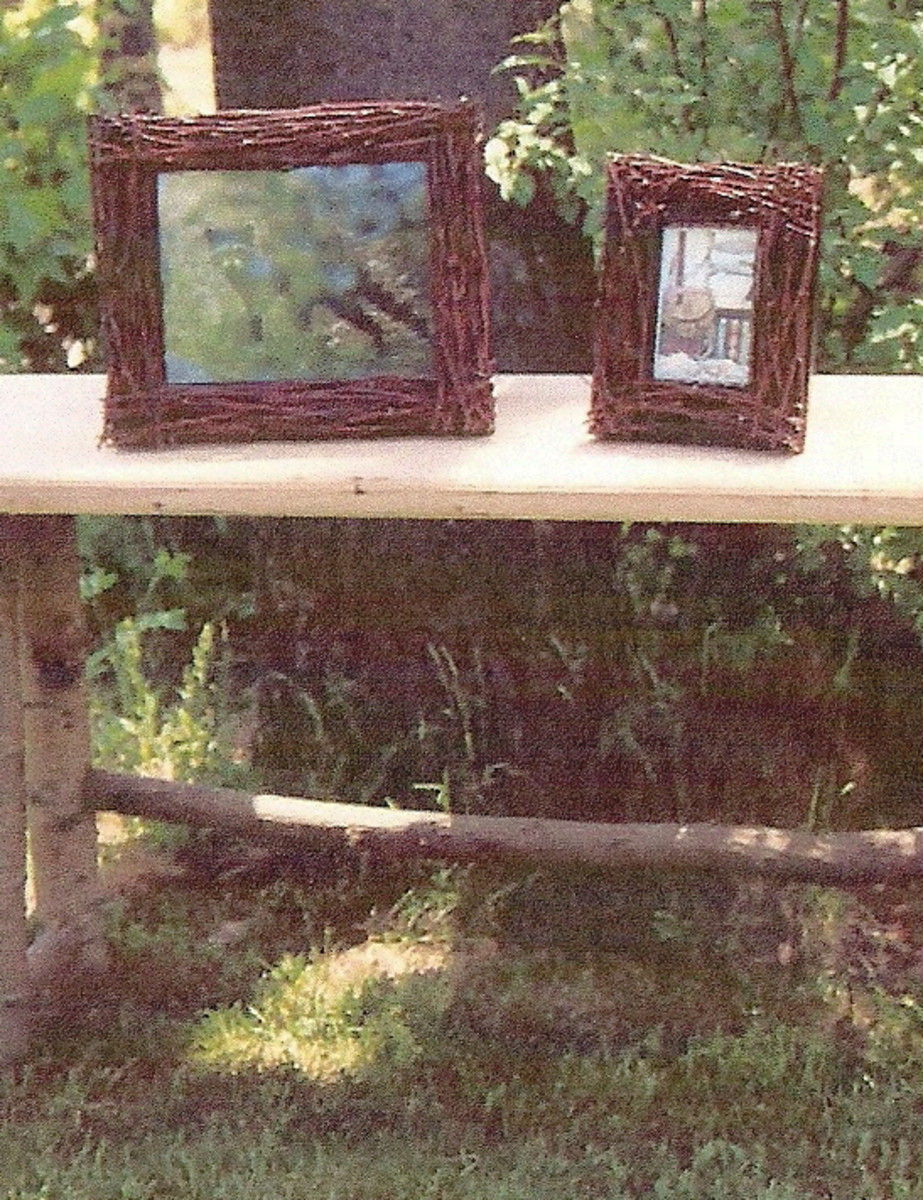
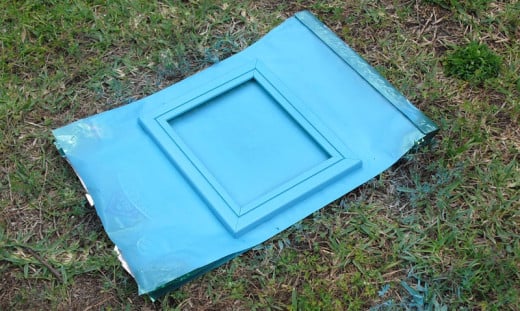
This project requires the use of a picture frame. Look around your house to see if you have one that is not being used, that you can easily repurpose for this project. The frame does not have to be basic (like the one pictured). In fact, the more decorative the frame is, the more visually interesting it will be once it is spray painted.
If you can’t locate a picture frame around the house, you can purchase them for cheap from a thrift store or from a home goods store.
Most importantly, you want to select a frame that is sturdy and in fairly good shape, that way you don’t have to spend a lot of time fixing it before your project begins.
Note: The only thing you will be using for this project is the frame, not the glass or any backs or inserts that come with the frame. Frames with broken glass or missing glass are perfect for this project.
2. Sand and Prepare the Frame
If needed, sand the frame with sandpaper, and prepare it for painting. Your frame will need to be sanded if it has rough spots or splinters. Additionally, if is already painted or treated you may need to sand the frame so that the paint will adhere better.
If your frame is metal, or if you are concerned about the material, you may want to consider painting it with primer before you paint it with color, so that the color adheres better.
3. Paint Your Frame
You may be lucky enough to have spray paint in fun colors lying around your house that would be perfect for this project. If you don’t, spray paint can be purchased inexpensively at most stores, and comes in a wide variety of colors.
Gather your frame, a piece of cardboard, newspaper, or other cover (to protect the grass), and your spray paint.
Find a nice sunny spot outside. Place the cardboard / newspaper / cover on the ground, and then place your frame on top of it. Begin painting, following the directions on the can of paint. Don't worry about painting the back of the frame, as it will be against the wall, instead, focus on getting a nice, even application on the front.
Note: Thinner coats dry faster. It is better to put on several thin coats, rather than one thick coat, because the paint will dry quickly and will be less likely to bubble.
Allow adequate time for all coats to dry before beginning the next steps.
4. Decide on Material
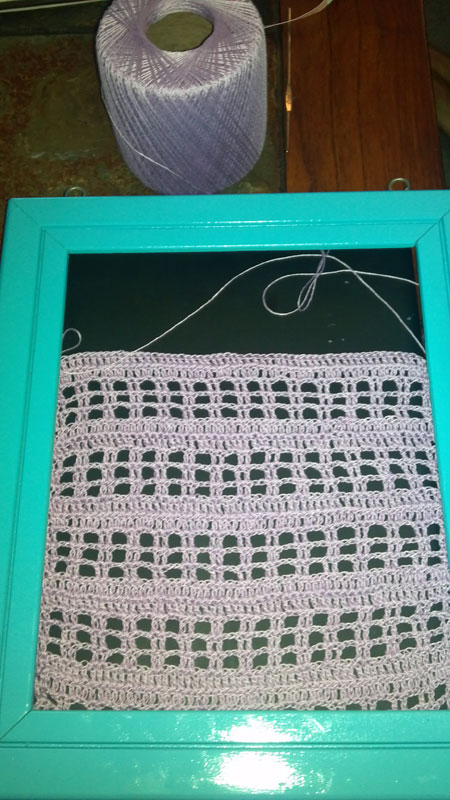
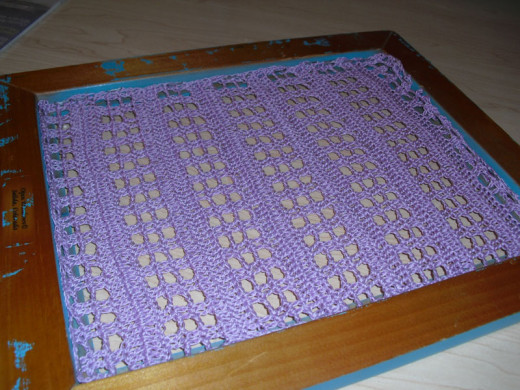
While the frame is drying, locate some material for the inside of the frame. You will want to find an open-weave material that the jewelry, particularly earrings, can hook into, or hook around.
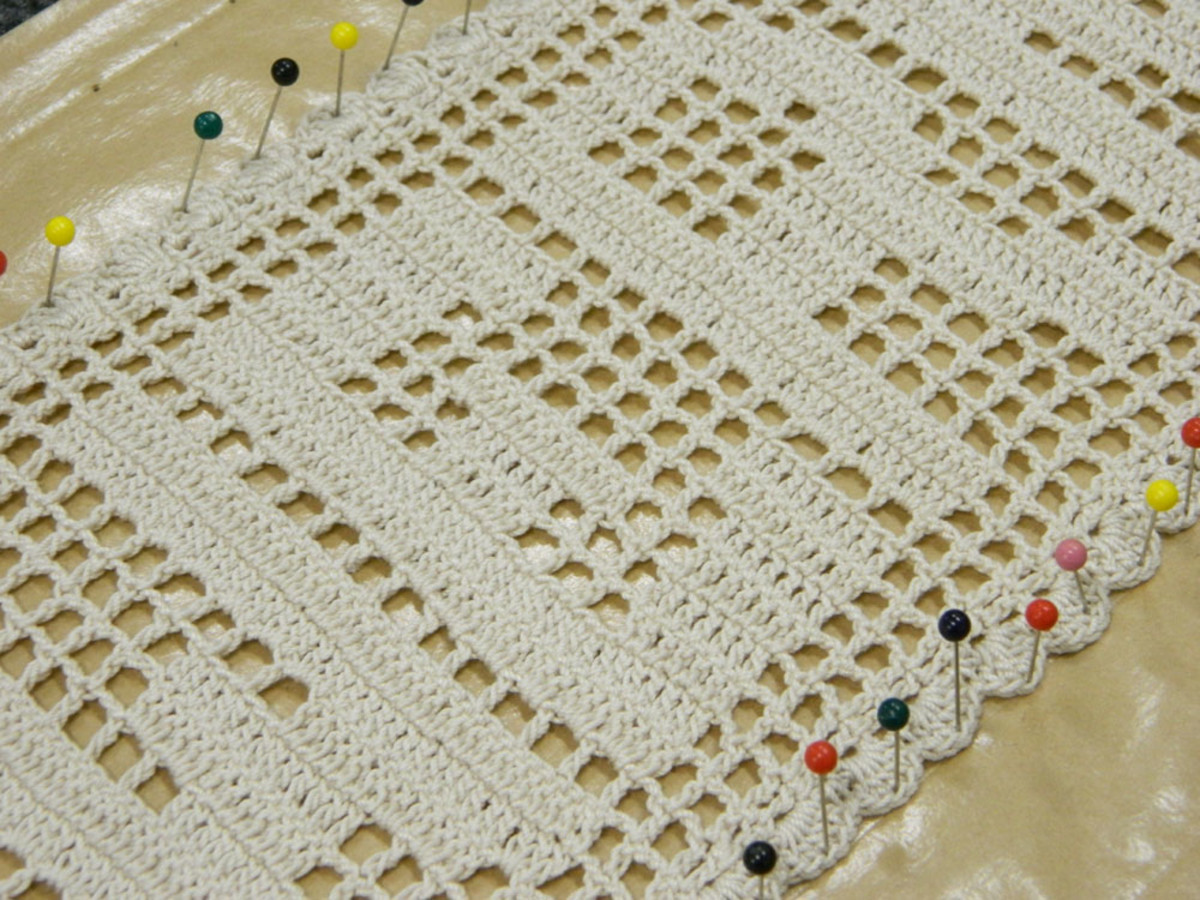
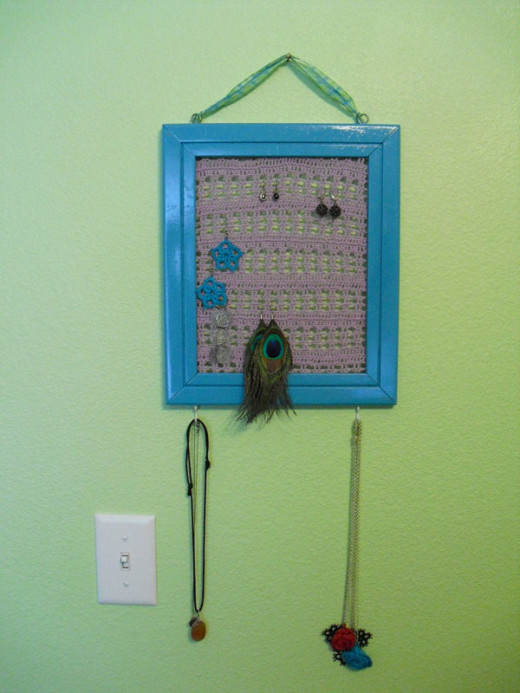
Lace works great for this. If you know how to crochet, you can crochet a motif to use as an insert, as I did here. The crochet motif shown is from a free mesh crochet pattern from Crochet Geek.
If you don’t have any lace or open-weave fabric to use, you could also use netting, chicken wire, or anything else you could hang jewelry from. With a little creative thinking, the possibilities are almost endless for the inside material.
If you do make your own insert, check it against the size of the frame frequently to ensure that the piece you are making will fit the dimensions of the frame. Typically you’ll want your insert to be a bit wider than the opening so that you can tack it to the inside.
5. Attach Cup Hooks
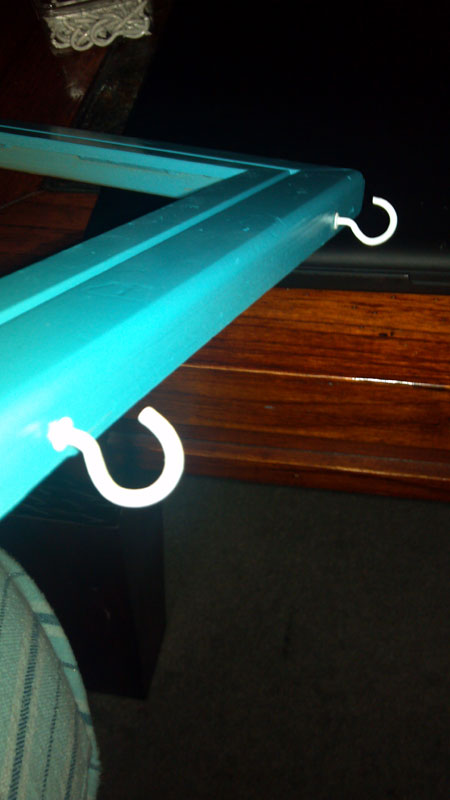
Once your frame is dry, it’s time to attach some hooks. Gather the 7/8” inch cup hooks, and your drill and drill bit. You will need at least 2 – 4 cup hooks, depending on your frame.
If your frame doesn’t already have hooks at the top, you will need to use the cup hooks to hang your frame from when it’s finished. If you want, you can also add cup hooks to the bottom to hang necklaces and other jewelry from.
To attach the cup hooks, grab your sharpie / pen and mark where you want your cup hooks. Then, take your drill and drill pilot holes in the frame. The pilot holes will help make it easier for you to screw in the hooks.
Once your holes are all drilled, attach the hooks.
6. Attach the Material
Once all your hooks are attached, it’s time to attach your open-weave material. Grab your staple gun, extra staples, and your material. Make sure the staple gun is loaded with staples. (There’s nothing worse than running out of materials, like staples, when you need them, so make sure you’re prepared before you begin.)
Place the frame on a flat, stable surface. Flip it over, so that you are looking at the back of the frame. Take your open-weave material, and place it in the opening, smoothing it out and lining it up the way you want it.
Begin stapling the material to the back of the frame. Make sure the material stays taut, so that it is firm and stretched against the frame. You don’t want your material to slouch at all, because it has to stand up to the weight of jewelry.
Staple your material at either edge around the top, middle, and bottom of the frame. This will ensure your material is centered and secure. Then, continue to staple several times on each side, until all of the material is stapled to the frame and none of it is baggy.
You can test the hold by lightly tugging on the fabric. If it slumps or gets baggy, you need to add more staples to ensure it is attached to the frame. You will know that you have stapled it enough when the material stays put, and doesn’t sag or more much when you lightly tug on it.
7. Prepare for Hanging
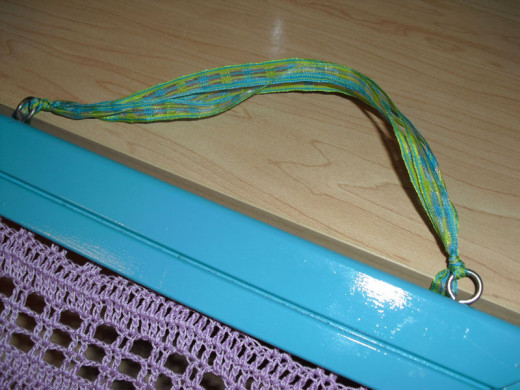
You’re almost done. Now it’s time to prepare the frame for hanging. Gather some ribbon, string, wire, lace, or whatever else you want to use to hang your frame. Using ribbon or lace is a nice way to give your frame another decorative element.
Cut a long length of the ribbon (or whatever you’re using), and run it through the hooks at the top of your frame. To determine how much ribbon to use, hold your frame up where you are going to hang it, and see how low it hangs. If it hangs too far down, use less ribbon.
Adjust until the frame hangs at the proper length, then tie the ends of the ribbon together,
8. Hang Your Jewelry Holder Up
Your picture frame jewelry holder is complete, and just needs to be hung. Gather a hammer, and nail or picture hanger. Hammer your nail / hanger to the wall where you would like to hang your frame.
Then, hang your frame, add your jewelry and enjoy!

