- HubPages»
- Arts and Design»
- Crafts & Handiwork»
- Paper Creations
How to Make a Large Amount of Holiday Cards at the Same Time!
Making your own holiday cards.
Greeting cards have been around for centuries. In antiquity, messages of good will were printed on scrolls. As early as 1400s, paper cards were passed around in Europe.
In early 1800s, wealthy individuals started hiring artists to design holiday cards to pass around to friends.
In 1840, the first adhesive postage stamp became available in Britain.
In 1849, Esther Howland, a young woman from Massachusetts, started regularly publishing valentines in the United States.
By 1856, Louis Prang, a German immigrant, started a lithographic business near Boston, Massachusetts, and is credited with the start of the greeting card industry in America.
Hallmark was founded in 1910 in America, driven by the postcard craze of that time.
Today, the greeting card industry grosses multi-billions of dollars in revenue. A quick search on eBay and there are almost 70,000 listings for the words "greeting card".
With the founding of ETSY came an alternative venue for artists to sell their handmade cards at a fixed price and grow an inventory of their own designs.
And then came Facebook. People who normally did not involve their time on other selling sites, and strictly participated on social media, now had an additional outlet for selling their handmade greeting cards constructed at their kitchen tables.
A friend of mine who sold her cards exclusively at her place of employment took advantage of the opportunities of Facebook for selling her cards.
Despite the creation of e-cards, there never seems a shortage of buyers for greeting cards of any occasion.
Coming from a large family, I mastered an annual tradition of making just under 100 greeting cards every year for Christmas.
Here is the recipe for making your own greeting cards in large volume.
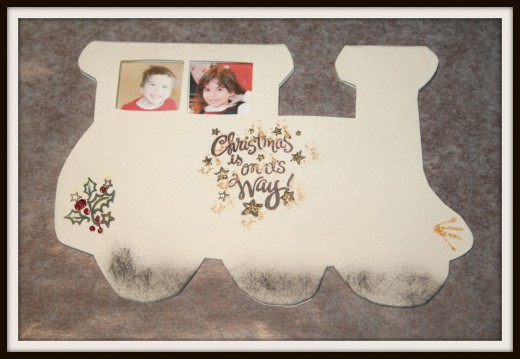
This shaped card was challenging as I had to cut the train and the window openings by hand.
My great-grandmother was originally from England. She lived in Connecticut after she married and painted greeting cards for a company in Boston, Massachusetts, around the early 1920s-1930s.
The definition of handmade.
Commonly the definition of handmade means made by hand, not machine.
I attended a craft fair with friends one year in town and a customer browsed our greeting cards. She purchased a set of rubber-stamped cards that my friend had made by embossing an image on to the cards. The customer told us that she felt the cards were not handmade because the paper was store bought. In other words, that particular customer was under the impression that handmade meant the cardstock had to be made from scratch as well.
When I think of a handmade baby blanket, I don't think of someone gathering the wool from a lamb's coat before knitting the blanket. I think of a person buying a skein of Red Heart yarn or other brand of yarn and then knitting a blanket. To me, that still means handmade.
This is worth mentioning because if someone is to go start an account on eBay or ETSY to sell their greeting cards, it's important to list specific information such as the brand of cardstock used for the base of the card, instead of leaving the customer to assume the cards themselves were made from handmade paper.
Instructions for creating a large amount of greeting cards all at once.
Whether you want to sell greeting cards or make them for friends, but need to do so in a large quantity, here is a checklist of items to help you along the way.
- Think about the design. Do you want to rubber stamp a design, draw a design, print a design out from the computer, or use die cut shapes for the design?
- Decide how many greeting cards you will need. Always make a few extra. Keep one for your own portfolio. Start with the number of card you will need and get the card base ready. For the train cards shown above, I had to cut out 75 trains by hand, including the window openings. This is before I had die cut machines. I printed out a template from a train shape and traced it.
- What supplies do you have on hand? See Table A below for some suggestions about what to have on hand depending on the design you would like to create.
- Plan ahead and watch for sales at craft stores. If you aren't already signed up, go to Joann Fabrics and sign up for their mailing list. You will get coupons and free shipping on in-store and on-line purchases. Watch the weekly paper for the Michael's craft store ads. Sometimes AC Moore has sale flyers with coupons in the Sunday paper. Check your local craft stores for sales on cardstock and other supplies. Hobby Lobby, eBay, ETSY, Overstock, Amazon, and Target all carry a wide variety of craft supplies. All discounts help. It's costly to make large quantities of greeting cards.
- Check your stash of glitters and glue to make sure you'll have enough for a large project. Order ahead if you think you'll run out during your project. You don't want to be caught without enough of the same red glitter glue for all cards. If you are ordering online, you'll need at least two weeks to make sure you get them in time to start your project.
- Decide if you want to use cardstock sheets that you trim yourself or pre-cut and folded card sets. Local craft stores such as Michael's and AC Moore sell cards and envelope sets. Sometimes they go on sale half price. Those are great to start a project with because they are efficient. However, if you have a paper trimmer, you can buy a whole ream of cardstock at Walmart for a few dollars and trim your own down to size. You can get two cards out of one piece of cardstock. You can also find a variety of colored cardstock at office supply stores such as Staples in large quantities.
- If you choose to cut your own cards from whole sheets of cardstock, don't forget the envelopes. Walmart and Staples sell greeting card envelopes, as well as stores online.
- I'm mentioning specific stores because you will need to know how to pick up supplies on a last minute's notice if you run out while working on your project. I order a lot of my supplies ahead of time online. It's convenient and I can usually get a better deal than going to the store at the last minute.
- Create a work space to start your project. Whether it be at the kitchen table or in your home craft room, clear off a table or desk to use exclusively for your project until its completion. The location of your project should be away from children and pets so you can work on your cards at your leisure.
- Anticipate that the cards will take you anywhere from a few days to a week or so to complete. Make a goal to create so many cards a day.
Table A ~ Supplies
|
|---|
Paper trimmer.
|
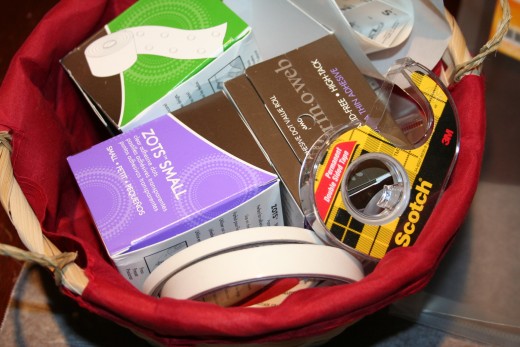
Adhesives such as double-sided tape, glue dots, and glue sticks.
|
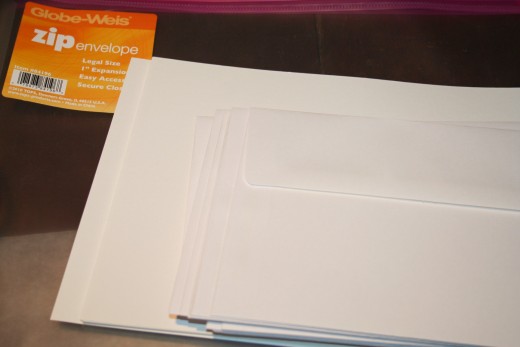
Cardstock sheets or card and envelope sets.
|
Envelopes, if using cardstock sheets.
|
Decorative papers.
|
Ribbon.
|
Glitter or glitter glue.
|
Cotton balls or small pom poms.
|
Markers.
|
Rubber stamps and ink.
|
Die cut shapes or paper punches.
|
Step 1. Organize your work space.
Once you have supplies on hand, create your work space.
- Keep the desk or table cleared of clutter.
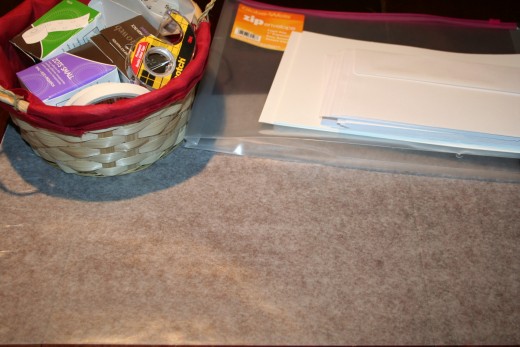
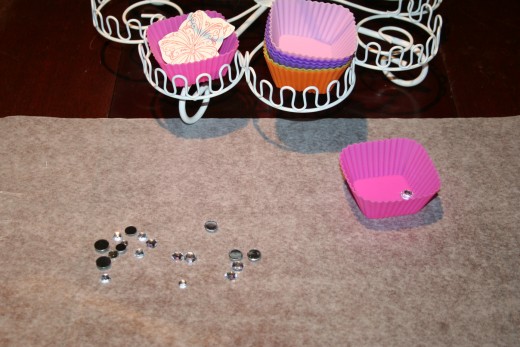
- Place glitters, adhesives, or other decorative elements aside in an organized container nearby.
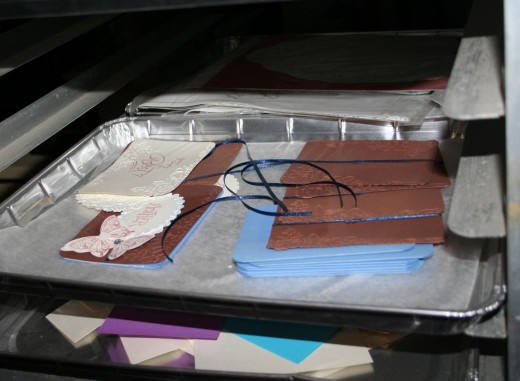
- Keep the cards in a stack away from the work space nearby in an accessible container such as a magazine holder or plastic file pocket. (This step is after you have trimmed up all of the cards if you chose to buy cardstock instead of pre-cut card sets.)
- Place wax paper over your work surface to save the desk top.


Visit me here for a rubber stamp tutorial.
- How to create your own rubber stamped stationery
An illustrated guide to creating unique, one-of-a-kind stationery with rubber stamps. Give away as a gift to that special someone. Teachers will love to receive a handmade gift such as this.
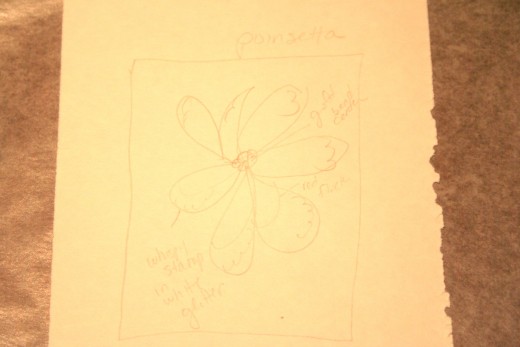
Step 2. Prepare the design.
Once you have a design in mind, you'll be able to create your cards using the techniques you chose. See Table B for ideas where to find inspiration for designs.
- If you are rubber-stamping your design, have all of the pertinent inks or embossing tools available.
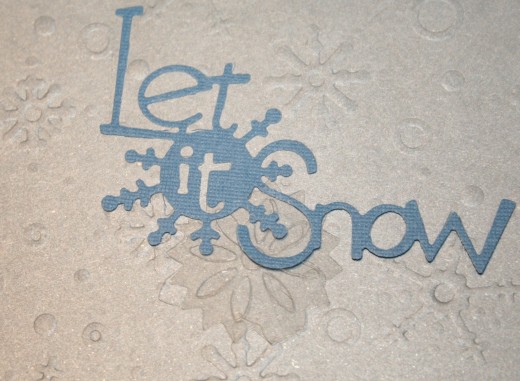
- If you are using die-cut shapes and paper piecing, make sure to have all of your shapes cut before hand and set aside.
- If you are printing your design from the computer, make sure to print and cut out all of the designs ahead of time.
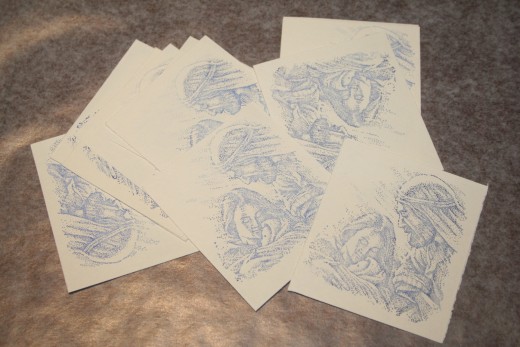
- If you are rubber stamping, create your design for each card and set aside until you have all of your cards done. Color your designs after they are all complete. You may wish to use a heat emboss tool to dry the rubber stamp ink on each card before coloring, or the ink may run in to the color.
- If you are paper piecing, now is the time to start adhering all of the pieces together. Do this for each one and then attach to the cardstock base. Glitter or color your designs once all of the die cuts are adhered.
- If you are printing your designs, decide how you will attach the design to the card. If you are using ribbon, have all of your ribbon pre-cut.
Table B ~ Finding Inspiration.
|
|---|
Printed wrapping paper.
|
The Christmas section of any department store.
|
Magazines.
|
Craft stores.
|
Malls.
|
Memories of Christmas pasts.
|
Printed scrapbook papers.
|
There is no shortage of ideas. If you are having trouble finding inspiration, take a trip through a mall decorated for Christmas. Have a cup of hot cocoa while touring a neighborhood decorated with Christmas lights. Look through magazines.
Cards that contain pompoms or other decorative elements that are bulky, will cost more in postage.
Step 3. Completing your design.
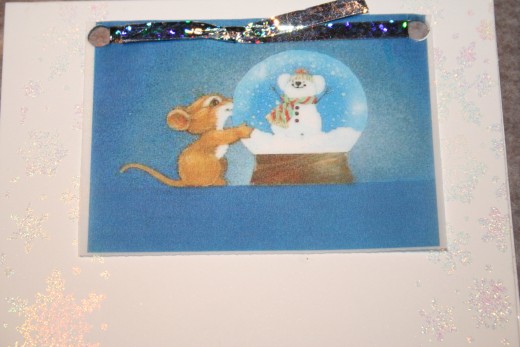
Once you have all of the designs completed, and if you haven't done so, now is the time to adhere everything together with the card base. Any decorative glitter, cotton (for Santa's beard or snowmen), pompoms, ribbon, etc., will complete the card design.
Also note that if you are rubber stamping an inside sentiment, you can choose whether to do that before you decorate your cards or after.


Do you make your own holiday cards?
Step 4. Mailing your cards.
After all of your cards are assembled, decorated, and signed, now comes the fun part of addressing them all.
I recommend using labels for the return address as well as the recipient's address. They are a few dollars for a package of 50, or you can buy them in bulk online. This will save a lot of time at the end and is more efficient then addressing all of the cards by hand.
Avery labels size 1" x 25/8" work great in a regular printer.
Keep a Portfolio of your Work!
|
|---|
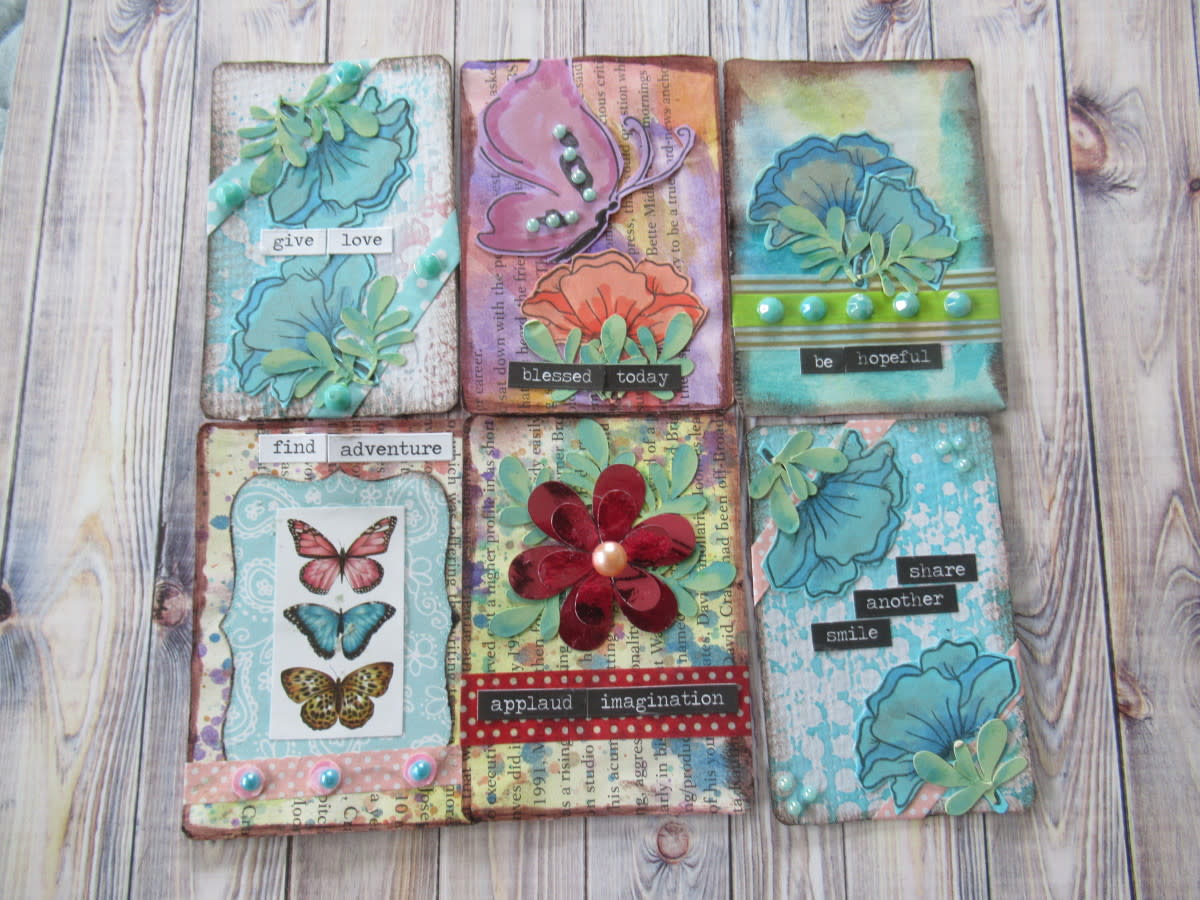
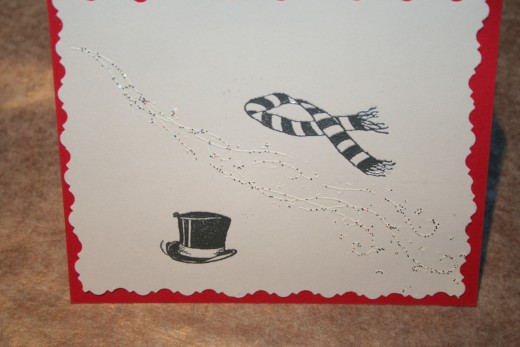
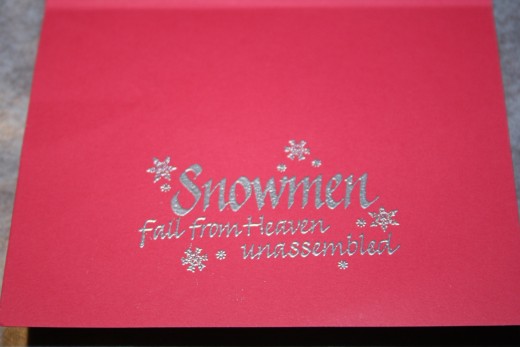
I created a portfolio of my work using a scrabpook album loaded with sheet protectors. Any drafts and one completed copy of my work stays in the portfolio to show potential customers.
|
These are older samples, before I started using die cut machines.
Conclusion.
I hope you've enjoyed this tutorial about creating your own handmade greeting cards in bulk.
And, if you have been hesitating on selling your handmade cards because you didn't know how to make enough, hopefully this article has helped with some organizing and other useful tips on how to maximize your efficiency.
I look forward to hearing about your adventures in card making. Please leave a comment below and share your tips and strategies for designing and creating your own cards!

