- HubPages»
- Arts and Design»
- Crafts & Handiwork»
- Textiles
How to crochet solid granny square afghan - part 1
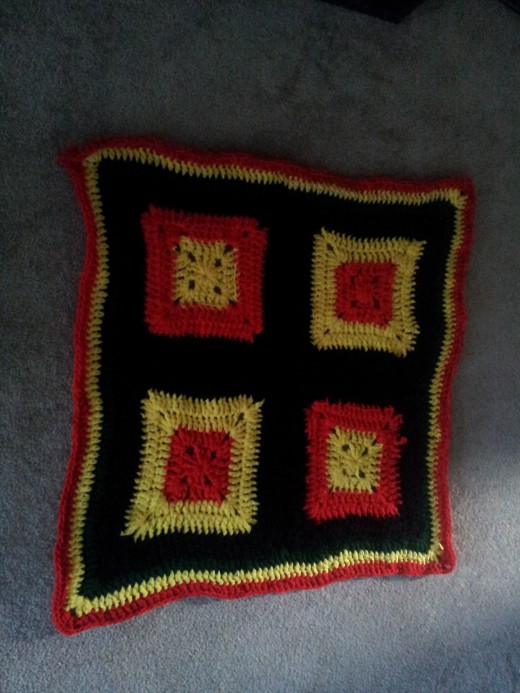
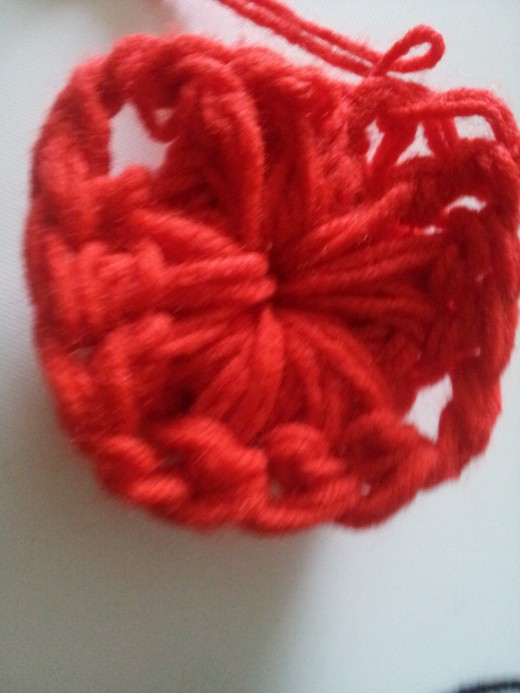
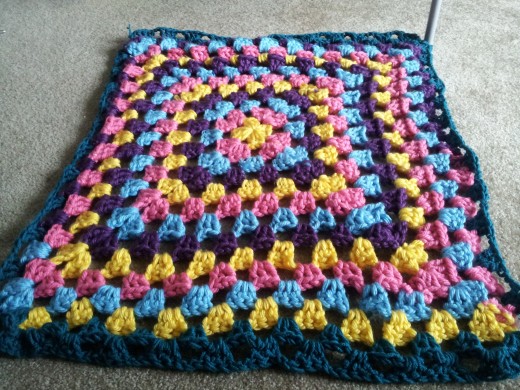
I must admit, I am in love with granny square. After finishing a project in granny square, I was planning to start something new which was not granny square.. However the idea changed when I saw a granny square afghan at a friend's place recently. This afghan was made with solid granny square afghan pattern. I was quite amazed by this afghan's pattern and asked her for the pattern and the first thing which I did when I came back was to start crocheting this pattern ( not to mention the husband's angry reaction). There are many ways of crocheting granny squares. I have learned crocheting (still learning ) how to crochet the basic granny square afghan, till now I have learned 2 types of granny square pattern. To read about the simple granny square pattern , read http://dipsmi.hubpages.com/hub/How-to-crochet-a-granny-square. This pattern is easy and can takes less time to crochet than the solid granny square pattern.
I have now planning to make an afghan rug with the solid granny square pattern. I plan to complete it in two to three days before my birthday party this weekend! If I have time, I may get some pillow covers made. My crocheting stops as soon as the husband comes back from office cause he demands my full attention then. I used crochet needle 6.5mm here ( US K 10.5 ) and worsted yarn.
Do go through http://dipsmi.hubpages.com/hub/How-to-crochet-solid-granny-square-afghan-part-2 to learn more about the finished project on solid granny square afghan I have been working on.
Abbreviations :-
Chain = ch
Double crochet = dc
- Make slip stitch.
- Ch 5
- Join the chains and form a circle.
- Ch 3, this shall be considered as the first dc in the afghan.
- Now crochet 2 dc in the same loop.
- Ch 2
- Make 3 dc in the loop.
- Ch 2.
- Make 3 dc in the loop.
- Ch 2.
- Make 3 dc in the loop.
- Ch 2.
- Slip stitch in the ch of ch 3.
Thus the first round of the granny square is complete. Now you have 2 options, either you can continue with the same color yarn or change the yarn color.
- Ch 3, turn
- Make 2 dc in the same loop
- Ch 2
- Now 3 dc in the same loop
- Dc in the next space
- keep doing dc till you reach the end of the side
- do 3 dc in the loop
- Ch 2
- 3 dc in the same loop.
- continue doing dc till you reach the end of the side
- do 3 dc in the loop
- Ch 2
- 3 dc in the same loop.
- Continue doing dc in the next space.
- When you reach the end of the side, do 3 dc
- Ch 2
- Do 3 dc in the same loop
- Slip stitch at the first of Ch 3 once you come to the end of the side.
You can keep increasing your granny square like this. Just keep in mind that the corners have 6 dc separated by ch 2 ( 3 dc - ch 2 - ch 3). In case you use bulky yarn, the project finishes faster.
- To find out more about granny square patterns read http://dipsmi.hubpages.com/hub/How-to-crochet-a-granny-square
- http://dipsmi.hubpages.com/hub/Granny-square-wall-decor

