Minnesota Crafting: Woodcarving With an Oscillating Tool
Designing Stage
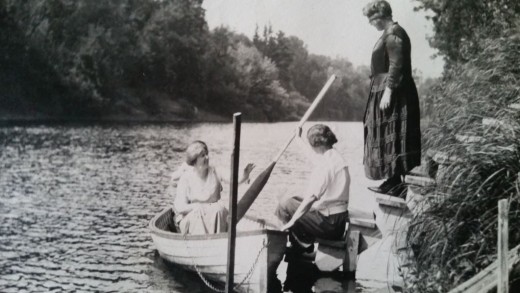
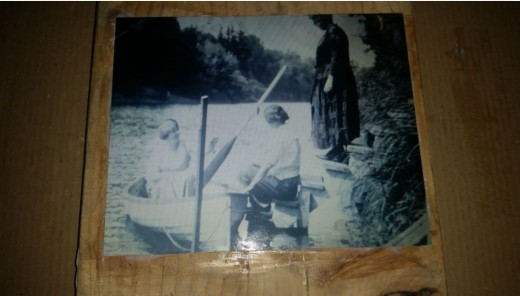
I have a photograph album filled with black and white photos from the early 1900's. One of the pictures that particularly inspires me, is a picture of a rowboat, floating gently alongside a dock on the St. Louis River in Northern Minnesota. The picture above, is a photo of my great aunt and my grandfather's first wife and the third woman is a mystery to me. But, the boat and the people inspires me to carve them.
My plan is to get a photo printed. Transfer it to the wood. Carve the boat coming out of the front of the picture, the people in the boat, carved in succession, each a little farther into the carving.
Even though the middle woman is not my grandma, she was an aunt to my mother's cousins. So, in carving her, I get to know her better.
Tool Issue
Did I mention that I have this idea for carving, but no tool yet. Yes. That is next. Choosing a tool. One of my husband's friends just purchased a Multimax by Dremel. As he showed me how easily it cuts through a board, my imagination was whetted and I started imagining my photo carving.
He showed me that this particular model, had a load feature that was easy. You turn a lever on the top, and round pin pops out. You place your blade, aligning with the holes, and turn the lever back and the round pin pulls in, securing your attachment.
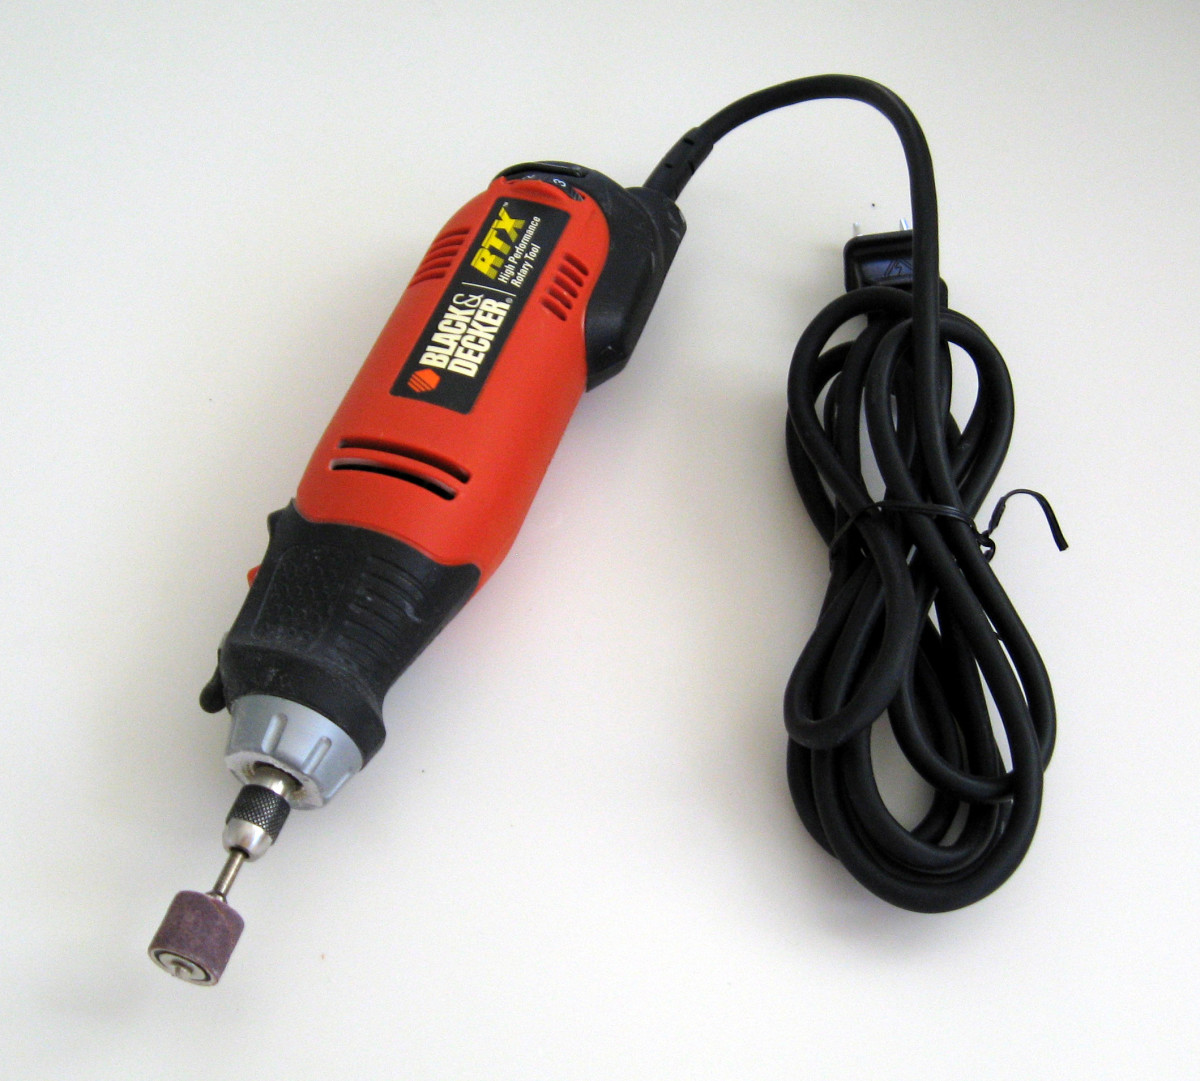
The reason why I point this out, is because it was almost a $100 dollar item, and I went to Walmart, and briefly purchased a $20 dollar tool, but when I opened the box, I discovered that the tool I purchased only was 2.1 Amps and the blade attached with a screw with an allen wrench. As I read the reviews, I discovered that the blade attachment is the biggie and having the security of that extra pin is key. So, I returned my $20 item, and am now contemplating a larger unit.
Dremel doesn't make that process easy, either. They have units that are 3 Amp, 3.8 Amp, 4 Amp and 5 Amp. One store had 11% credit back, so that is a consideration as well. The goal is to get as close to 5 Amp as I can, with the lever lock.
Dremel Multi-Max with 3.8 Amp Motor
I did finally purchase the 3.8 Amp Multi-Max. It came with various blades for working with metal and wood. The manufacturer intends for me to do carpentry work, but, I intend to use it exclusively for my creations.
As of this writing, I have a 2 x 12 board with a 8 x 10 photo matte medium gelled. I started with a photo and because of some Youtube videos, I placed it face down, fully expecting to water wash and remove the paper, leaving the photo on the wood.
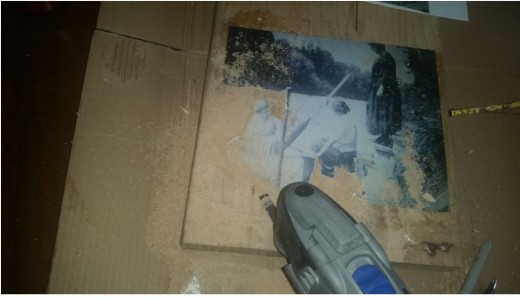
I'm the random, chance in a million person who failed. My first attempt, my photo paper quality was too good and it simply did not come off the board. My second attempt involved a reversed photo copy of the original. I was successful in getting the paper washed off the board, but was also successful in removing the photo image as well. The third attempt, I simply glued the 8 x 10 onto the board and began cutting on the major lines. I removed the photo as I worked.
Rather Thans
As I muse about the picture, laziness sets in and I wonder if adding a piece for the front of the row boat would be easier than cutting out the background. You see, these thoughts occur to a person as they stare at a photograph.
Is it easier to add relief to a flat piece, or is it easier to carve into what is there. Ah, this is a matter that I'll have to decide as I carve. It's all part of designing it.
Wood Carving Successes and Fails
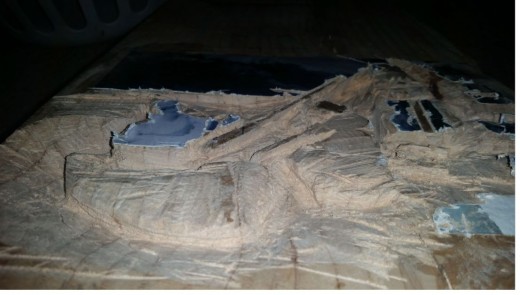
As I write this, it is in retrospect, meaning, I have attempted a carving, and now have my own opinion of the nature of carving with an oscillating tool.
I'm glad I purchased the 3.8 Amp model. If I could have found the 5 Amp model, I would have bought that one instead, but this one is very sufficient for my carving needs.
I alternated between the 1 inch accessory and the 3/8 inch accessory.
I did break the 3/8 inch accessory that I was using during the first two hours. I was being too vigorous and it bent at the welding points. I attempted to glue it back together with J & B Weld, but it wasn't strong enough to withstand the oscillating. I'll purchase a new accessory and try again.
Interesting Results
Previous Attempts and Failures
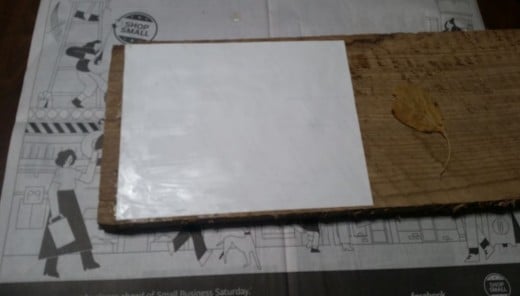
Attempt number one after watching the video on transferring a photo to wood. I got a photo from Walmart and spread Matte Gel Medium on the photo and pasted it on the wood. Let it dry overnight. I don't think that the gel medium was dry in the middle, but the photo paper was too good to be affected by the wet towel.
The second attempt involved driving to the library and, for a dime, got a photocopy that was a reversed image, so when I face downed it, it would be 'right' as to the original photo. Otherwise, the picture would be backwards.
Even with a photocopy, the towel was unsuccessful at removing the paper.
The third attempt just involved pasting the picture to the board and carving through the photo.
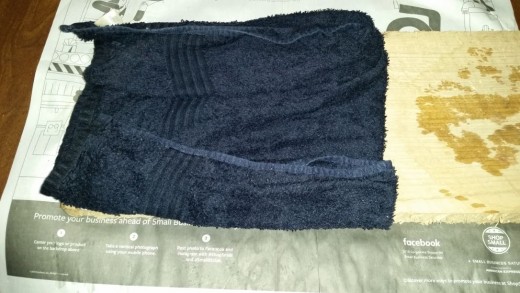
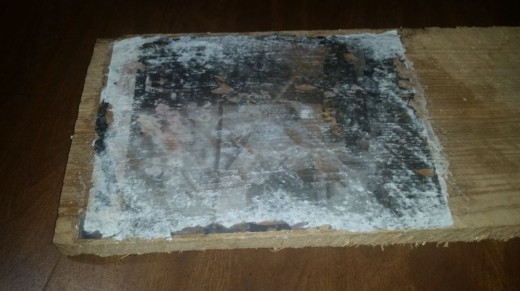
Transferring Photo to Wood
Power Carving is Fun
I'm not pushed away with my failures, and I seem to be gaining on my picture. What a relief. Get it, relief?
This is where we laugh together.

