Top Ten Scrapbooking Products for Beginners
If you're new to scrapbooking or are considering preserving your family photos it can be a challenge to know where to start or even why to scrapbook. A stroll down the scrapbooking aisle at your local craft store will surely leave you overwhelmed with all the supplies and tools available. Where to start? What is worth the investment? To begin creating beautiful photo memory albums you don't need every tool and every supply. This article presents the top ten products for a beginner scrapper. As you experiment with various styles you will find what you like and can slowly add more tools to your stash.
Album Preference
What is your favorite style of album?
1. Album
Obviously, you will need a photo scrapbook album. There are many choices of sizes, styles, colors and budget. I think it's best to start with a 12x12 album because this is the size you will probablly use for the majority of your projects but you will want to determine the theme of your project first. With the theme in mind you will also be able to choose the color for your album. The albums consist of pages, protective sleeves called page protectors and a mechnism to hold the pages in the album. When it comes to style there are three main categories:
- Post Bound Album - These albums contain page protectors that are bound to the album with posts that can be easily removed to add additional protectors. Card stock pages slip in the top of the page protector. This makes it easy to adhere your photos and embellishments to the page and then slip into the page protector. I like post-bound albums because it is easy to change the order of the pages without taking the album apart.
- Strap Hinge Album - These albums Have flexible plastic strips that thread through wire loops on each page to hold the album together. This type of album also enables you to add additional pages. You can work on the pages while they are in the album or take the pages out and work on them individually and then add back into the album. The page protectors slip on the pages once they are in the album from the side. The most popular strap-hinge album is Creative Memories. The majority of my albums are strap-hinge because I was a Creative Memories Consultant for several years. I like the way the pages lay flat when the album is opened.
- Three-ring Binder - This type of album is similar to the notebook binders you used in school. The page protectors have holes so they fit in the binder held with three rings. This is the type of album I started with back in the day before scrapbooking was popular. It is easy to work with and to change the order of the pages but I don't like how the rings seperate the two pages when the album is open because I like to do two page layouts.
As for budget, this is one place where you need to make a bit of an investment. There are very cheap albums out there but the quality may be missing. You are putting an investment of your time into creating what will become a family heirloom and you want it to last so choose an album acordingly.
2. Cardstock and Paper
Most scrapbookers love paper and have quite a stash in their inventory. Cardstock and patterned paper will be used to mat your photos, create embellishments, and decorate your page. The most important thing to take into consideration when purchasing paper and cardstock is to make sure it is acid free and fade proof. Most scrapbook paper on the market today has these qualities. Normal paper has acid that can harm your photos over time so check the packaging or ask your consultant if the paper is acid free or sometimes called archival safe. Fade proof paper is also preferred so your pages don't turn yellow or fade from their original color over time. To test if a paper is fade proof set it in a sunny window with a plate or other small object on it for several days to see if the color of the paper fades or just check the label on the packaging. There are many quality paper manufacturers but my favorites are Stampin' Up, Basic Grey, and Bazzill Paper. I usually use cardstock grade for the foundation or the scrapbook page but prefer a lighter paper weight for matting the photos and creating embellishments to decorate the page. The paper comes in solid colors as well as patterned paper so you can choose the colors and patterns that will work best with your project.
3. Paper Trimmer
A paper trimmer is used to cut your paper for decorating your page or matting your photos as well as cropping or trimming your photos. Once again, there are many choices when it comes to paper trimmers including different manufactures, styles and sizes. I like to use Creative Memories Personal Trimmer for small mats and for cropping photos but I also like to have a 12x12 trimmer that is appropriate for cutting larger pieces of paper. Several manufacturers have their own version of the Personal Trimmer which has a grid and guillotine type blade. I can only recommend the Creative Memories model as that is the only one I have ever used which says a great deal considering I am still using the same one for over ten years. The blade can be sharpened by cutting aluminum foil and then wax paper. As for the 12x12 Trimmer, it will usually have a large grid with a roller type cutter that slides on a grid. The heavier and sturdier models have better quality and results, but if you will be carrying your tools to various locations to work on your albums, or traveling to crops or retreats it is best to have one of the lighter more portable versions. The blades on these trimmers can usually be replaced when they become dull.
4. Adhesive
Adhesive is used to adhere your photos to your scrapbook page. It is very important to choose one that is appropriate for scrapbooking and for use with photos. At the very least the adhesive needs to be acid free but those marked as archival safe are best. Some glue sticks say acid free but I don't like to use these in scrapbooks because they are messy and can make stains on your page and can be lumpy. My favorite type of adhesive is a tape runner style that consists of a dispenser that holds sticky tabs or a thin layer of glue. This type is easy to apply to the photos and doesn't make a mess. It goes without saying, but read the packaging carefully to make sure the adhesive is permanent. Experiment with the various types to find what works best for you before you use it with your photos.
5. Journaling Pens and Markers
One of the most important elements of your scrapbook is the journaling. This is the written part of your page that tells the stories behind the photos and records important facts about the subjects of the photos. At the very least you will need a fine tip black marker for journaling but a set of markers of various colors in both fine tips and broader tips is recommended for use with more creative journaling and to decorate your page. My three favorite manufactures are Creative Memories, Marvy and Tombow. Some of the Marvy and Tombow markers have a fine tip at one end and a brush tip at the other. This is very convenient for storage space and budget as you get two for one. The fine tip is used for journaling and the brush tip can be used to color in images on your page and to make decorative titles. Make sure any markers or pens you use on your scrapbook pages are archival safe, fade resistant and waterproof.
6. Idea Book
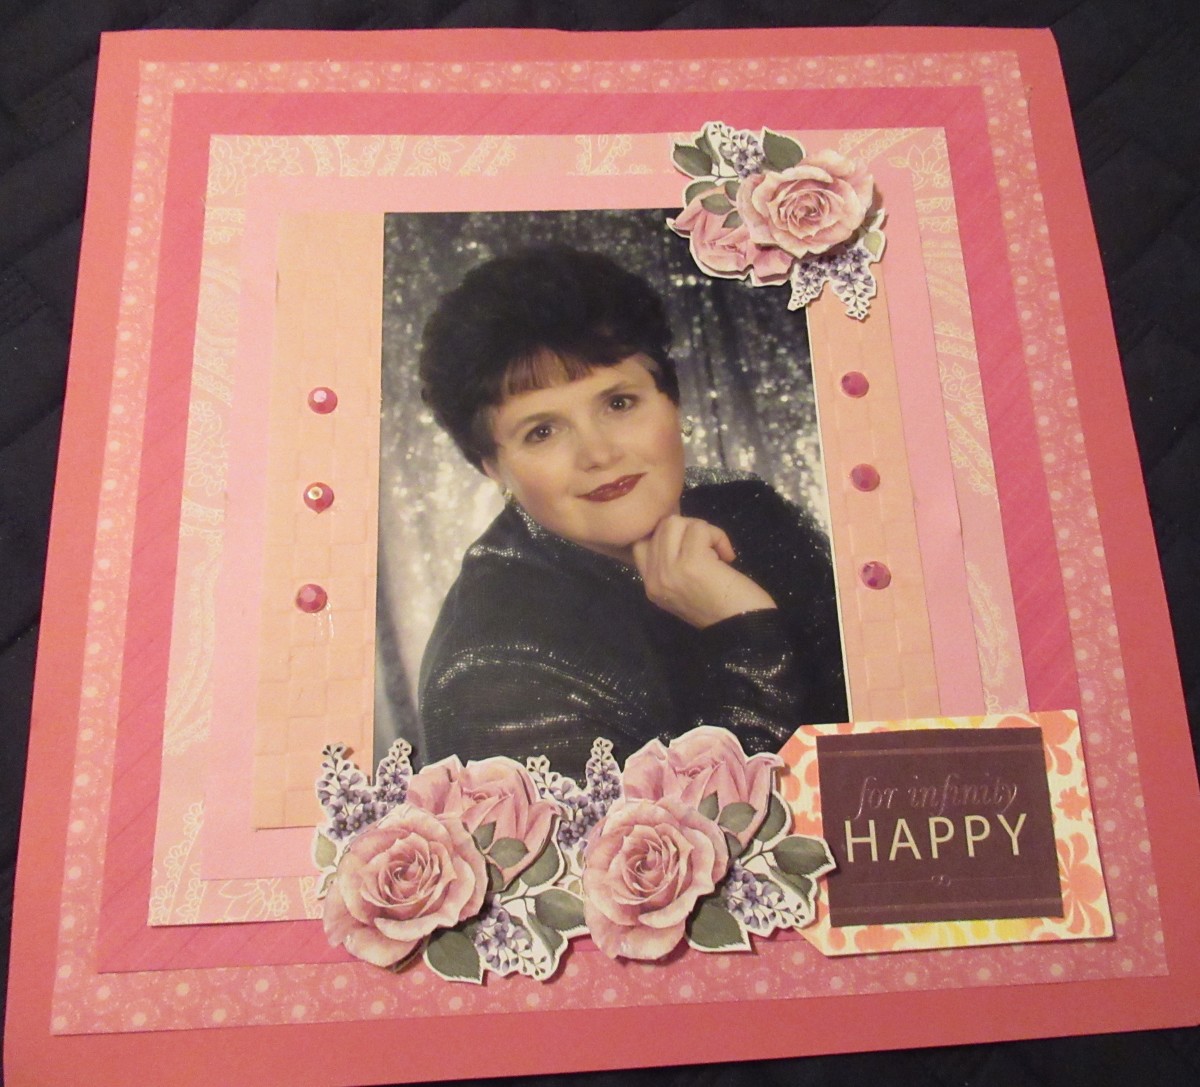
Even seasoned scrapbookers run out of ideas so it is great, especially for beginners to invest in a basic how-to and idea book. A good one will consist of ideas for various layouts which are patterns for laying out your photos on the page. Scrapbooking magazines are also good for getting ideas but a warning to the beginner to not get overwhelmed with all the advanced and fancy pages in the popular magazines. While scrapbooking is an art form and creativity enhances the pages you have to remember that the photos are the star of the pages and any embellishments or decorations to the page should only serve to enhance the photos not distract from them.
7. Embellishments
While you want your photos to be the star of your page, tastefully placed embellishments can add a finished look to your pages. The beginner scrapper might want to start out with a few stickers and die cut shapes that will compliment the photos and theme of the scrapbook. Once again make sure that anything that will touch your photos is acid free. Once you get a little more advanced you can add other embellishments such as brads, ribbon, buttons, chip board, the list goes on and on. Let me warn you that it is easy to go a little crazy with embellishments so try to only buy what you will use on your current project. It can be devastating to your budget if you buy everything you like, hoping that you will use it in the future. This being said, one look at my scrap room and you would see that I have not followed my own advise!
8. Corner Punches
Another fun and easy tool to have that can add a finished look to your pages are corner punches. These can be as simple as a corner rounder punch that rounds the corners of your photo when you don't want a square corner or elaborate corner punches with intricate punched designs that can be used on your photo mats. A good place to start is to purchase a corner rounder, I like Creative Memories version, and a fancy punch that has four different designs.
9. Scrapbook Page Kits
One of the best products for beginning scrapbookers are the many Page Kits that are available on the market today. These kits come in different themes and contain everything you need to complete one or more pages, including coordinated paper, stickers, die cut shapes and other embellishments. I don't recommend using the kits for all of your pages because it can get costly and I am a firm believer in using leftovers but when you are starting out these can be a learning tool to experiment with different products and see how the different elements can coordinate with each other. After you have some experience under your belt you will be able to develop your own page kits and save money while using your left over supplies that you have on hand.
10. Organizers
Finally, you will need some system to organize your supplies. Once again, there are endless scrapbooking organizers to hold you albums, paper, tools, pens, etc. but you can easily use any organizers to hold your supplies. I even like to use found objects such as coffee cups, jewelry organizers, baskets, etc to hold my pens and tools. The possibilities are endless just make sure you have some means of organization or you will be spending valuable scrapping time looking for what you need. As you get more advanced it will be good to invest in a scrapbooking bag or caddy as your tools and supplies increase or if you plan to travel to crops or retreats to scrapbook with friends or others who share you passion for preserving photos and memories.
The most valuable advise I can give to someone who wants to start this worthwhile hobby is to just get started! I spent months when I first started just purchasing products and magazines, planning and reading to make sure I knew what I was doing before I began but once I got my hands moving and working with the photos and paper, the joy began and my true education developed. I have been scrapping for close to 15 years and I have to say it has been one of the most satisfying things I have ever done. I hope that you will take that first step and discover the joys of scrapbooking!
