Create an easy photo collage


For your business, blog or just for fun
With a simple drawing program, or even a free online editor, you can create photo collages that make the most of your images for fun, for your website or for your business. Scroll down to see how easy it can be.
Ways to use your collage
- Create postcards to advertise your business
- Make thank you cards
- Create a header for your blog or website
- Create birthday or holiday cards
- Make a family heirloom with old family photographs
- Create a lasting memory of a visit or occasion
For the purposes of this demo, I've taken some copyright-free images from Wikipedia and cropped them all into squares. If you'd like to know how to crop images quickly and simply, click here.
Materials:
- Computer
Instructions:
1. Collect the images.
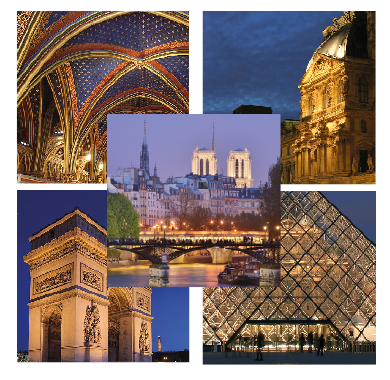
Here are my images of Paris, all cropped to be squares of the same size. They are nice images but I want to make them just a little more exciting and make them stand out.
Here, you see the five photographs added to a drawing program ready for their beauty treatment.
Here, I'm going to use the polaroid look because it has a retro feel.
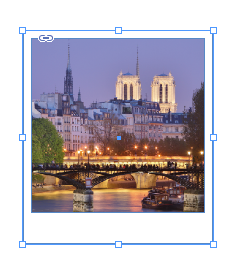
2. Create a rectangle.
Draw a simple rectangle around one of the photographs. You can see here that I've made the rectangle larger at the bottom to create the polaroid effect.
I like this because the white space on the bottom of the photograph is an ideal place to add text. If, like me, you remember using a polaroid camera, you might have used that space to scribble down the date or other notes about the photograph.
Color the rectangle to be white.
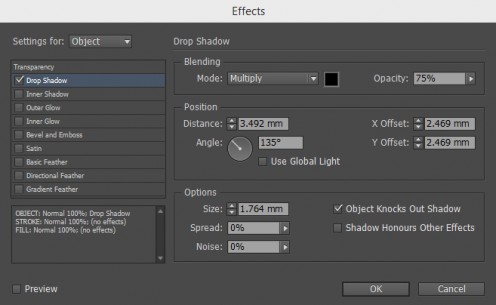
3. Add drop shadow. This will vary depending on the drawing program you use but it's more than likely that you'll see 'image' in the top and, in the dropdown,'effects'. Click 'effects' and drop shadow will be one of the options. When the dialog box opens, there may be a bewildering array of options but all you really have to change is the opacity - 75% is default on my program (InDesign) whereas 25% is much softer and more realistic.
See below.
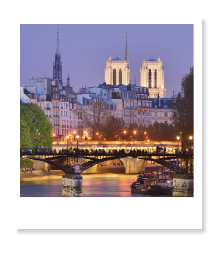
4. Now you'll have this - see the image on the right.
There are two things to do now. Because I have another four photographs, I copied the white, shadowed rectangle (CTRL+C). Then pasted it four times (CTRL+V). Then, because the rectangle and the image are correctly aligned, I group them together.
Select them both (use the SHIFT key) and then CTRL+G. (If your program doesn't use this keyboard control, then go to 'object' then 'group'.
Arrange the remaining photographs on the white rectangles just as you did with the first, and you'll have something like the image you see at the top of the page.
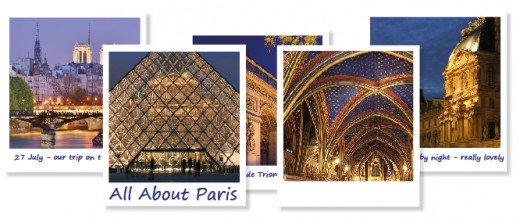
5. Make a header for your blog.
This would be perfect for your blog, no matter what the subject. If your blog is about food, use photographs of the meals you've made, or ingredients. If your blog is about animals, use animal pics. There are endless possibilities.
You'll notice that I have put the blog title in a large font on one image. The others have notes. These are in blue (as though they were scribbled on using pen) and an informal hand-written font was used.
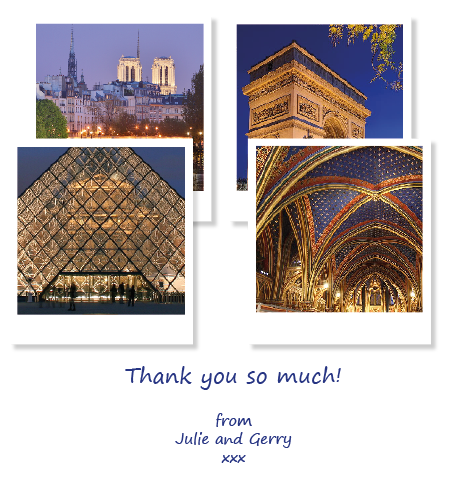
6. Make a thank you card.
These can be either for personal use or for your business.
Here, I'm imagining that a couple are thanking their hosts for their vacation in Paris but you can imagine how they could be used to thank people for wedding or baby shower gifts.
For your business, use photographs of your products or your staff.
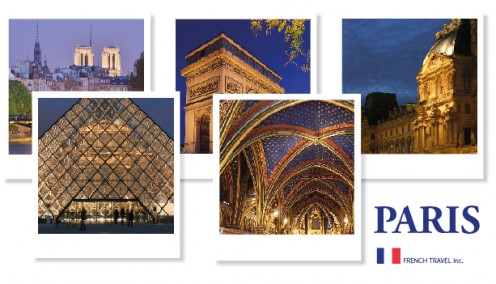
7. Create a postcard for your business.
In this example, I'm imagining a travel specialist that is offering vacations in Paris.
I've added the company name and the details of the company and their special deals or offers can be outlined on the other side of the card.
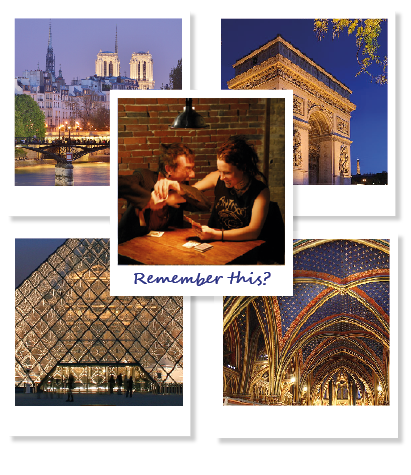
8. Make a personalized card.
Add a personal photograph for a personal card.
Perhaps they went to Paris for their honeymoon and she wants to go again - here's a gentle reminder.
Or maybe she's bought plane tickets to France and they are enclosed within the card. There are SO many possibilities for a personal card like this.
My favourite program is InDesign, which I used to create the images above. It's pretty expensive too. But today, I use the cloud version for a small monthly fee. See the link below.
And I'll let you into a secret. The cloud version is the very latest one, which is great.But to be honest, it's not terribly different to older versions. I have a years-old version on my PC and I'm just as happy using that. The good news is that the older versions are really inexpensive.


