DIY Crafts: Valentine's Heart Garland

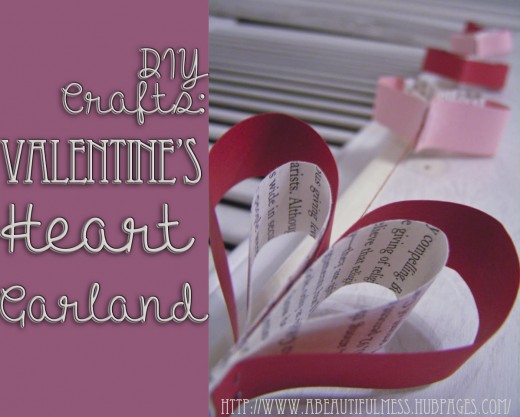
Valentine's Day is sneaking up on us, and this craft is perfect for anyone looking for some simple, last minute décor. It's cheap, fast, and most of all, cute! Garlands are an easy way to add some festivity to a space.
I'm on a mission to be more festive. I keep seeing all of these adorable DIY decorations online, and I really wanted to try to make my own. Little things like that really make me happy when they're added to a space - I love garlands and Christmas lights!
I love making things, but I have a horrible attention span. I've been trying to find things to create that are fast and easy - not to mention cheap. I hate spending money on things, so I love cost-efficient décor!
Decorations really set the mood for a space, whether it's house, a restaurant, a church, or even a garden. This Valentine's day, you can use this cheap and easy craft to brighten up your home or office.

Materials
Like I said, this is a cheap and easy craft. You'll need some red and pink paper (I used cardstock), a book or newsprint, a stapler, and a needle and thread.
Cardstock can be found at WalMart in a package of different colors for around $5. You could use scrapbook paper, or normal colored paper!
The book is something you may not have to spend money on - I found an old book from school to cut up for this craft. I feel kind of bad about it, but I had already read it and probably wasn't going to again. Also, on the off chance that somebody read the print, I wanted it to be Valentine appropriate - the book was about charity!
The stapler was what held me back... I thought we had one at the house, but I ended up having to run to the dollar store to get one. It was $2 for the stapler and 3000 staples, so I'll call that a good deal.
I already had a needle and thread - I decided to use red thread to string the garland. I thought about getting some fishing line, but I figured it didn't really matter in the end.
How do you decorate for Valentine's Day?
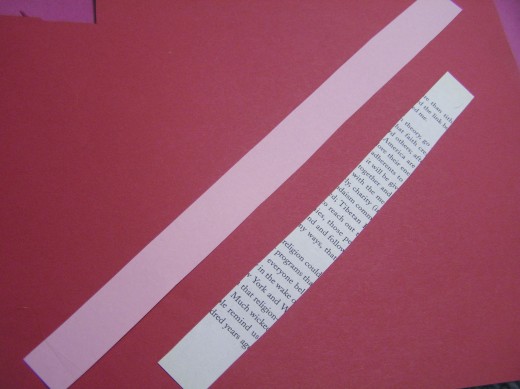
Step 1: Cut strips!
You don't want your cardstock and book print paper to be the same lengths - differing the lengths is what creates the smaller heart in the larger heart.
My print strips were shorter than my cardstock strips, as I'm sure they will be in most other cases. The difference in length was about 2 inches, and I think it was a pretty good ratio - the hearts came out pretty cute!
I cut the strips about 2 centimeters wide, cutting down the longest edge of both cardstock and the book.
After getting the hang of it, I started to mess around with the widths of the strips - I like how the hearts look when the print strips are a bit wider than the colored ones.

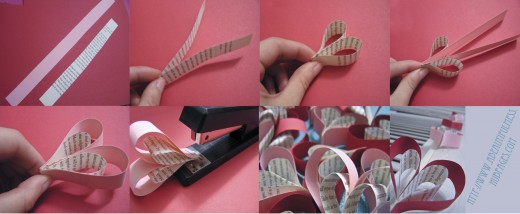
Step 2: Fold the Heart
Make sure your stapler is nearby! Start off by folding both strips in half.
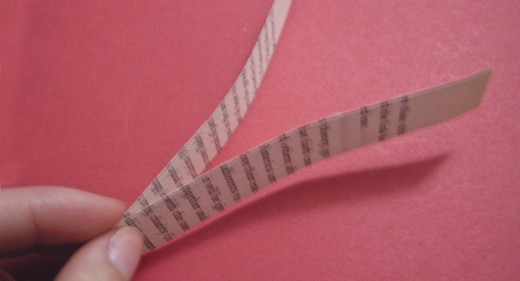
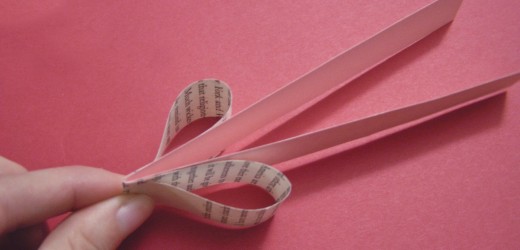
Take the shorter strip and curve the ends down, holding them in place with your thumb and pointer finger.
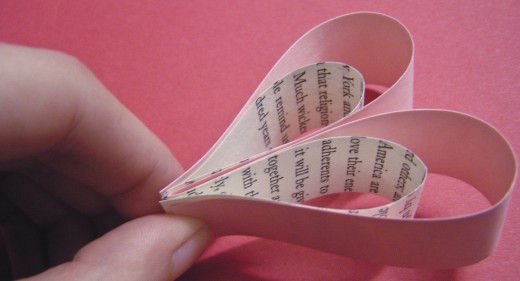
Grab the longer strip and put it inside the folded, shorter strip. Then, do just what you did before - curve the ends down and hold them in place.
Punch a stable through the bottom of the heart, and you're finished!
I don't particularly like the staples, but they don't look terrible. While I wish there was a way to conceal them, but you can't see them from far away anyway.
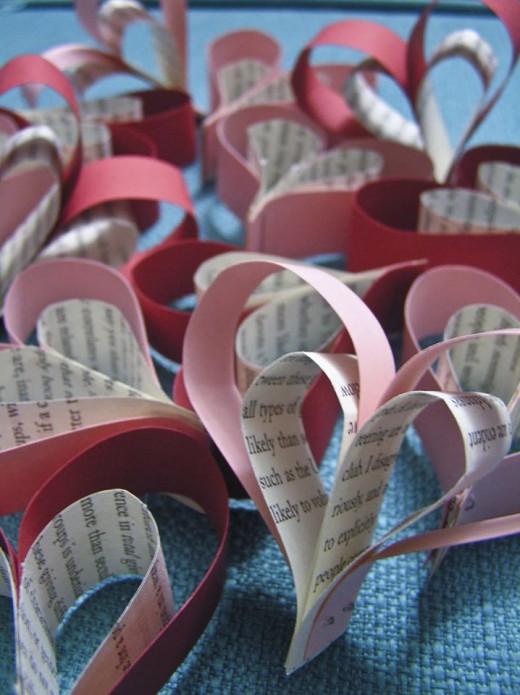
Now that you've finished your first heart, keep folding and folding until you accumulate a big stack of them. They're easy to make, and fairly quick too. I made about 10 in five minutes.
When you're satisfied with the amount of hearts you've made, get your needle and thread!

Step 3: Thread the Garland
Like I said, I used red thread. Measure out the length that you want the garland to be, and cut the thread. Starting from the bottom and working my way up, I tied a knot to keep the lowest heart secured. Then, I threaded it up through the heart.
I like how they look spaced out. If you don't want space between the hearts, don't worry about it! Just keep threading them on. You'll need a lot more hearts though.
If you do want space, measure the amount you'd like before the next heart, and then tie a substantial knot there. Just big enough that it'll hold the heart in place. Thread your next heart! Keep on going until you've run out of string or hearts. Tie a little loop on the end of the string, so you can hang the garland.
Find a cute space to put it up, and enjoy!
What crafts are you looking forward to?
Check Back for More Crafts!
Keep checking back for more easy and cheap Valentine's decorations - I've already been working on a few. If you're looking for some more lovely décor, try out this tissue paper pompom garland, or these four incredibly easy decorations.
If you've gotten your sweetie a gift and need to wrap it, check out my article on Valentine's Day gift wrap!
")


