Easy Collage Decoupage
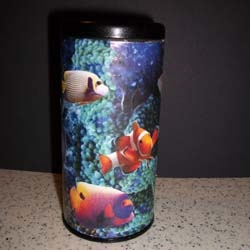
Collage + Decoupage = Simple Creative Fun
Decoupage is one of the earliest, easiest crafts I can remember making when I was a little girl in the early seventies. People were putting decoupage on just about everything, even soap! That is, they glued images onto things and put a glaze over them.
Another craft I recall from my early childhood is making collages. Collages are collections of images arranged to be visually interesting or pleasing to the eye. Sometimes, collages even tell a story.
This super easy craft project combines decoupage with making collages.
All photos by Kylyssa Shay unless otherwise noted.
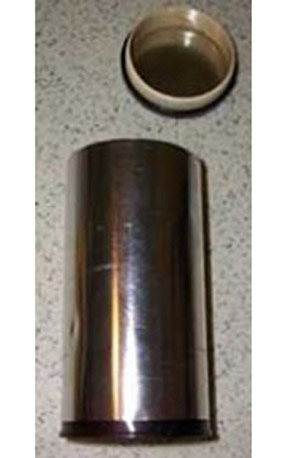
Materials
- Old magazines
- An empty tin or box
- Elmer's Glue All
- Spray Varnish
- Scissors
- Eye Protection
Remove any existing labels from your tin. I used a tea tin and soaked the label off in warm water. Carefully dry your container before beginning this project.
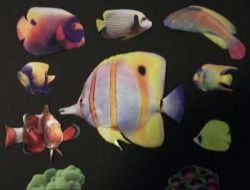
1. Cut Out Images You Like
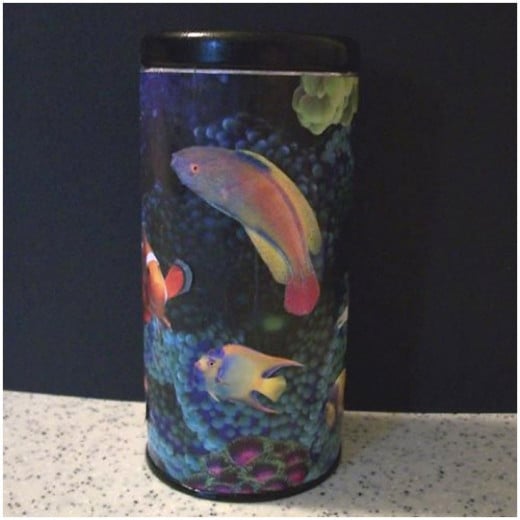
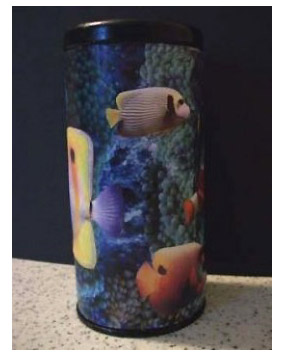
Cut out little images you like from your old magazines. I chose little saltwater fish from my old aquarium magazines mainly because I have a lot of old aquarium magazines and I like fish. Any small, colorful images will work well. You could certainly get a lot more artistic with the collage aspect of this project than I did here.
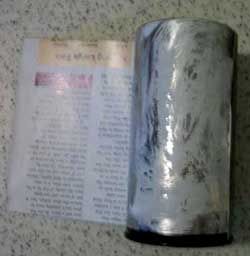
2. Choose Magazine Paper as a Background
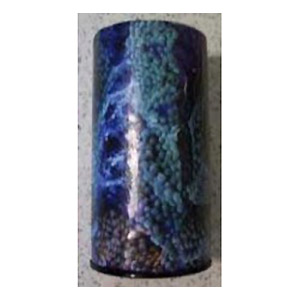
Choose pieces of magazine page to serve as a background. I chose some big pictures of vibrantly colored soft corals to go nicely with my little fish.
Apply a thin layer of glue to the outside of the tin and allow it to get tacky.
3. Smooth Background Paper on Tin
Apply your background magazine paper to the tin, covering the whole tin, smoothing as you go. If it isn’t perfect, don’t worry, it will still look OK and you may be able to hide some of your mistakes with pictures you add to the collage.
4. Apply Images to Tin
Once the magazine papered tin dries, apply a very thin layer of glue to the back of each image you cut out, one at a time, and apply them to the tin wherever you want them to be on the finished tin. Keep applying pictures until you've used them up or until the tin looks the way you'd like it to.
Apply spray varnish to the completed tin and allow it to dry.
Always use eye protection and work in a well-ventilated area when you use spray varnish.
Always use eye protection and work in a well-ventilated area when you use spray varnish.
