How to make a Gift Box


Welcome to my Holiday Gift Guide!
Make your own Gift Box
Do you have some little gifts that you really want to spruce up a bit with their own special little gift box?
Well you have come to the right place. We are going to show you step by step how to make your own gift box.
Our example uses 12 inch by 12 inch scrap booking paper. This makes a gift box that is about one inch tall and three inches square. You can use any kind of paper you want as long as it is square.
Have fun and experiment with different sizes and designs.
Put your creative hat and lets make our own gift boxes this holiday Season.
Step One: - Start with a 12 inch by 12 inch piece of scrap book paper

Step One:
We are going to start with the bottom part of our gift box. Take a 12 inch by 12 inch piece of scrap book paper and trim one half inch off two of the sides, making sure to keep it square.
Step two: - Fold in half

Step 2:
Fold the two opposite corners together and make a crease on the fold on the diagonal. Then open the paper and fold the other two opposing corners together and crease it on the diagonal.
Step Three: - Fold the corners to the middle line in the page

Step 3:
Fold two of the opposing corners to the middle line in the page. Crease those folds and open back up. Turn the paper a 1/4 turn.
Step Four: - Fold the other two corners to the center

Step 4:
Fold the other two corners to the center line crease those folds and open the paper back up again.
Step Five: - Fold each corner to the first fold of the opposite corner.

Step 5:
Take one corner and fold it to the next line past the center, closest to the opposite corner (shown above), crease then unfold. Repeat this with the other three corners.
Step Six: - Fold each corner to the first line closest to it.

Step 6:
Take a corner and fold it to the creased line closest to it, like the example above.
Step Seven: - Fold the rest of the corners to the first line

Step 7:
Fold each of the other three corners to the creased line closest to them. You should now see many little inch squares folded into the paper.
Step Eight: - Making your first cuts

Step 8:
Cut along the lines on each side of your corner folds of one corner, up two lines like the photo above.
12 by 12 Cardstock

Step Nine: - Turn and cut the opposite corner the same way

Step 9:
Turn the paper and cut along the opposite corner the same way. Two corners will be left uncut.
Step Ten: - Another look at the proper cuts

Step 10:
Here is another look at the proper cut.
Step Eleven: - Making the first fold

Step 11:
Take on of the corners that you did not cut and fold it again to the center line like so.
Step Twelve: - Fold again to the center

Step 12:
Fold the same corner to the center again, like shown.
Do you have any good christmas craft ideas?
Do you have any good green christmas ideas?
Step Thirteen: - Fold up for the first side of your gift box

Step 13:
Fold that side up, this is the first side to your gift box.
Step Fourteen: - Fold the opposite side the same way.

Step 14:
Take the opposite corner and fold it the same way, to the middle first, then fold again to the middle and fold up for the second side to your gift box like shown above. Don't worry that they are not staying up yet, that will come with the next steps.
Step Fifteen: - Flatten sides back down and crease the folds again to make corners tight.

Step 15:
Flatten the sides back down and fold them as shown to re-crease the folds. This helps to make nice tight corners for your box.
Step Sixteen: - Pull sides up and bend paper as shown to make the third side

Step 16:
Fold your two sides back up and take the part you just creased crossing them over one another to make part of the third side like shown above.
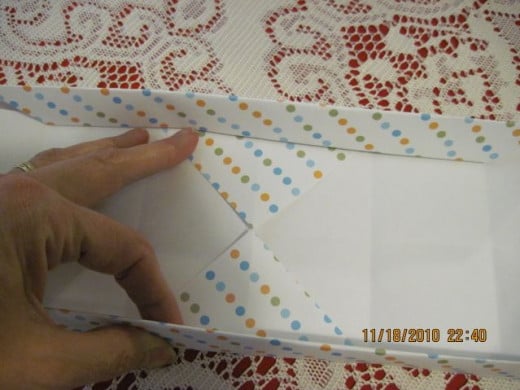
Step Seventeen: - Fold the corner over and carefully crease top first them bottom fold

Step 17:
Next fold the corner over this piece and into the box, carefully crease the top and the bottom folds to help hold the paper tight. This makes the 3rd side of your gift box.
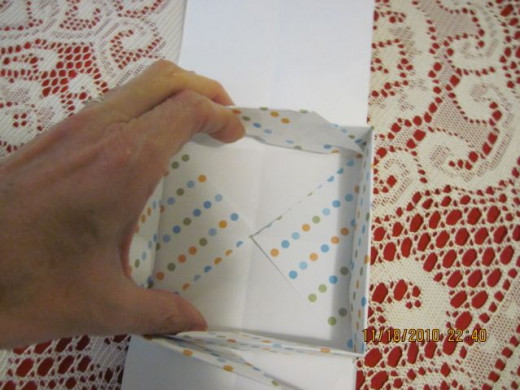
Step Eighteen: - Fold the other two sides in

Step 18:
Fold the other two sides in like so.
Step Nineteen: - Fold the corner over

Step 19:
Fold the last corner over.
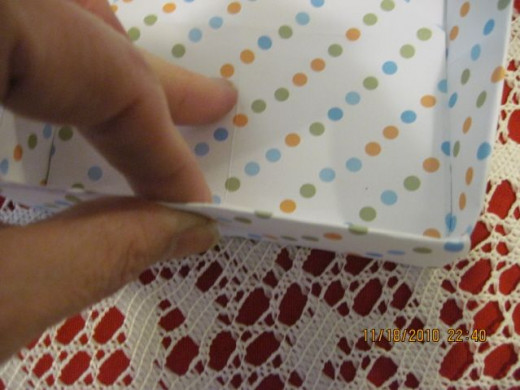
Step Twenty: - Carefully crease your folds
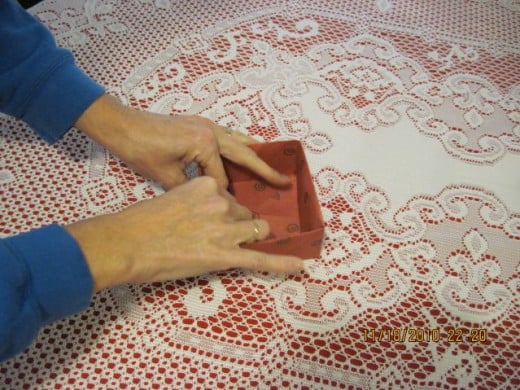
Step 20:
Now carefully crease your folds again as your make your final adjustments to your gift box to make sure it has nice even lines, corners and sides. You don't need glue but if you have any problem getting the paper to stay down you can use a tiny amount of glue under each center flap. I recomment a scrap booking glue stick for this as the glue doesn't show and sticks right away.
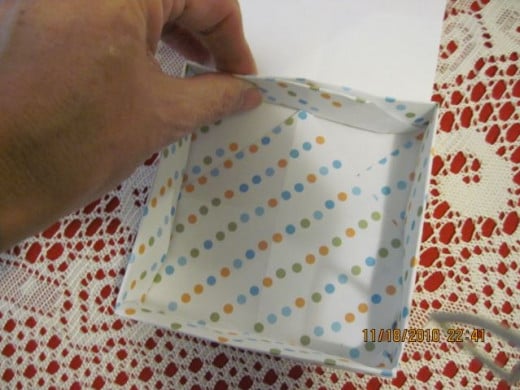
There you have the bottom of your gift Box - Wasn't that easy?
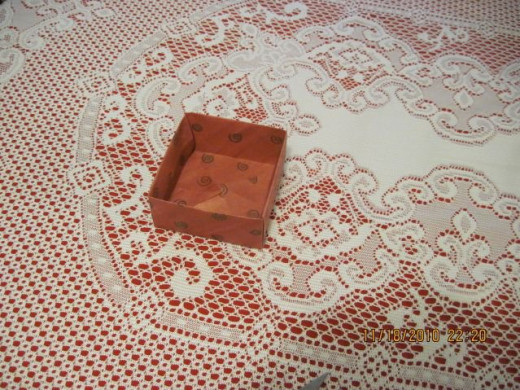
Here you have the completed bottom of your gift box. Now pick out another piece of scrapbooking paper that you think will look good with your gift box. You can use the same design or one that compliments it for the lid.
Making the lid - Follow steps one through twelve
To make the lid use a full size sheet of 12 inch by 12 inch scrap booking paper. This will allow it to be bigger then the bottom of your box to fit nicely over it as a lid. Follow the above steps 1-12.
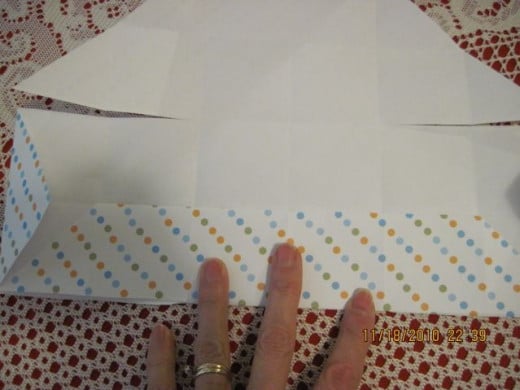
Lid Step 2: - Fold this side in half again

Step 2:
For the lid: Fold the side in half again to make your side half as tall as the sides of the bottom of your gift box.
Lid Step 3: - Do the same with the opposite side
Step 3 of your lid:
Follow the same step as above with the other side of your box as shown.
Lid Step 4: - Pull creased sides together
Step 4 of Lid:
Pull your creased sides together.
Lid Step 5; - Fold the third corner over and crease
Step 5:
Fold the third corner over and crease nicely as shown on the top and bottom of that side.
Lid Step 6: - Now do the same with the final side
Step 6.
Fold the last side over and crease at the top and bottom.
Place your lid carefully over your gift box - There you have it
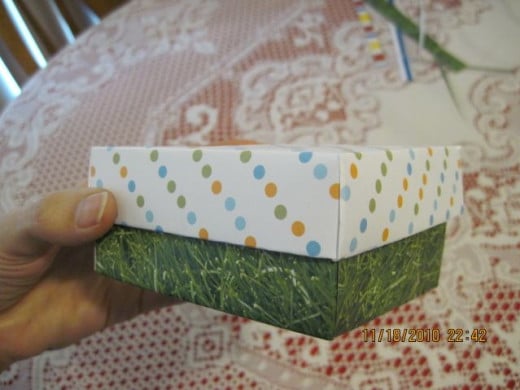
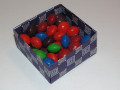
Your lid should fit nicely over your gift box and there you have your finished box.
Mix and Match colors to create many different styles of gift boxes - You can use different size paper or types too
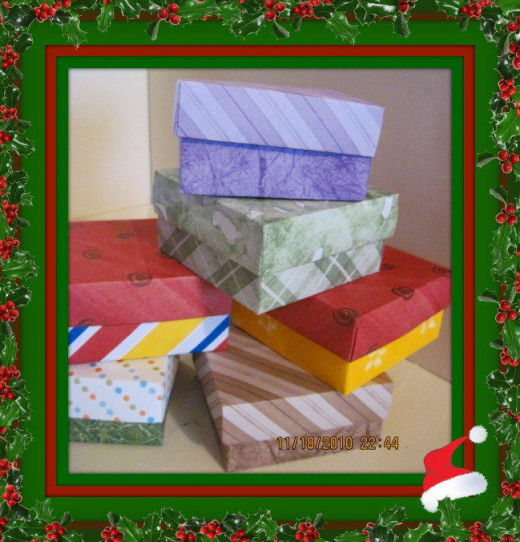
Your imagination is your only limit now. You have learned how to create your own gift box. Try mixing and matching different colors and designs of paper. You can make larger or smaller boxes by changing the size of the paper your use to start with.
Just remember that the bottom part of the box will need to be slightly smaller than the lid.
Now fill them up - Have fun shopping or making your own gifts for your loved ones.

This is a painting of mine on a sanddollar.
They make great jewelry boxes too - Vintage jewelry is so beautiful
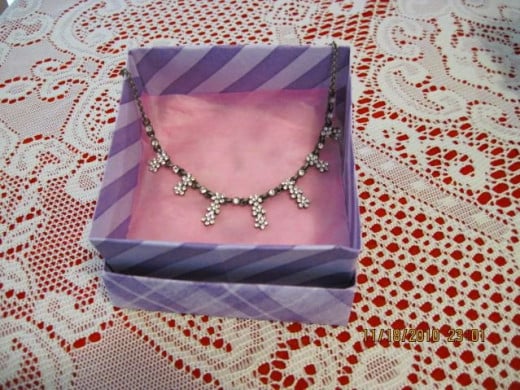
Another example shown with a vintage rhinestone necklace displayed.
Thank you so much for your interest in making your own gift box, I wish you many happy moments of crafting and giving to others.
Happy Holidays,
Linda