Painting Clouds
Stormy Sky
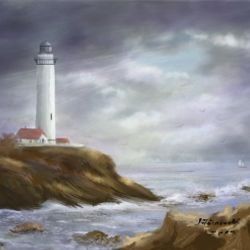
How to Paint Clouds
I think painting clouds is one of the most exciting parts of any landscape. There is such a variety that can be painted and each has a definite impact on the story the landscape tries to portray.
There are crystal clear blue skies, big puffy cloud skies, threatening storm clouds and beautiful sunsets and sunrises.
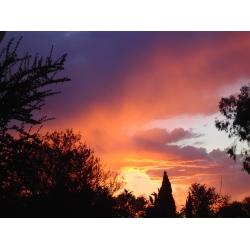
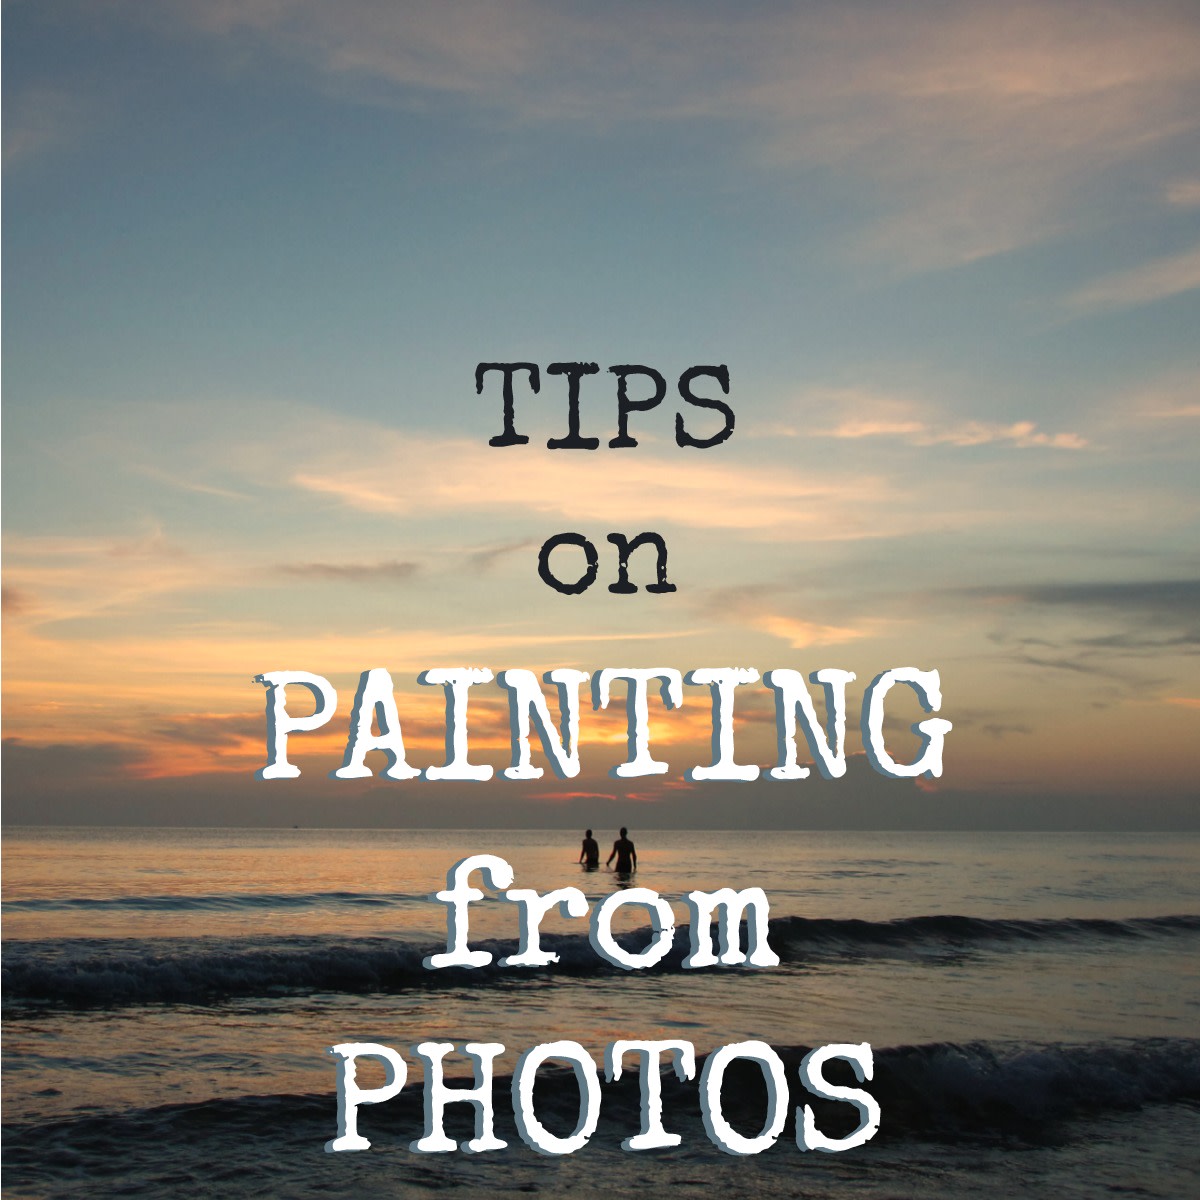
Reference Photo
I love painting sunsets and this Photo was one that really caught my eye and made me want to get started right away.
With Painter 12, you can have the reference picture on a single layer and then add a layer over it to sketch on. It is like using tracing paper, something many traditional watercolorist do.
Sketching
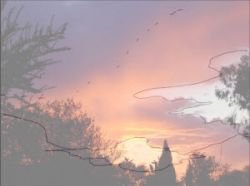
Start with a Sketch
Once I have the sketch done, I eliminate the photo so I can be more creative in how the painting develops.
I started with a light sketch and broke the canvas down into three value areas.
The lightest areas will be the sky holes where the blue sky shows through on the right and the sunlit sky shows through near the bottom.
The medium tonal values will be the rest of the sky.
The darkest values will be the silhouettes of what ever I decide I will have in the foreground, but they can be sketched in later. I will purposely paint the sky all the way down to the bottom so I'm free to cover up whatever I want later.
I try to create abstract shapes with each value block to add more interest and direction to the painting. You can read a more detailed explanation of this in my Lens, http://judyfilarecki.hubpages.com/hub/painting-clouds
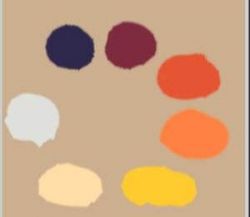
Choosing a Palette of Colors
I selected burnt sienna for the under painting. This helps eliminates the problem of white canvas showing through where you don't want white. It also helps harmonize the entire painting, because it will be a common color throughout.
The clouds will vary from blue-violets to yellow-oranges which are complements of each other. The sky holes are blue-greens and pale yellows.
I'll paint the darker foreground using a combination of most of the colors on the palette.
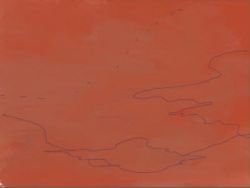
Preparing the Canvas
Under painting the canvas with a color that is harmonious with the colors you chose, makes it easier to see your colors in relationship to each other. White tends to make it more difficult to get the exact value you want.
Using a mid value of 5 is a good way to help you judge the appropriate values of the other colors.
Usually the under painting color is a more neutral color such as a grayed version of one of the dominant colors for the finished painting.
I chose to use burnt sienna for this sunset. I lightly blended in a few of the other colors from the palette to take away the flatness of just the single color.
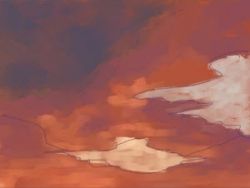
Blocking In Colors
Roughly blocking in the color gets you established with how the value clusters look. You can change them if you find the shapes are too repetitive or cloned, which is an easy thing to do with clouds.
This is also the time when you can change shapes so they are not directing the viewer out of the painting, such as a long horizontal horizon in a seascape.
Tree trunks or branches pointing toward the edges rather than the center are also a common mistake.
Paying attention to the shape of negative spaces is also important.
This is the best time to make all the changes, before you start finalizing areas of the painting. I also like to close off the sketch layer so I can paint more freely without the visual constraints of the sketch.
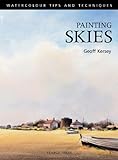
Painting Skies
I traditionally paint with water-soluble oils or acrylics and use those same techniques with my digital paintings. I thought you might appreciate some reference books that would address a variety of media.
For those of you who use watercolors, this is a good book for your reference library
Video on Painting Clouds.
I've prepared a video that shows the actual painting process I used. I hope you will find it interesting. I have done it with Painter 12 digital oil brushes using traditional oil techniques.
It is always fun to watch a painting progress, I usually go in with a basic idea and expand from there. You'll see at the end of the video how I used atmospheric perspective for the foreground mountains and trees.
Check on my other lens expanding on atmospheric-perspective.
Painting a Cloudy Sunset
Feedback on the Video
I would love to hear your comments on the video. It could be on the topic, some technical improvements that you would like to see in another video, or just a general comment.
How do you feel about the video?
Left Full Version
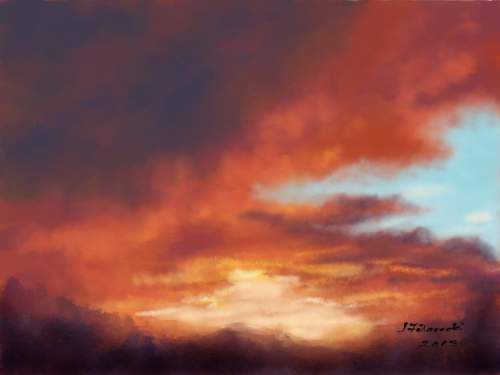
Right Cropped Version
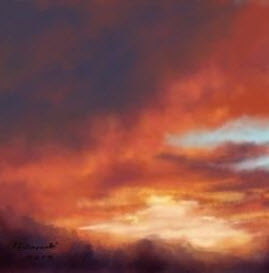
In case you haven't had time to watch the video, here is the completed version of the painting.
I'm also including a cropped version.
I can't decide which one I like better.
Maybe you could help me make the decision.
( In transferring this Hub from Squidoo to HubPages, I can no longer put them next to each other. That is why the confusing left and right designation.)
Which do you prefer?
The left full version or
the right cropped version.


