Photography Basics – Your Camera Settings
This is the second lesson of the series Photography Basics.
In the previous lesson, we took a look on the different parts of a digital camera and the differences between digital camera types. Here, you will learn about your camera settings, ISO, aperture, shutter speed, and how they can affect your photos.
Most cameras bring some control over these settings, but only DSLR offer you full control on manual settings.
Settings
Aperture
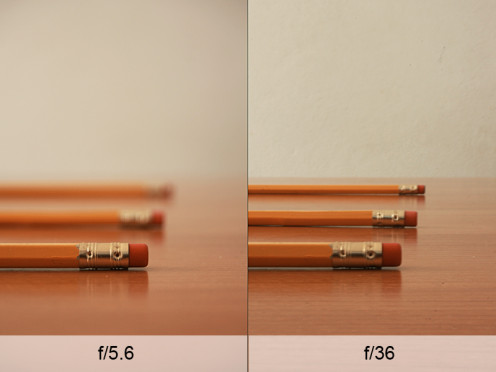
The aperture is an opening that you can find in your lenses and through which the light travels. The wider the aperture, the more light can get through, and as you narrow the aperture, less light travels through the lens.
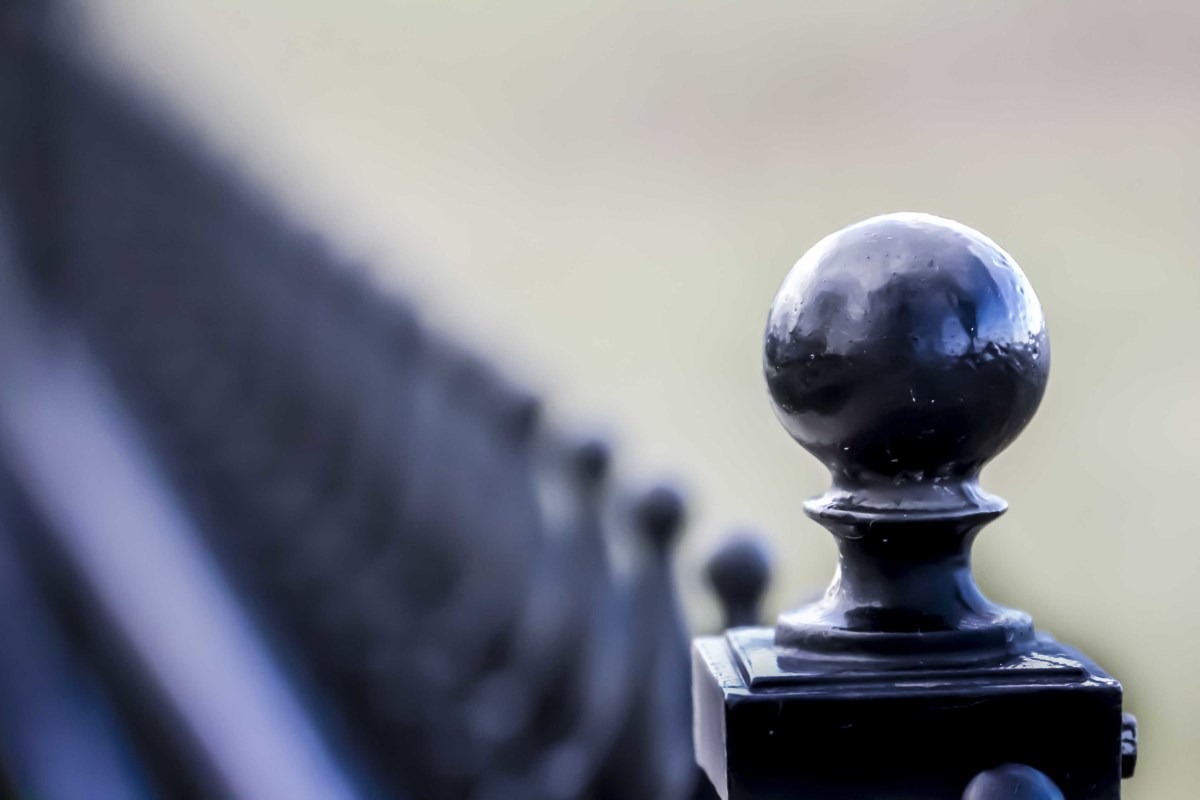
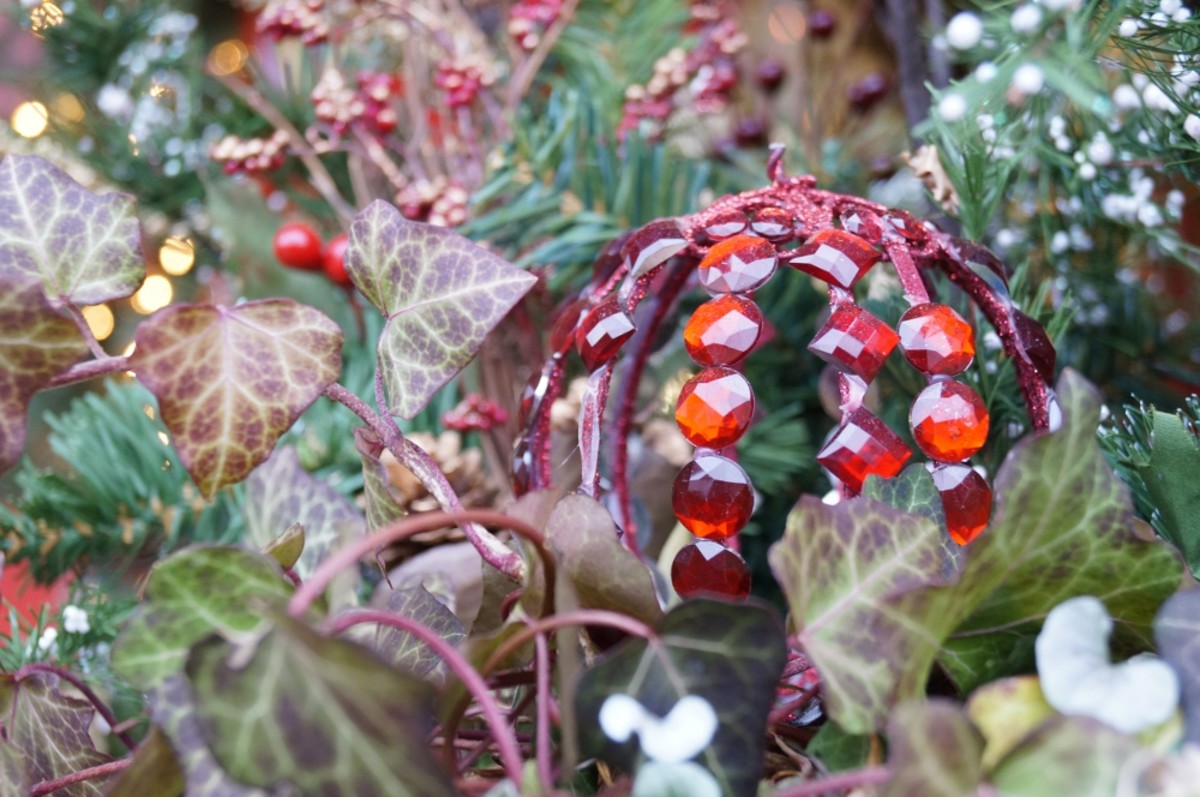
Reducing the aperture size not only allows you to shoot scenes that are too bright, but it actually makes more of the photograph to appear in focus. This means that when you want a photo with just the subject in focus and the background blurred, you should use a wider aperture.
Aperture is measured in f-stops and it works like this: smaller f-stops (e.g. f/2.8) mean that your photo will be brighter and have a blurred background, while bigger f-stops (e.g. f/22) will make your photo darker, but more of your photo will be focused.
Let take some examples. If you want to shoot a landscape photograph, you will prefer to use a narrower aperture (higher f-stops numbers), so you keep all the photo in focus; but if you want a photo of, let's say, a particular flower, you should use a wider aperture (smaller f-stops numbers), so you keep the flower in focus and the distracting background blurred.
To prevent a photo from being too dark or too bright, you will have to compensate with the other camera settings, like ISO or shutter speed.
ISO
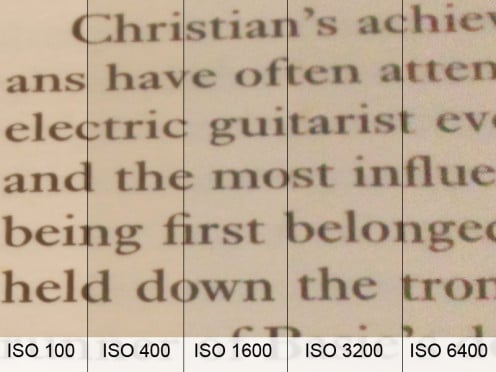
ISO is the measure of your digital camera sensor to light. The higher the ISO number, the brighter your photo will be. Unfortunately, a higher ISO also means more noise/grain on your photos.
ISO commonly ranges from 100 to 1600/3200 in most cameras, although some can go as high as 12000 and as low as 64.
100 or 200 ISO usually give your photos little to no grain at all, so, if you have enough light on your scene, you will probably want to use these settings. You can also use your ISO settings in automatic mode, letting the camera choose the best option for the current light conditions, but understanding how it works can make you take more control over your photos.
Usually, higher ISOs are used in poor light conditions, like indoor (when you don't want to use flash), night photography or concerts. If you purposely want to add grain to your photos, one way to get it is by increasing the ISO number, but don't forget to compensate with your other settings (shutter speed and aperture).
Shutter speed
Shutter speed is one of the most interesting and important settings of your camera. This determinates how long your camera shutter will be opened and how long your sensor will be exposed to light.
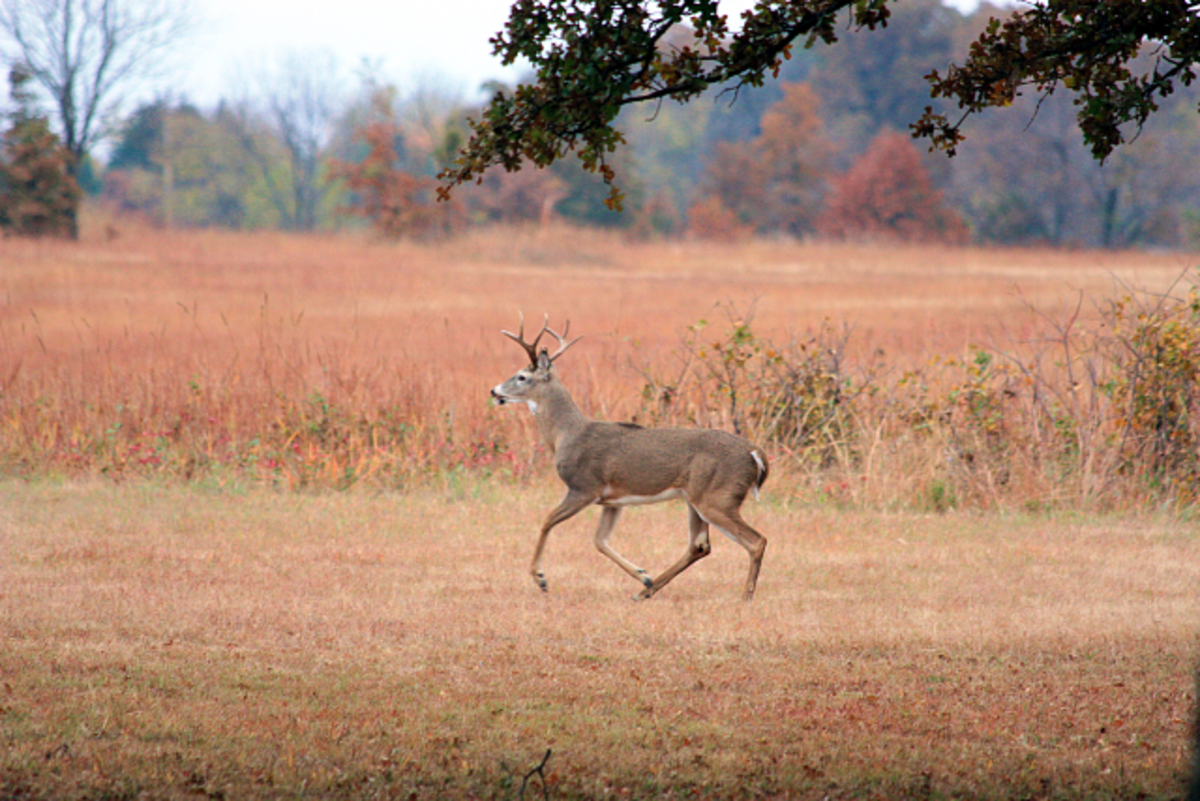
The shutter speed is measured in seconds and this has a great impact on your photos. Faster speeds tend to freeze your picture. For example if you are taking sports photos, it might be of your interest to use a faster shutter speed, allowing you to freeze your subject. If you use a slower speed, the movements of the subject will blur your photo. This is called motion blur.
A slower shutter speed is useful when you want to achieve some special effects (like long exposure photography)or when you shoot in a low light condition and don't want to increase your ISO. When you are shooting in a slow shutter speed and don't want any kind of blur in your photo, you need to use your tripod to avoid small camera movements.
Compensating settings
Sometimes, when taking a picture in manual mode, you can end up getting an unwanted result. In order to not let this happen, you need to combine your different camera setting to make them compensate one another.
Let's take an example: Let's say you want your picture to be all in focus, so you'll use a narrower aperture, like f-22. The problem is that, if your scene is not bright enough, this setting can result in a very dark photo. In order to achieve a balanced result you have two options: reducing the shutter speed, to let more light in (careful with the possible motion blur), or to increase your ISO.
Play around with your camera settings to learn more how they work. Use different settings on the same scene and check your different results.
This concludes the Camera Settings lesson. Jump forward to the Composition lesson or go back to the Camera Basics introduction to check the list of all lessons.


