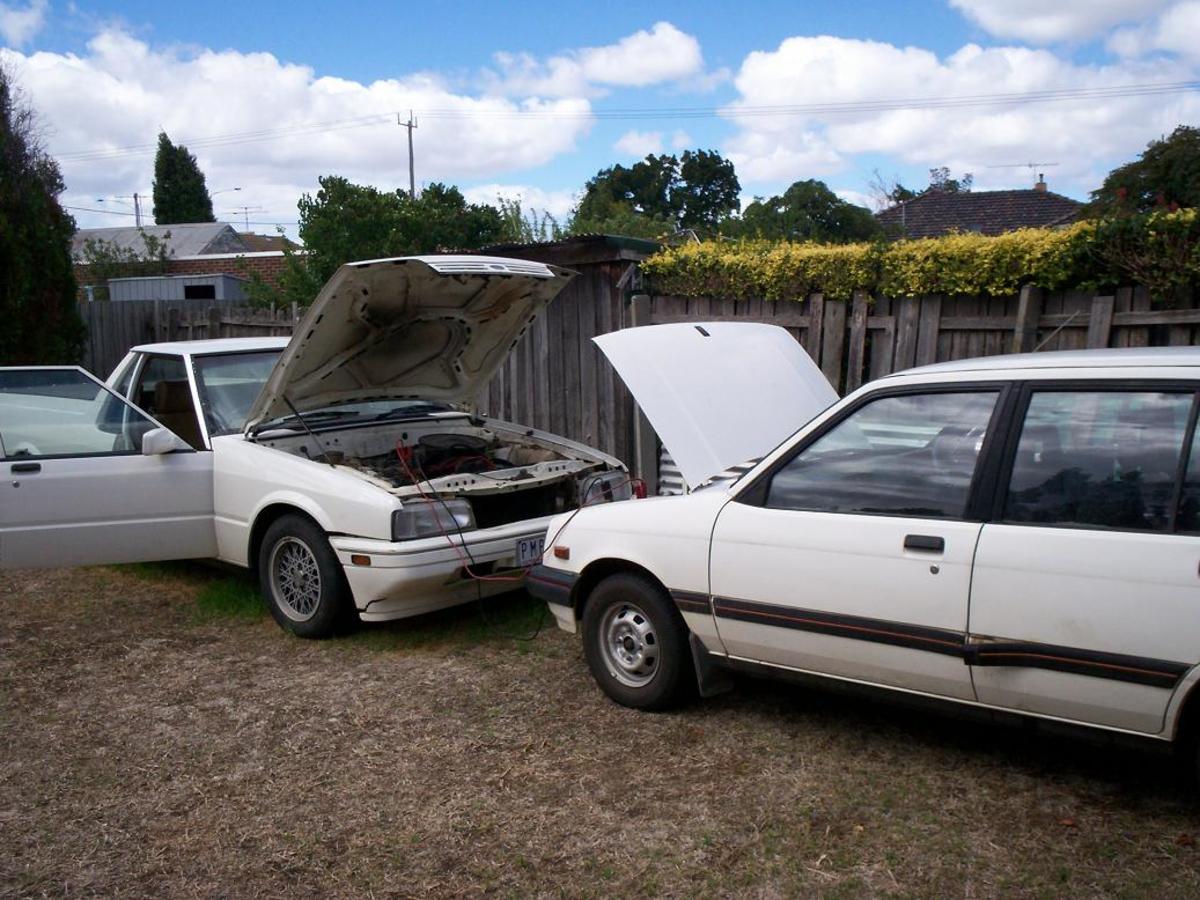
Car Battery Installation and Maintenance
You just finished dishing out some money for a new car battery because yours has gone flap and doesn´t accept any more charging. You’re upset with yourself because the battery died down on you too early and as well you´re thinking back on those times that you remembered to check the car battery fluid but decided to leave it for some time later.
Now you´re paying the price for delaying that battery fluid level check-up.
If you neglect for too long your car battery, eventually the fluid levels will drop due to evaporation and sometimes even to the point where the elements inside the battery are exposed to air and start to corrode and that will definitely take a toll and reduce its life span.
The so called maintenance free batteries are a bit misleading in their name. They too need inspection but not as regular as the normal batteries.

1 - Car Battery Installation
- First check the condition of cables and contact points for cuts, cracks, acid corrosion build-up and looseness.
- Disconnect the old battery starting by the (-) negative terminal post connector only then the (+) positive.
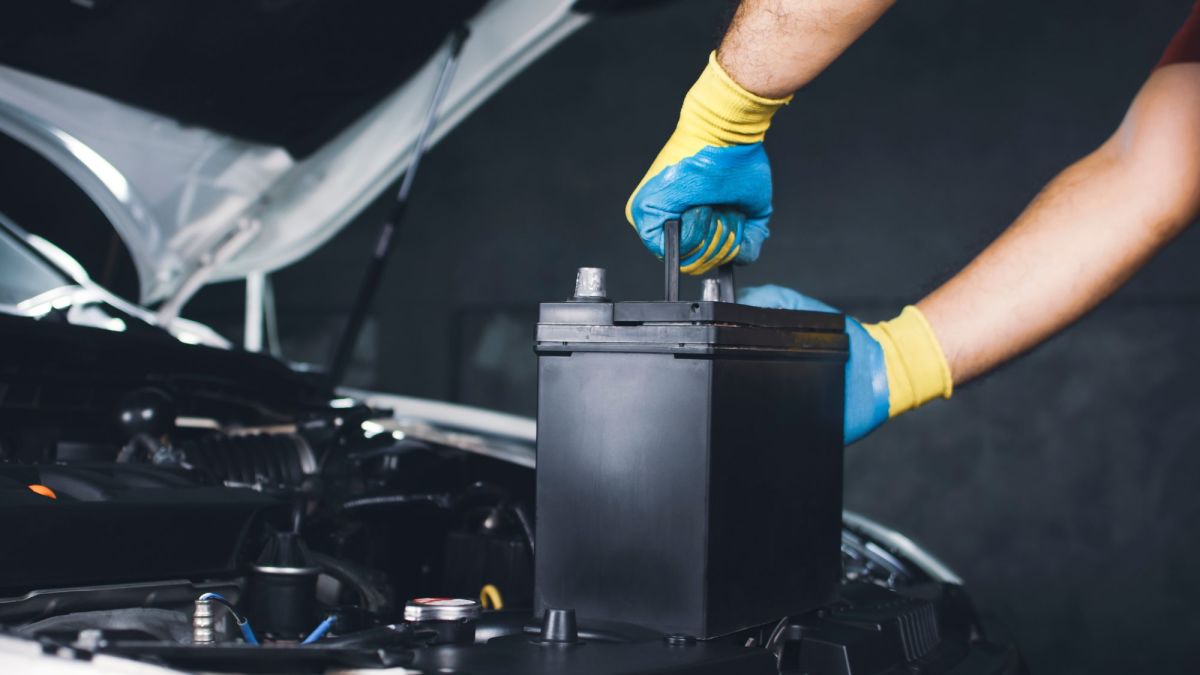
- Keep a mental note of the battery position and remove it.
- Clean the area where the battery is supported and connectors with a wire brush as well.
- Remove from the new battery the protective terminal post connector covers.
- Place the new battery in its support.
- Apply a bit of pure Vaseline or even petroleum jelly to post connectors.
- Connect the cables to the battery starting with the (+) positive cable.
- Don´t forget to secure the battery to the car itself with the securing rods or bars.
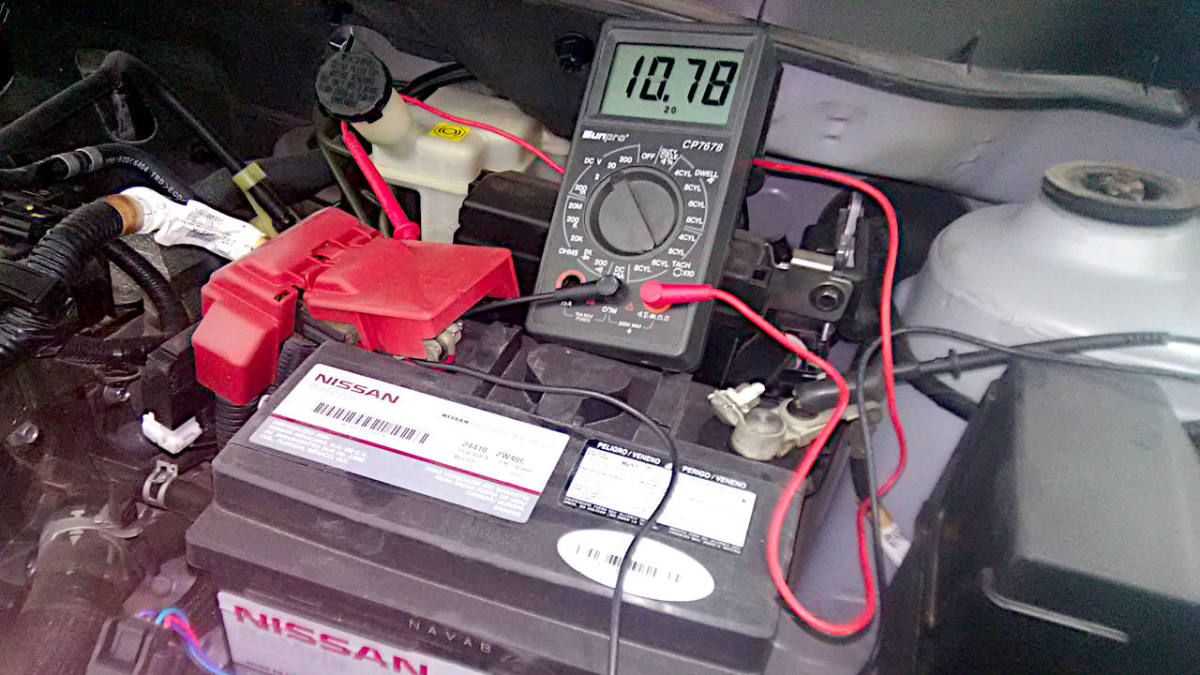
- Turn the engine on and check with an auto voltmeter if the alternator is supplying a tension of 13.8 V to 14.8 V to the new battery. This should be done with the engine at 2000 RPM (rotations per minute).
More on Cars and Tips
2 – Recharging a Battery
- Always firstly disconnect the (-) negative cable.
- You can leave the battery in your car or remove it to a well ventilated area.
- Clean the battery and unscrew or pry off all caps.
- Check the acid level and if needed top off with distilled water. Do not overfill above the mark.
- Connect the RED charger cable to the (+) positive terminal post.
- Connect the Black charger cable to the (-) negative terminal post.
- Turn the charger on. This process will take anywhere between 10 to 24hrs before the battery is fully recharged.
- Close to the end of the recharging process all elements should “bubble”.
- Turn off first the charger before disconnecting the cables from the battery.
- Replace caps and install in your car as described above.
3 – Maintenance
- Always keep batteries dry and clean.
- Never use the so called battery enhancing or boosting products.
- Battery levels should be checked at least 3 times a year. More often so in hotter climates.
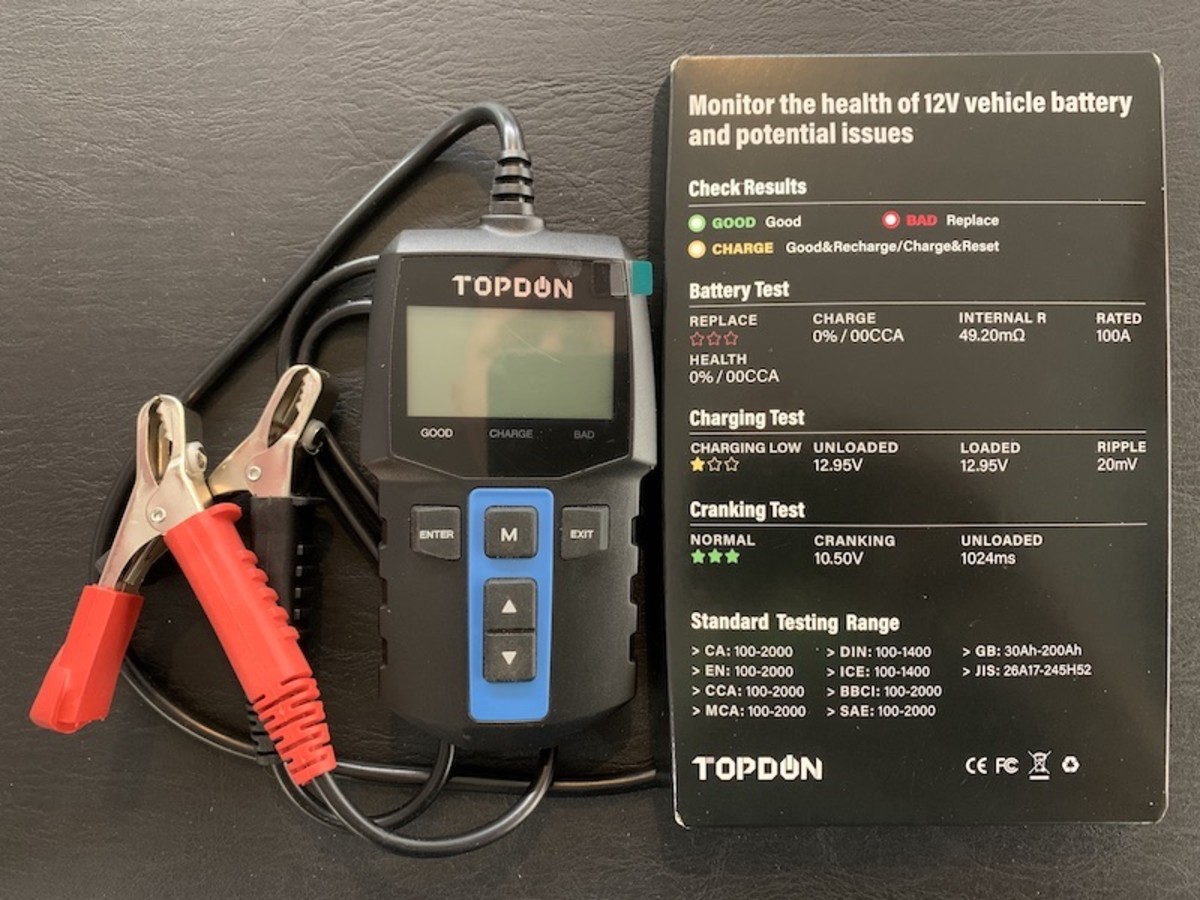
- In case the battery is flat, recharge it as described above and check your alternator with a voltmeter.
4 – Using Jumper Cables
- The helping or assisting car engine should be running at idle.
- Before raising the engine hood, remove all metal objects that you have on you, including jewelry.
- Jumper cables come with Red (+) and Black (-) colors for identification.
- Connect the Red (+) cable to the (+) terminal post on the flat battery. The other end of the cable to the (+) terminal post battery of the assisting car.
- Connect the Black (-) cable to the (-) terminal post on the assisting car battery that is idling. The other end of the cable should be connected to the engine block with the flat battery.
- Turn the engine on the car that needs assistance and remove the cables in reverse order.
5 – Long term storage - If You´re Not Using the Battery
- If a battery is not to be used and to be stored for some time, then it should be in dry and cool location.
- If the battery is to be stored with the vehicle then just disconnect the (-) negative terminal.
- A stored battery lasts longer charged, so recharge at least once a year and check fluid levels.


