Do-It-Yourself (DIY) Project by Travel Man # 1 - Cementing the Pavement
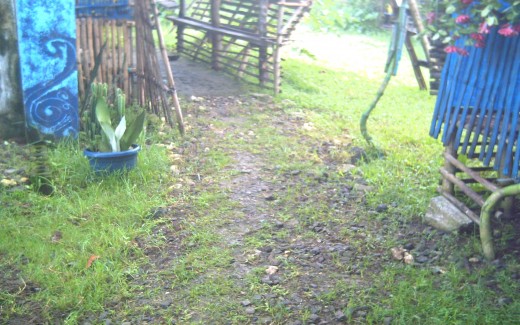
This is my Do-It-Yourself (DIY) project this June of 2011: Cementing the Pavement. It is a long overdue task that was hindered by occasional rain showers and unpredictable storms.
I'm self-employed alright. so, whatever the outcome of this project will be my success or failure. Someone is watching me closely while I was doing this. My mother!!!
Well, actually, she's the one who got the logistics and financed me for my raw materials. The main purpose is to ease our burden with our deaf-mute sister who always goes in and out around the house with her slippers intact on her feet! she'll only remove it when she feel like sleeping at night.
So, this hubber, while multi-tasking on the internet will be flexing his muscles to do masonry job.
The order came night after the payment from my father cousin's gravel and sand's store, two villages away from us. Hollering outside before 6 o'clock in the early morning, I had to assist for the carrying of bags of cement then the sand. I don't woory about gravel, because I already prepared it months before this action transpired.
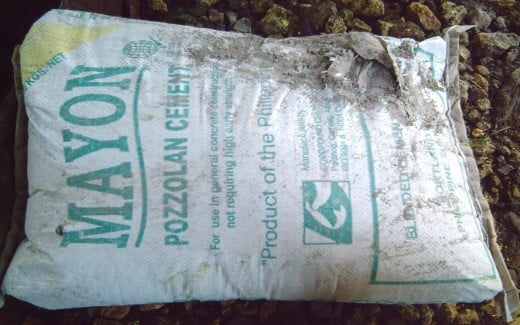
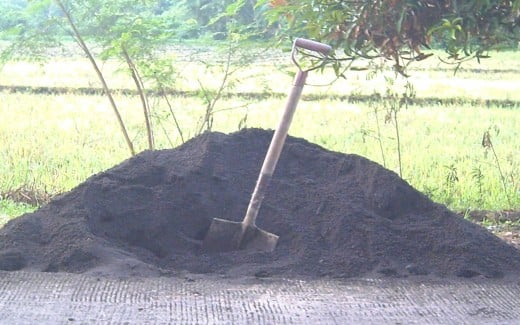
Materials revealed
The businessmen home delivered the following:
- Albay sand - dark colored sand that came from the province of Albay
- cement - Pozzolan cement (the usual name for this kind of cement)
I already have the following:
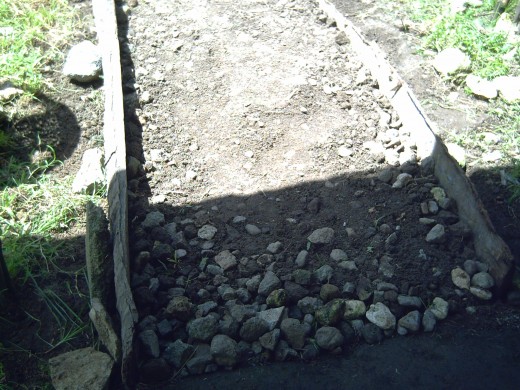
- pavement form - out of coconut lumber
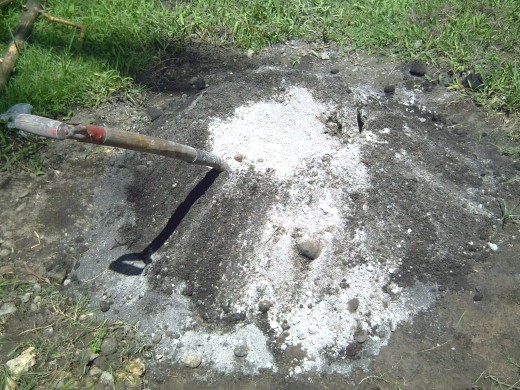
- shovel - for mixing the sand and cement
- cement palette - for flatting the mixture of the mortar (cement, sand and water)
- flat shovel (for flatting hollow portions for the project)
- gloves - for my hands
Our wheelbarrow, used for carrying sand is already destroyed (courtesy of so much borrowing from our neighbors- Filipino way of camaraderie or pakikisama) so, I just have to use an empty sack to carry the sand on the mixing spot.
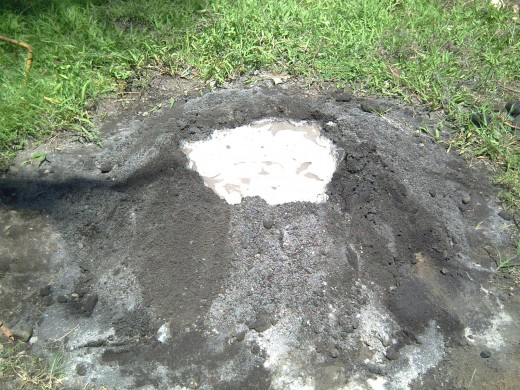
The ratio or proportion that I used for mixing sand, cement and water: 1:1:4. For every one part of sand and cement, 4 parts of water will be poured in to the mixture.
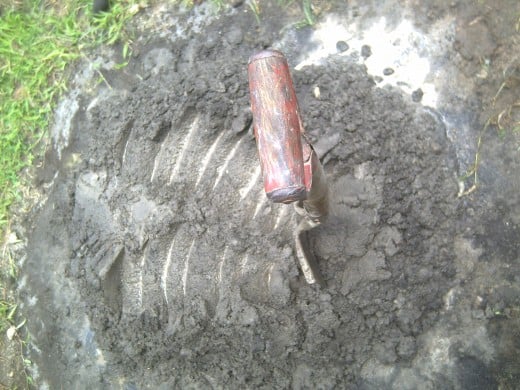
The tedious part of mixing made my back ached. I started it, therefore, I must finish it.
I don't need any help or assistant, because I wanted to prove my mother wrong. After all, my high school days were spent mastering some trade specialization, like, building construction, metal works, woodworking, automotive and electrical works.
I had to put those theories, especially building construction, into this actual thing.
What happened? You be the judge. Pictures didn't lie; but, it may hide some (LOL!).
Safety Precautions:
Both sand and cement can be hazardous to our health, so a mask covering your nose and mouth should be used when handling or mixing it.
Many blue collar workers end up on hospital beds because of neglecting available safety gadgets that they should use when doing construction works.
And the bottom line, lung diseases are the results of their personal neglect of not observing safety when doing such job.
Cementing Process
Click thumbnail to view full-size


Process of Cementing the Pavement
What I did was:
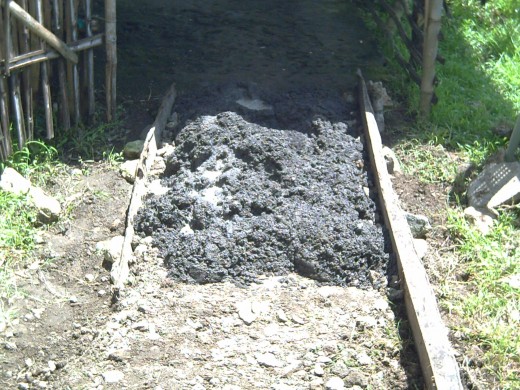
- Put the desired form by using the coconut lumber. Here, I measured a meter for the pavement.
- I mixed first the sand and cement (1:1) then poured water (4 parts) on it afterwards. Let me reiterate that for every 45 kilos of sand, I used 4.5 kilos of cement for the plastering process.
- I mixed it thoroughly until all the mixture were evenly distributed.
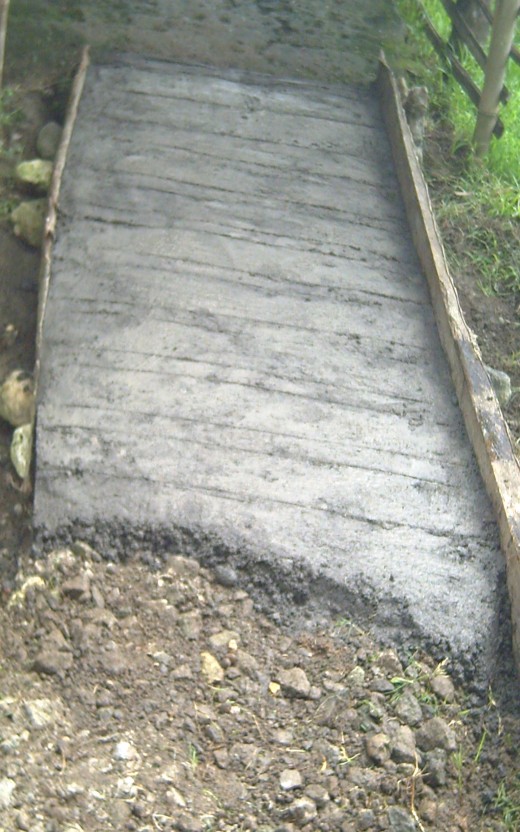
- Little by little, I accomplished the task in due time, I mean for a day.
For the drying period, it would take for the mixture to really harden, for about 4 days or a week. I just have to guard it from stray chicken and my dog. My deaf-mute sister couldn't be much happier. I signed her not to walk on it first, then she nodded.
After taking a snacks and resting an hour or so, it's time to take a bath!
More on DIY Projects
- Do-It-Yourself (DIY) Project by Travel Man # 1 - Cem...
This is my Do-It-Yourself (DIY) project this June of 2011: Cementing the Pavement. It is a long overdue task that was hindered by occasional rain showers and unpredictable storms. I'm self-employed alright. so, whatever the outcome of this project... - Do-It-Yourself (DIY) Project by Travel Man #2 - Cutt...
Amid the drizzles of afternoon rain (June 16, 2011), I decided to go to our old home's location at the center of our rice fields. My dog, Brownie followed suit. Cutting the coconut tree was far from my mind. ... - Do-It-Yourself (DIY) Project by Travel Man # 4 - Dra...
I've been requested by my cousin, (who's a principal of the elementary school at the next barangay in our town here in the Philippines) to do a blow-up illustration of the school site plan - including its main buildings and proposed edifices. Here's - DIY (Do-It-Yourself) Project by Travel Man# 3 - Bons...
The Japanese people is known for innovating nature's natural beauty.One of it is making miniature trees or the popularly known art of bonsai. When I was at the Koyo Dockyard of Mihara city, way back the last weekend of March 2011 as may maiden... - Do-It-Yourself (DIY) Project by Travel Man #5 - Wate...
Water Bonsai is the latest fad in home gardening. The beautiful twist is that you can grow the saplings of your choice inside your home due to a technology initiated by a Filipino inventor, Edwin dela Torre. - Do-It-Yourself (DIY) Project by Travel Man #6 - How ...
Making personalized dyed t-shirt is fun. Here's how to earn a living by simply investing your skills and talent in designing dyed shirts at home.

