How To Edit Your Photos For eBay: Quick Changes to do for Great Pictures - Fast and Easy
First Steps
Edit your photos for eBay
Other hubs in this series:
How To Shoot eBay Pictures the Easy Way
Affordable Small Photo Studio Set-up for eBay
How I Buy and Sell Inventory To Make Money on eBay
Easy Bulk eBay Shipping with Paypal MultiOrder Tool
This is the third in a series of "for eBay" guides. The first two featured using your camera, and setting up a studio. Now we take a look at how to edit your photos for eBay. I usually take 200 - 300 pictures at a time, so that's how this article is geared. If you shoot fewer pictures, the techniques can still be useful. I give keyboard commands wherever possible; use them. Don't let all these instructions throw you. Get used to Irfanview's keyboard shortcuts and you can fly right through an edit session!
You've probably already transferred your photos onto your computer. If not, go ahead. I like to use the USB connection on mine. Every digital camera (...it IS digital, right?) has at least one method, just use the one you're most comfortable with. For convenience, I keep my eBay images in a directory on my desktop. I use it a lot, and it's easy to get to.
To get to the meat of the subject, you'll need an image viewer, and an editor. There are many available, some free, some not. I prefer Irfanview. It's free for personal use, but there's a small registration fee for commercial use. Using pictures on eBay to sell your items is commercial use. The fee is 10.00 Euro (about $13.97 American at this time). Registration is on the honor system. And no, I get no money from recommending Irfanview. But it's perfect for eBay purposes, and I've used it for years. I'll be giving you very specific directions that expect you to be using Irfanview, though you can use any software with similar abilities).
Sorting your images
To save a little time, I'm going to assume (I hate that word!) you know your computer basics. At this point, you should have a directory with your pictures, and Irfanview (or equivalent) installed. Don't have Irfanview yet? Watch the video below for installation instructions. In Irfanview, go to "View", "Display options (window mode)", and select "Fit only big images to window." This lets you see your picture on the screen in one glance. More importantly, it lets you scroll through your picture directory using the wheel on your mouse. (You'll see why soon.)
The first thing to do is sort your pictures. Open your picture directory, right click on any open space in it, and select "Arrange Icons by". A sub-menu will show; choose "Name." Then repeat. The reason to do it twice? When you import your pictures, they're often not in the order you shot them. The first time you 'arrange' them, it will list them, but in reverse order. The second time will reverse again, so you have your pictures in the same order you took them. This isn't critical, but it helps keep track of what you've done, and what you've missed.
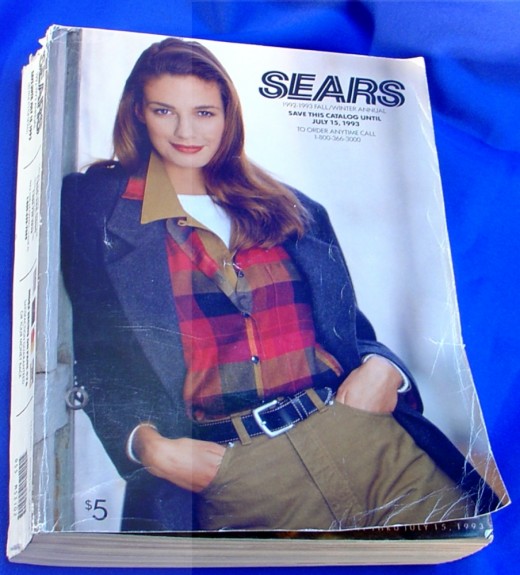
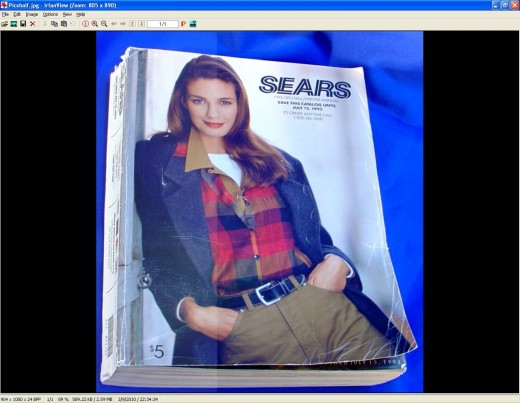
Now open the first one with Irfanview. If you associated filetypes when you installed, a simple doubleclick will open it. On the icon bar near the top, you'll see a white box with 2 numbers, separated by a slash. The second number is the total number of images in the directory. The first number is which image you're currently looking at. You can scroll backward and forward through the directory with the mouse wheel. Carefully go through and delete any bad or unneeded files. If you use one hand on the mouse, and the other positioned on the "Delete" and "Enter" keys, you can go through very quickly. If you have multiple good shots of the same image, only keep one. Scroll back and forth for comparison. If both are equally good you may have to flip a coin. If the colors are a bit off, or the lighting, we can adjust it some. More on this later.
Remember, if you're going too fast and delete an image you didn't mean to, go into the recycle bin and get it back. If you need to reshoot anything do it now. If you have one good image of every shot needed, it's time for the next step.
Auto Color Adjust
Cropping and Color Adjustments
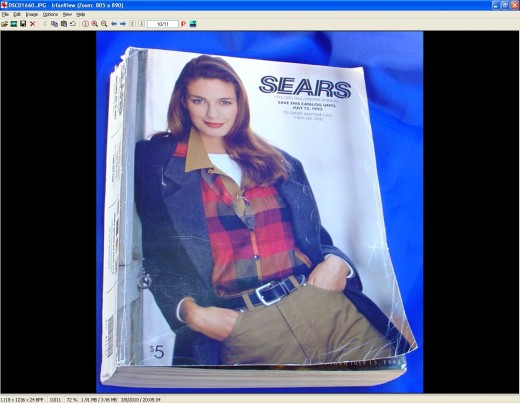
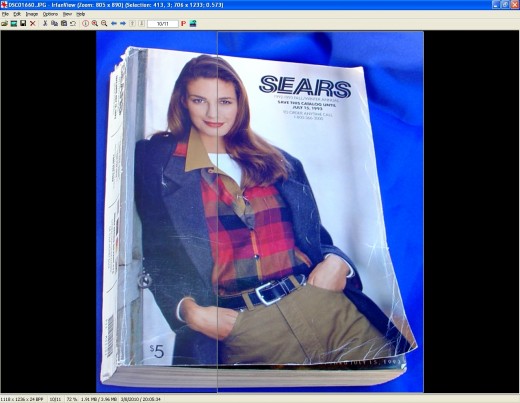
Starting again with the first image, we're going to crop and adjust the pictures now. For the most part, keep your right hand on the mouse. Left hand ready for keyboard commands. To crop an image means you cut out the best part, and junk the rest. Using your mouse, click and hold to drag a square around the good part of your image. (If you entire image is fine, skip this.) Once you let go of the mouse, you can 'grab and drag' the sides of the outline until it frames the area you want to keep just right. You can mouse "Menu-Edit-Crop Selection", but it's quicker to hold down left-Control key while pressing "Y." Now you've got a cropped image.
If the colors or the lighting are off, here's where we tinker a bit. First try the quick fix. You can mouse "Image-Auto Adjust Colors", but it's faster to type
"Shift U." Irfanview does an amazing job of auto-adjusting. If that fixes the problem, move on. If not, undo "Edit-Undo, or keyboard Ctrl Z." The next thing to try is "Image-Enhance colors, or keyboard Shift G." This is far more detailed. Don't be afraid to experiment. Most of it is exactly what it sounds like. Brightness makes it lighter or darker. Contrast gives smoother or harsher gradations between the extremes of black and white. Saturation is how intense the amount of color can be. Color balance adjusts (R)ed, (G)reen, (B)lue levels. Gamma is kind of like brightness, but it also affects the color balance ratios as well. Play with it. I use it a lot.
As you adjust, click on "Apply to original." It will show your changes on the full image, without committing to it yet. When you're happy with it, click ok. Use small changes, see how one thing at a time makes a difference. With a bit of practice, you'll be able to move along very quickly. If you're still not happy with the picture, it's time to get out the camera and re-shoot.
Once you're happy with the image, save it. Keyboard command is "Ctrl S." When saving, check your Save Quality. 100 is best, with no compression. The more you compress, the smaller the filesize becomes, and the lower the image quality gets. I keep it at 100. When you upload a picture, usually the upload program (eBay, in this case) will apply any compression if needed. If you've already compressed it, then the uploader compresses it again, your image quality can suffer more than necessary. If you never compress your image, the uploader can cleanly compress it without so much quality loss. If you're uploading to your own webspace by ftp, you'll want to do your own compression. That's a subject for another time, though. Remember, there's no going back- once you save over the original file, it's gone forever. If you aren't ready for the risk, add an identifier to the title, like a '1' or a 'b'. Then when the file is saved, it's a new file and does not overwrite the old file.
Batch Conversion Settings

Resizing and Batch Conversion
At this point, depending on how you eBay, you may be done. I use Turbo Lister to bulk upload my auctions. It prefers images to be at least 1000 pixels on at least one side. With Irfanview, this is an easy process. If you only have one or two images to resize, just mouse select "Image-Resize/Resample" (Keyboard Ctrl R). Setting the resolution is pretty basic. I always select for the highest quality. Under "Size Method" select "Resample", and "Lanczos Filter (Slowest)". Adjust the size according to your needs. In my case, I want the longest side to be 1000 pixels. So I type 1000 into the Width or Height box, whichever has the larger number. If it's less than 1000 already, you may want to re-shoot the image closer to the camera or in a higher megapixel setting. Units are set to "Pixels", and Preserve Aspect Ratio is checked. Leave DPI alone unless you have a reason to change it. When you click OK, the image will be resized according to your settings.
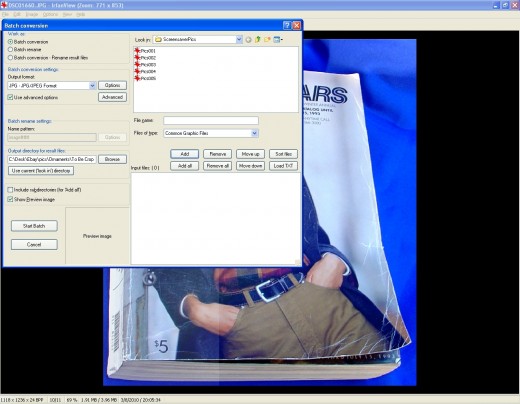
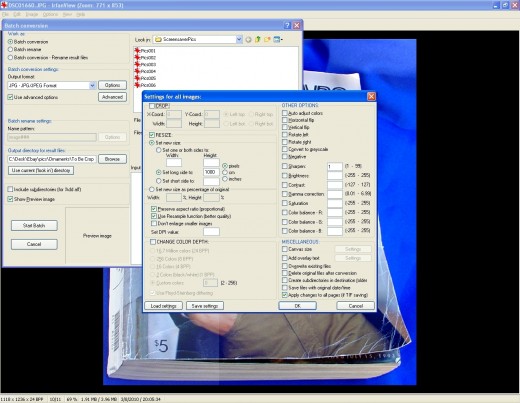
On the other hand, if you have lots of pictures to go through, there's a better way. First, create a new directory inside the one you made for the original images. Call it something you'll remember, like "Resized". We're going to batch process the images, and save the modifications inside this new directory. That way, if you don't like the final result, you still have your un-resized images. Select "File-Batch Conversion/Rename", or just type "B". On the window that pops up, checkmark "Batch conversion", and select JPG-JPG/JPEG Format. Under "Output directory for result files:", browse to the directory you created for the final resized images.
Checkmark "Use Advanced Options." Click on the "Advanced" button. Another window will pop up. Checkmark "Resize", "Set new size", "Set long side to:", and type in 1000. Select "Pixels".
Checkmark "Preserve aspect ration (proportional)", "Use Resample function (better quality)". Do not change the settings in the right-hand column unless you need a specific adjustment common to all files. Click on "Save Settings", give the .ini file a name, and you can always re-load this setup in case it ever gets changed. Click "Okay."
Now back to the previous window. Right side, top area - for "Look in:", it should already show you the directory you've been working from. If not, navigate to the files you want to change. Select the files you cropped, then click "Add." If you want to modify all the images in this directory, just click "Add All."
Click "Start Batch", sit back and watch Irfanview go to work for you. When it's finished, your final, cropped, resized images will be in the newer directory. At this point, your images are ready for use. Go list some auctions... it's time to make some money!
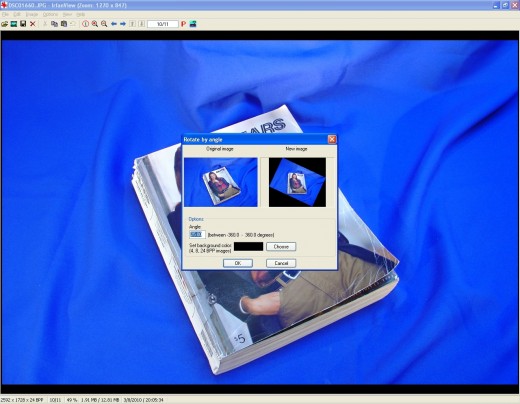
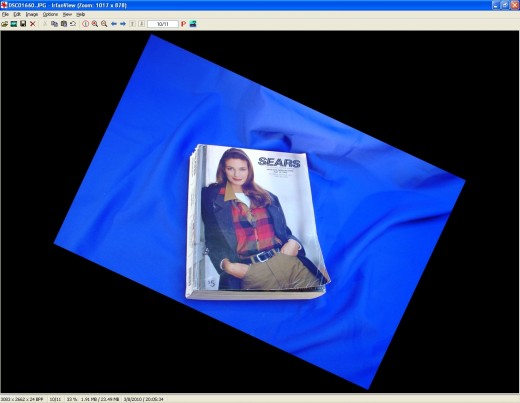
Bonus tip: One last thought; if your image isn't quite level, you can mouse select "Image-Custom/Fine Rotation" or keyboard Ctrl U. You can rotate either direction in exceedlingly fine increments. If you need to use this, do so before cropping the image. That way there'll be plenty of room to crop the edges down.

