Camera: How To Shoot Your Best eBay Pictures the Easy Way - Take Shooting Your Pics A Level Higher

Won't win awards- but they sell just fine!
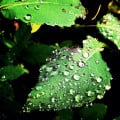
Pictures Help Sell
Other hubs in this series:
Affordable Small Photo Studio Set-up for eBay
How To Edit Your Photos For eBay Fast and Easy
How I Buy and Sell Inventory To Make Money on eBay
Easy Bulk eBay Shipping with Paypal MultiOrder Tool
I'm not a professional photographer by any means... but I've sold on eBay for years. When I began selling on eBay, any old picture was a plus. Most of my competition wasn't even taking pictures. Now, though, if you want to compete in the current market, pictures are essential. And a great picture is a much better 'salesperson' than a poor picture. My 'focus' (can't resist the pun) is on selling. I don't want to waste a lot of time on pictures, I just want to take good pictures quickly and easily on the fly.
Over time, I got frustrated with the hit or miss quality of my pictures. I've got a decent digital camera (not a great one, but a good one), it should be able to take good pictures! So I hauled out the instruction book. I know, real men don't read instructions. But I was tired of taking pictures that embarassed me. Time to make changes. The next couple of weekends were spent studying, practicing, and trying multiple pictures of every item to see what worked best. My wife didn't say anything, but I could see she was wondering what's up... I was taking a lot of time, for very few pictures. That was okay, though. We could both see the improvement as I kept at it.
If you already know what you're doing, or you're a natural, you can sneer. For the rest of us, I'm sure you can understand the effort involved in teaching yourself. Working with an instruction booklet that's divided into three languages, and experimenting with one small change after the next. Not the easiest way to learn, but it was what I had to work with. Now I'm going to share with you... the quick and dirty, non-professional-photographer, way to shoot good ebay pictures.
What Was Wrong?
Lots of people set their cameras on automatic, and hope for the best. That's what I used to do. Sometimes it even worked! More often, my pics had problems. The three most common problems were:
1 - Colors wrong (also known as "why are my reds purple?")
2 - Too bright whites (all the detail washed out)
3 - Blurred, out of focus pictures on small items
Lighting and backgrounds are very important, but this article is mainly about camera use. For now, just try to shoot in a well-lit area, and on a background that provides a nice contrast to your item. I'll go into more detail about my little 'studio' setup another time.
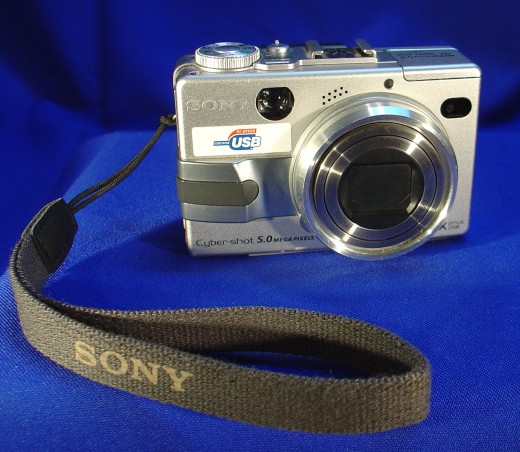
Not to be too obvious, but first things first... you need a camera. It doesn't have to be the newest, bestest, hottest model to hit the stands this afternoon. On the other hand, there are some features that make a big difference. You want a digital camera with a fair megapixel rating, and an easy way to import your pictures into your computer. I usually shoot in 4 megapixels, but honestly that's overkill for ebay pictures. Since I use Turbo Lister, and it requires pics of at least 1000 pixels on at least one side, this makes it easier to get that resolution. I really love digital cameras. You can take hundreds of pictures, discard the bad ones, and not spend a cent on film.
If possible, you want to get a camera that has three particular features:
1- Manual White Balance
2- Manual Exposure - some cameras allow fine tuning, others offer presets.
3- Macro - allows you to take pictures very close, for smaller ebay items. Almost all my items require this.
The more manual features, and the better you can use them, the better off you'll be. But for ebay, we don't need art, just good pictures.
What To Do
WHITE BALANCE:
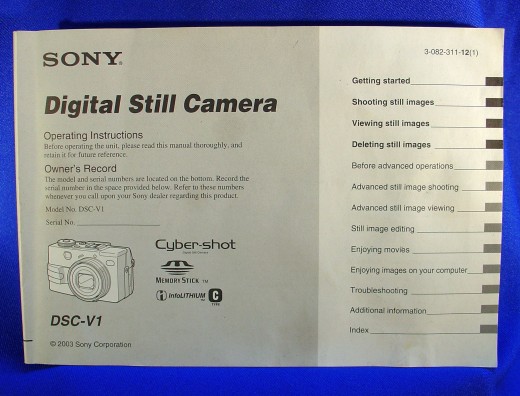
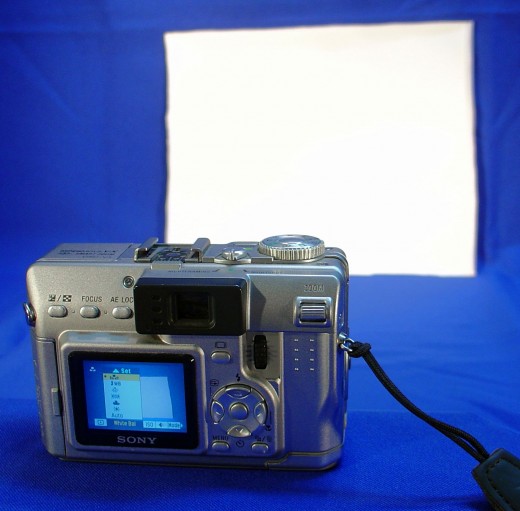
When you first begin a shooting session (or if your lighting situation changes) you'll want to adjust the white balance. Set everything up, but before you take any pictures, put a white piece of paper in the scene, and follow the instructions for your camera's white balance. I use a Sony DSC-V1, and on it, I push the menu button, scroll sideways until I get to the WB option, then select for manual. Point the camera at the paper, make sure it fills the screen, and push the 'up' button. It will flicker briefly, then beep to confirm. Your camera may use different steps.
This should take care of 95% of your color matching problems. I'll explain an easy fix for the other 5% in another article.
MANUAL EXPOSURE:
Often, my camera shoots too bright. Usually it's because the part I focus on is dark. If you're on auto-mode, it tries to compensate for the dark area, making the light areas over-lit. If you can, just shift your aim a little to get a lighter area in the target zone. If that's not possible, turn on the manual exposure setting, and lower the level until the brightest part of your item allows you to see some details. (If your camera screen is as small as mine, you may have to check your work on the computer a few times to get the feel of it.)
On the Sony DSC-V1, it has an AE lock feature that's often better to use than the manual exposure. It's set by a single button. You aim at the brightest part of your target, then push the AE lock. Now you can aim the camera for the best shot, but keep that exposure setting. With a little practice, this is the quickest and easiest way to control every shot without taking a lot of time. If your camera has this option, I strongly recommend using it.
MACRO:
If you're shooting small items from close-up, turn your macro on. On my DSC-V1, it's a simple 1-click button. You want to be very sure you're focusing properly. With the Sony, it gives me a small visible square that turns green when it's focused. Keep the camera very steady, breathe in, let out half a breath, and snap the shot. I usually take 2 shots when I'm feeling good about it. If something seems a bit off, I'll take more to make sure I have plenty of choices later.
Try to nearly fill your viewfinder with the image, but be sure to leave a small border around the edges so you don't miss an important detail. Because of eBay's Turbo Lister and it's 1000 pixel preference, I like to set the size at 4 megapixels. You can always edit down and keep quality, but if you need better quality later, you have to go back and shoot it again. It's best to plan for the maximum quality you will need.
These aren't the only methods that work, but they're easy, and work well without spending a fortune on your camera, or taking too much time. When your income depends on selling that item, you don't want to waste all your time trying to get a good shot. No need to get fancy, just follow these quick and easy techniques for great ebay pics. My pictures have improved... and so have my sales!