Simple and Fun Water Science Experiments for Kids
Water, Water Everywhere
Most of you might already be knowing that nearly three-quarters of the Earth’s surface is filled with water. You will see water in the form of oceans, rivers, streams, lakes and underneath the ground, there is even more water. Even the air contains water. Did you know that the clouds contain tiny droplets of water in them? All living things need water to survive. In this world that is so dependent on water, do you know the science that goes behind it?
This page concentrates on water Science, and we explain it to you in the most fun way possible – with the help of science experiments. These experiments are meant for kids – those who are in elementary school and are currently learning the basic scientific facts.
Let's Learn About Transpiration
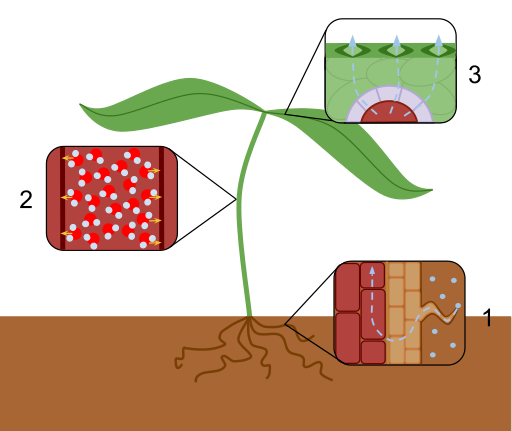
The way in which water travels from the land to the sky and back to the land resembles the circular movements of that of a roundabout. This process is called a water cycle in which plants play a very important role. They absorb water from the ground and then release this water in the form of moisture through their leaves and other green parts back into the air. This process is called transpiration.
The following Science experiment shows transpiration at work.
Things you will need:
- Some fresh green vegetables or leaves
- One small dry, plastic food bag
- An elastic band
Directions:
- Keep the fresh green vegetables/leaves in the food bag.
- Seal the opening of the food bag securely with the elastic band.
- Keep this bag near the window sill for a day.
You will see that the bag is filled with tiny droplets of water after a day or so. This is because of transpiration taking place through the leaves of the vegetables or leaves. Since these green leafy vegetables are no longer in the soil, they cannot take in more moisture which means that the transpiration will soon come to a stop.
Transpiration in Plants
Testing Out Flow of Water
Try throwing something up into the air. They fall back onto the ground in a jiffy. This is all because of the force called gravity which pulls everything downward. The same gravitational force is what makes the water fall downwards in the case of rain.
Is it possible to tilt water? Try this simple experiment to find out: fill a bottle half full of water and try tilting it. Does the water surface change or remain the same? No matter how much you try to tilt the bottle, the water surface will always remain horizontal.
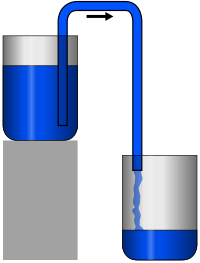
We now know it’s not possible to make water tilt, but is it possible to make water flow uphill? For this, you will have to make a siphon.
Things you will need:
- 2 glasses
- 2 thick books
- Some plastic tubing; even rubber tubing would do
- Clothes pegs
Directions:
- Fill one of the glasses up with water. Place it on top of the 2 thick books.
- Place the other glass beside these books.
- Next, fill the tubing up with water and pinch both sides of the tubing so that water doesn’t flow out. You can use the help of clothes pegs to pinch the tubing ends if needed.
- Place one end of the tubing underwater in the glass full of water and let go of the end (or remove the clothes peg from that end).
- Bend the other end of the tubing into the empty glass.
- Let go of that end or remove the clothes peg and watch the water flow down into the empty glass.
What is happening here is that gravitational force is pulling the water down to the lowest end of the tubing. At the same time, at the ends, air pressure is pushing the liquid through the tubing. The flow of water in the siphon happens due to the coordinated work of air pressure and gravitational force.
Guessing the Water Level
Sometimes the size of the containers can trick us into believing that they can hold more or less water. Try this Science experiment out – it is all about guessing.
Things you will need:
- Jars and containers of different sizes
- A small measuring jug
- Water
- Marker
Directions:
- Fill up the measuring jug till the very top mark with water.
- Before pouring water into each container, estimate up to which level the water would come and mark that level on the container with the marker.
- Pour water into each container one by one.
Did you guess the water level correctly? You might find that the water level in some containers was lower than marked.
Trapped in a Tin Can
What happens when you pour water out from a bottle? Do you hear a gurgling sound? This happens when the air makes its way into the bottle replacing the water that pours out. In case the bottle has a very narrow neck, then air cannot enter the bottle as easily. This leads to a collision between the water coming out and the air entering the bottle. In case the hole is very small, the water might not come out at all.
You can experience this happening with the help of the following Science experiment.
Things you will need:
- Water
- A hammer
- A small nail
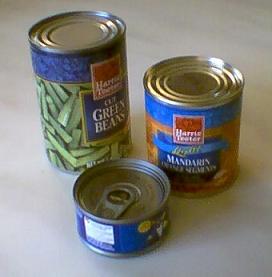
- A tin can with a close-fitting lid
Directions:
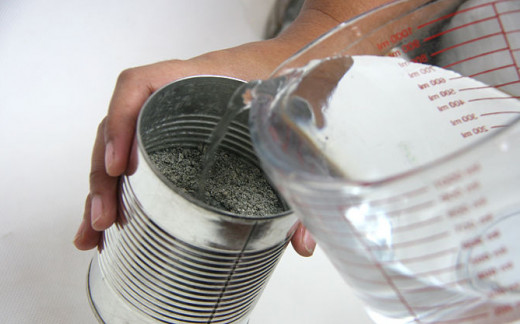
- Fill up the tin can with water and place the lid back on tight.
- Hammer down the nail on one end of the lid to create a small hole. This might require parental guidance.
- Now tilt the tin can upside down. You will find that the water will not drip out. This is because the hole is way too small for water and air to use simultaneously.
- Now try making a second hole on the lid. Tilt the tin can upside down again. You will see that now water is able to come out of the can from one hole because air is able to get in through the other.
Porosity Testing
As we have already read before, everything on planet Earth is pulled towards the ground by the force of gravity.
The same gravitational force is responsible for pulling water down as well in case of rainfall. Now, what happens to the water that meets the ground? There are various types of rocks, some of which allow water to pass through them easily whereas the others don’t.
The ones which allow water to pass through them are called porous rocks whereas the others are called non-porous rocks.
The Science experiment below will help you in identifying porous and non-porous substances more clearly.
Things you will need:
- 2 shallow trays
- Some large stones or pebbles
- Water
- A clay brick
Directions:
- In one tray, keep the clay brick, and in the other tray place the stones and pebbles.
- Now pour water into each of the trays till 50 mm deep.
- Leave them for about an hour or so.
What you would notice is that the water level in the tray containing the pebbles would remain the same, whereas you cannot say the same for the tray containing the clay brick. The water level appears much lower in that tray. Why?
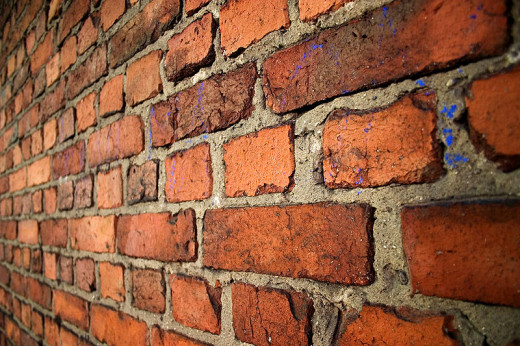
This happens because clay bricks are porous and allow water to pass through them. The tiny holes in between the clay particles allow water to move through them.
If you went on to keep the brick in water for a longer time, all these tiny holes would be completely filled with water over time. Then the clay brick will not be able to take in more water. Now try placing this wet brick on top of a dry brick. The water would soak down to the second brick.
Porosity of Materials - Video
© 2014 Kalpana Iyer


