Water Science Experiments - Simple Project Ideas for Kids
Water Science Experiments for the Young and the Curious
Why is the sea salty? What is hard and soft water? How does rusting happen? Kids are always curious about things that happen around them and no matter how much we try to explain, they might not get the gist of things.
In such circumstances, it is always better to explain scientific theories in the form of simple Science experiments. You wouldn’t want to bore them with complicated Science experiments which are tough to carry out, even tougher to explain.
With these really simple water Science experiments, you can easily teach basic water Science related facts to children. Most of these Science experiments or ideas can be carried out by the kid alone but some adult supervision is always advised in the case of very young children.
Solubility Explained
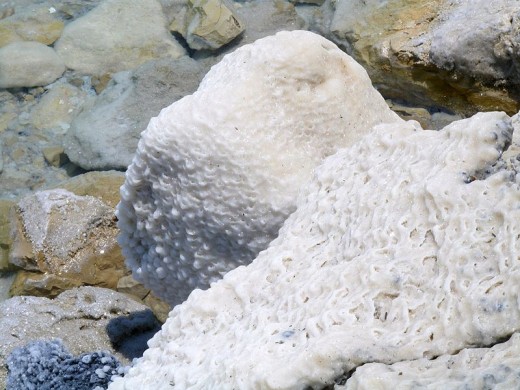
Do you know what makes seawater so salty? It is because of the presence of sodium chloride or better known to all of us as table salt. The seawater contains copious amounts of sodium chloride dissolved. A substance is called soluble if it dissolves in water. Soluble substances can be made to dissolve faster by stirring, warming up the solution, or shaking the solution.
Now imagine if you went on putting sea salt into the water. After some time, you would not be able to dissolve it anymore. The solution is then said to be saturated.
Things that do not dissolve in water are called insoluble.
Let’s try out this simple water Science experiment that explains solubility.
Things you will need:
- A glass
- A glass bowl
- A teaspoon
- Different types of powders – sugar, sand, toast crumbs, pepper
Directions:
- Take a glass full of water and then put different types of powders into this glass one by one.
- Stir the water well.
- After a few minutes of stirring, check the solution
- In case a type of powder is not visible anymore and has not sunk into the bottom of the glass, it is a soluble substance.
Now try doing this with just insoluble substances. Mix them all up in a bowl. Stir them well and leave them to rest for an hour or so. You will notice that the heaviest particles will settle down at the bottom of the bowl whereas the lighter ones will take a longer time to sink. You will be able to see different layers forming up in the glass bowl.
Learn More About Solubility
Buoyancy Explained
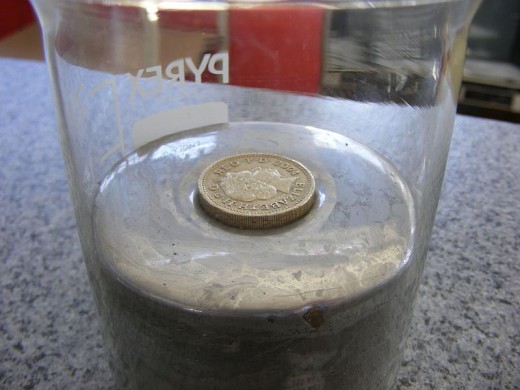
Some objects are able to float in water whereas others don’t. If the object is less dense than water, it will stay afloat otherwise it will end up sinking into the bottom. But it is possible to make those objects that normally stay afloat in water, sink in water.
Let’s take the case of rotten and fresh eggs. The fresh egg will sink whereas the rotten egg will float in water. How’s this possible? Fresh eggs are denser than water. But as eggs rot, gas gets trapped inside. This makes the rotten egg less dense than water. It is possible though to make fresh eggs float. Dissolve a lot of salt in the water. This salt makes the water denser than the egg which makes the egg float. In other terms, it becomes buoyant.
With the help of the following water Science experiment, you can visualize how an object can stay better afloat in salty water.
Things you will need:
- A bowl of freshwater
- A bowl of very salty water
- Modeling clay
- Paperclips or coins
Directions:
- Create a small boat out of the modeling clay.
- Put this boat in the bowl of freshwater.
- Place the paperclips/coin in the boat one by one.
- Count how many clips or coins the boat can hold before it starts sinking.
- Now place the boat in a bowl of very salty water and add paperclips/coins. How many can it hold before it starts sinking? Compare this with previous results when the boat was placed in freshwater. Which one sinks faster?
Why do things float?
Hard and Soft Water
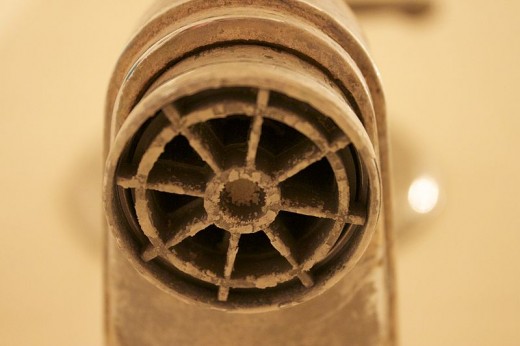
How can you distinguish hard water from soft water? In hard water, a chalky layer or scale will be left behind in a kettle after boiling. This layer is composed of lime or limescale, or in other terms – calcium carbonate. Hard water can be a nuisance in many ways – it is difficult to lather up a bar of soap in hard water and it can also cause hot water systems to get damaged because of the build-up of calcium carbonate.
To turn hard water into soft water, all you need to do is add a bit of washing soda which removes the minerals that make water hard.
Here’s an experiment to find out whether the water at your place is hard or soft.
Things you will need:
- A bowl of water
- Soap
- Washing soda
- Spoon
Directions:
- Wash your hands with soap using water from the bowl. Did the soap lather up rather quickly? Did it make plenty of lather? If yes, your water supply is soft.
- Instead of lather, if it made scum instead, this means your water supply is hard. Now empty and rinse the bowl. Fill it again with water. Add one spoonful of washing soda and stir this solution with a spoon until it dissolves. Take your soap and wash your hands again. Do you see any difference?
Hard and soft water difference
Rust and Corrosion
When metals such as iron are exposed to rain or air, their surface is converted to a chemical called iron oxide which is commonly known as rust.
Rust is harmful and makes the metal weak. It does not stick closely to the metal surface which leads to air and water to easily make their way through it leading to more rusting. When metals are affected by chemicals, then it is called corrosion. Not all corrosion is harmful. Moist air corrodes aluminum very quickly and as a result, aluminum oxide is formed. Unlike rust, this aluminum oxide clings closely to the surface of the metal and no air or water can make its way underneath. The layer of corrosion protects the metal.
The following experiments will demonstrate more about the whole rusting process.
Things you will need:
- Four glass jars
- Water
- Cooking oil
- Water
- Four iron nails
Directions:
- Put a small amount of water in one water such that it barely covers the bottom. Put a nail into this water. Place the nail in such a way that its top leans onto the wall of the jar and the pointy end is immersed in water.
- Put a nail in the second jar with no water.
- Now boil some water (parental guidance required). Boiling allows the removal of air from water. Pour the boiled water into the third jar in such a way that the nail is covered completely with water. Pour a little oil on top to keep the air out.
- In the fourth jar, pour just enough water to cover the bottom. Put plenty of salt in the water to make it a strong salty solution and then place the nail inside this solution. Place the nail in such a way that its top leans onto the wall of the jar and the pointy end is immersed in water.
Here’s what you will notice:
- In the first jar, the nail will rust because there is both air and water in the jar.
- In the second jar, the nail will not rust as much compared to the first jar because of the absence of water.
- In the third jar, the nail will not rust as much compared to the first jar because of the absence of air even if it is completely immersed in water.
- In the fourth jar, the nail will rust more quickly because of the presence of salt.

Corrosion and Rust Difference
Waterproofing Experiment
Some objects in our day-to-day life need to be waterproof – like our raincoats, leather shoes. Is it possible to stop an ordinary piece of cotton material from soaking up water? Try this Science experiment out.
Things you will need:
- 2 small pieces of cotton material (5 cm x 5 cm)
- A candle piece
- Water
Directions:
- Put a cotton piece on one side.
- Take the other cotton piece and wipe the candle wax all over both sides. Make sure you do not miss any part of it. It is easier to do this if you use a colored candle.
- Now lay down both the pieces of cotton flat on the table.
- Sprinkle them with droplets of water.
- The first piece of cotton which was not waxed will soak up water whereas, on the other piece, droplets of water will stay on the surface. This is because wax does not soak up water. This way the cotton piece was made waterproof.
© 2014 Kalpana Iyer


