Creating a Picture Schedule for Kids
Things You’ll Need:
· Pictures
· Contact paper or laminating pages
Scissors
· Large piece of card stock
· Adhesive Velcro
· Small storage container or plastic bag
First, identify what pictures you will need by making a list of common activities or places in your child's life. Examples include daily self-care activities of dressing and brushing hair, play activities of blocks or TV time, and outings to the grocery store or park. Make a list of as many of these things as you can think of. Remember you can always add pictures later as your child learns new things or becomes involved in new activities.
Locate or take pictures of each thing on your list. Google Images is a great way to find pictures by typing in what you're looking for and scanning through their photo gallery. Many times you can copy and use the images as long as you're not reproducing them for commercial reasons. There is also a list of web sites offering images at the end of this article. You can also take pictures with a digital camera of specific places, toys, etc. if your child is very attached to a particular brand, color, or type of object or activity.
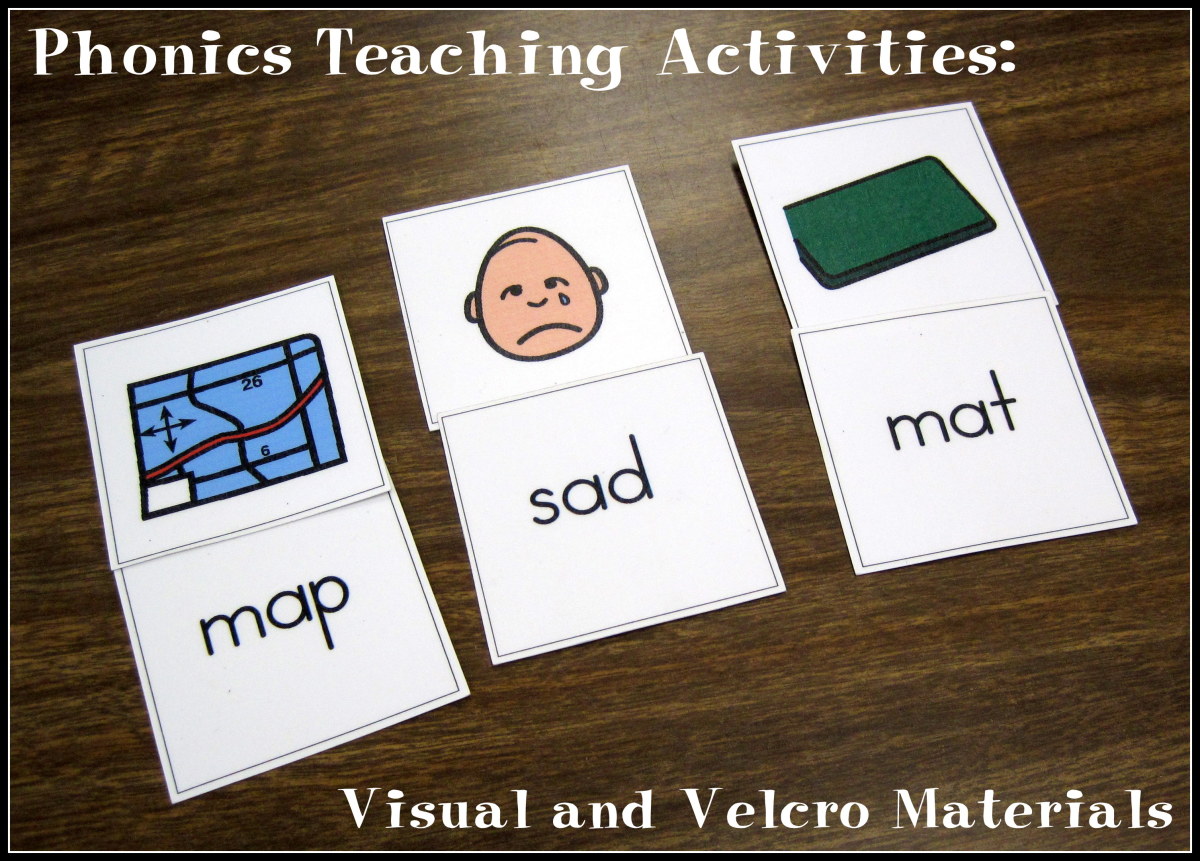
Copy and paste (or upload from a camera) your images into a basic Word document. I've found that this program works well since it allows you to re-size pictures as needed. Keeping the aspect ratio the same (so you don't distort the picture), set each picture to be about 2" square. This is a good size because it makes the pictures easy to see, easy to manipulate, and helps prevent them from getting lost. If you are wanting to save on supplies or have a slightly older child, or if you are creating a more complicated schedule, you can reduce your picture size to 1".
Print your pictures, generally a "text and word" quality provides pictures that are clear enough to see but also saves on ink in your printer. Use regular printer paper, since you'll be laminating and paper quality won't matter.
Cut out pictures and either laminate or seal between two pages of contact paper. Remember to leave about half an inch between pictures when you seal them. Cut around pictures leaving a sealed strip of plastic all of the way around the paper. This helps prevent pictures from getting damaged and keeps fluid from leaking in.
Attach Velcro to the back of the pictures. Generally, a small square will work, but make sure that you attach all of the same side of the Velcro to the pictures (either all of the soft side or all of the rough side) so that you can then stick them to your board.
On the board attach small squares (or strips if you prefer) of Velcro about 2" apart. When attaching Velcro, decide if you want your schedule to run horizontally (across) or vertically (down). This is important because it will determine how you attach your Velcro.
You're ready to use your schedule! Attach your pictures in the order the events or activities will occur. After each activity, take your child to the board, have him or her identify the activity, and then remove that picture from the schedule. Then identify the next activity and have the child begin it.
Tips & Warnings
· Choose bright pictures.
· Keep pictures simple- avoid including multiple activities or toys in a given picture.
· Choose pictures that represent the activity at hand- example: dressing could be a picture of an outfit laid out or a picture of a child pulling on shirt or socks.
· Generally, you should start out with 3-5 pictures at a time so that your child does not become confused. As your child becomes more accustomed to the schedule, you can start putting up longer sequences of pictures.
· Store unused pictures in a recipe box, plastic bag, or other container so they don't get lost.
· You can also use hole punch to put holes in the corner of each picture and attach them to a metal ring for use on-the-go. The ring can then be clipped to a purse strap or diaper bag strap.

